Welcome to the Onshape forum! Ask questions and join in the discussions about everything Onshape.
First time visiting? Here are some places to start:- Looking for a certain topic? Check out the categories filter or use Search (upper right).
- Need support? Ask a question to our Community Support category.
- Please submit support tickets for bugs but you can request improvements in the Product Feedback category.
- Be respectful, on topic and if you see a problem, Flag it.
If you would like to contact our Community Manager personally, feel free to send a private message or an email.
Options
Resize image
 joseph_newcomer
Member Posts: 90 ✭✭✭
in General
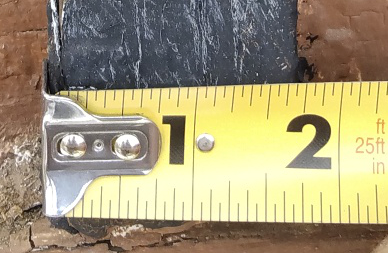
I have a photo of something I am trying to reproduce: 125-year-old decorations on our house. They and their backing have rotted away. My goal is to create new ones on a CNC router.
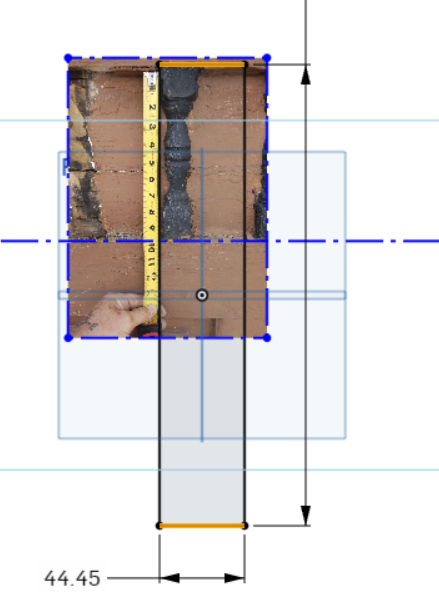
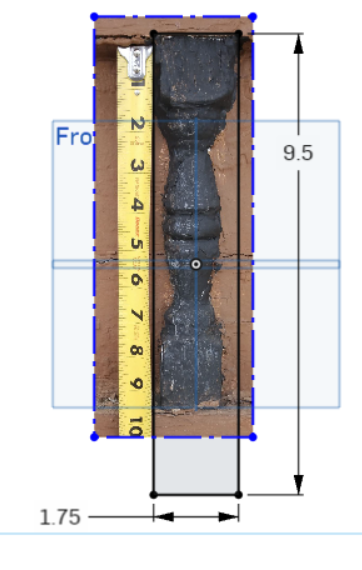
Now, the problem is that I got the dimensions from the photos with the ruler: 1 3/4" x 9 1/2". I created the gray box shown in the sketch to those dimensions.
Next, I inserted the photo.
Now, I want to resize the photo so the spindle fills the box. From this, I will create the shapes I need. But I cannot discover how to resize the photo. Grabbing it on its corners or edges does nothing. How do I resize the image to the size I need so I can copy the details?
EDIT: I discovered that I can resize the image when first inserting it. The problem is I cannot get the parts I want aligned to the drawing; that can't happen until I can move it, and then resize it.
I resized the photo in Corel PhotoPaint and re-inserted it. But now it looks like if I stretch the image so it matches the top and bottom, it will be too wide. I am now very confused. Being able to resize the image to a precise (and aspect-ratio-maintaining) size is critical. Is this a missing feature?
Yes, and this time I did the research to see how to set the units for the drawing, so the units are now in inches.
There also does not seem to be a way to crop an image that has been inserted. This would be another feature that is necessary.


0
Comments
After inserting the image, I am asked to draw a bounding box however, if I try to fine-tune the size by grabbing the edge of the box (construction line) I can only move it but not resize it. Are there any key combinations to resize it?
Cheers
After the image is inserted, draw the bounding box. Now, draw a line representing the place you would like to dimension. Using the dimension tool, not the quick dimension, dimension the line to the measurement you would like. The picture will scale accordingly. This kind of scaling only works if there are no dimensions in the sketch.
Learn more about the Gospel of Christ ( Here )
CADSharp - We make custom features and integrated Onshape apps! cadsharp.com/featurescripts 💎
Yes!
Actually, I just figured it out
Thank you so much
The technique of drawing a line and dimensioning won't resize the image, it will just resize the line, unless it is the ONLY thing in the sketch with a dimension! So it only works when it's the first thing you dimension in the sketch! If you know the dimension of one of the sides of the sketch, you can just dimension that, and that always works. But if you don't know the dimension of either side, you have to make sure to use this trick before you dimension anything else in the sketch.
@Curt_Welch, here's another way using the Image - custom feature:
Learn more about the Gospel of Christ ( Here )
CADSharp - We make custom features and integrated Onshape apps! cadsharp.com/featurescripts 💎