Welcome to the Onshape forum! Ask questions and join in the discussions about everything Onshape.
First time visiting? Here are some places to start:- Looking for a certain topic? Check out the categories filter or use Search (upper right).
- Need support? Ask a question to our Community Support category.
- Please submit support tickets for bugs but you can request improvements in the Product Feedback category.
- Be respectful, on topic and if you see a problem, Flag it.
If you would like to contact our Community Manager personally, feel free to send a private message or an email.
How to create NPT threads for printing?

Although I am a veteran CAD user, I have no access to paid CAD (ex. Solidworks), so I'm new to Onshape CAD and 3d printing. I'm disabled and trying to design and 3d print a adjustable straw for my wheelchair. I've gathered my design knowledge, which will use…
- 1/4PT Flexible Oil Coolant Pipe Hose
- Silicone Tubing
Now, I can design the adaptive part as needed, example my first will be a design to implement the straw by designing/printing a 'cola' cap usage. Below you'll find my Onshape CAD link where I created the custom bottle threads, which are functional with the bottle, but it printed only a hole, not NPT hole.
When using the hole function on Onshape, setting it to 1/4-18 NPT does printer (BambuLab A1 Mini) not print threads?
Thanks for all input
Answers
-
Try using the Feature Script "Thread Lab" instead of the hole feature. The built-in hole feature does not model the thread details, even though it has an option to create cosmetic threads for the purpose of visualization.
0 -
Thread Lab is an awesome feature but doesn't support tapered thread generation or the NPT spec. @EvanReese do you still have that doc handy for Amalgamation? I seem to have lost the link.
0 -
Yes it's here! https://cad.onshape.com/documents/b675b9d7712fc8ca1eefa8f6/w/e3f898db2bee36c1a5eaa5e5/e/b27953ec759731d7f0a5e203
Hats off to @rick_randall and @Oliver_Couch who put in a lot of effort and knowhow getting these models built and well configured. We intended to make it into a custom feature, at some point, but lost steam on it. These models can get new life as Amalgamate tools! Use the NPT Tap and NPT Die models.
0 -
A word to those interested in using the amalgamate models mentioned in @EvanReese post above - helps to think of the models as the tools that cut the threads, not the threads themselves. They must be subtracted from your model. I hope these tools will help someone. Cheers
0 -
@rick_randall @EvanReese Can you expand on how to use this tool? There isn't any thread generated to subtract, as far as I can tell.
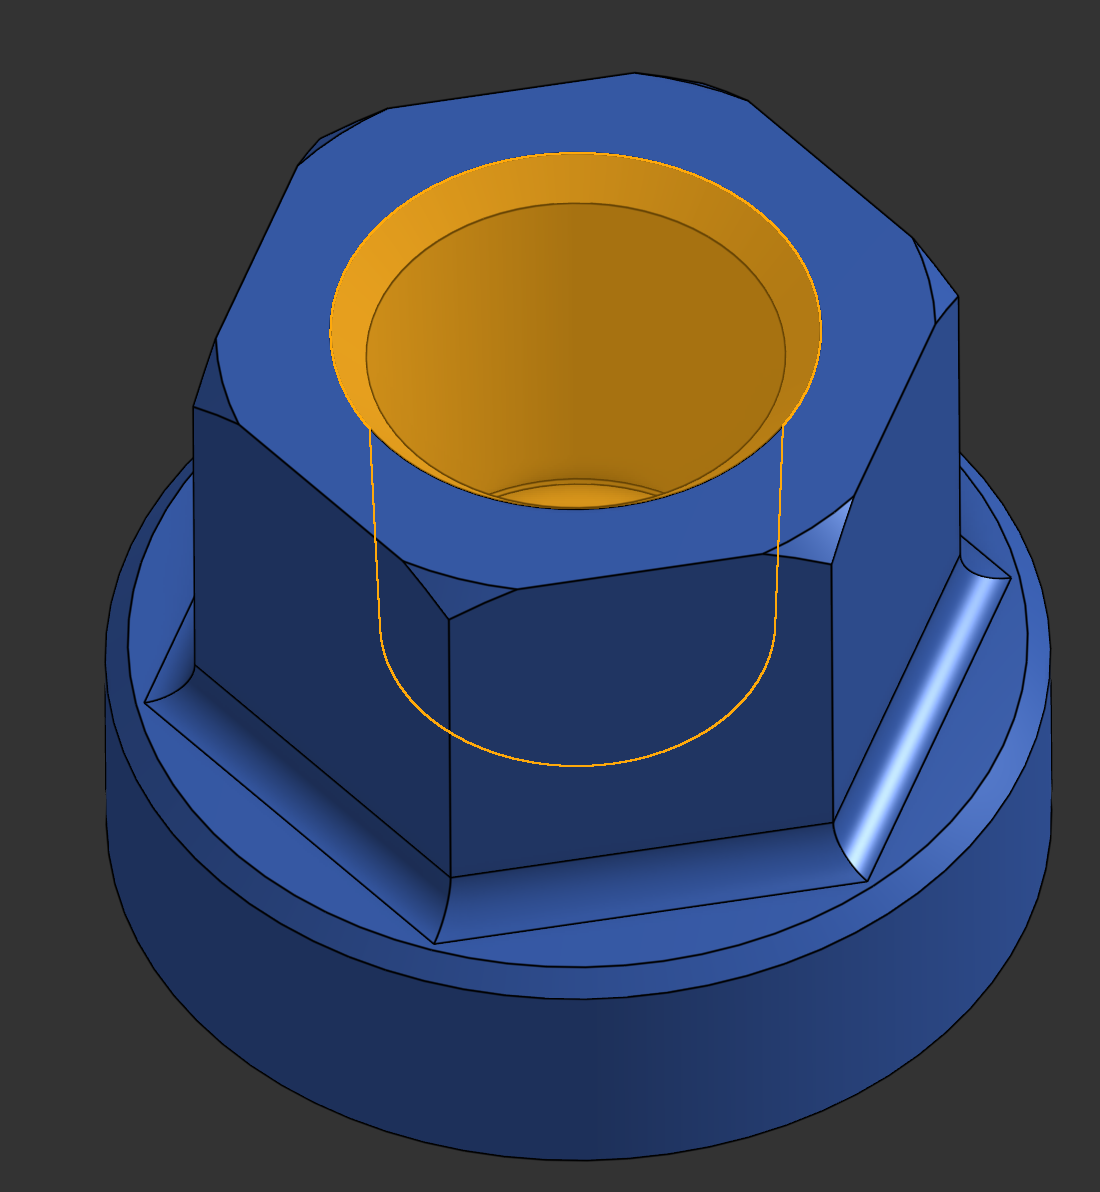 0
0 -
Sorry for the long delay in replying. Try unchecking the "simplified" checkbox first - if that doesn't work, try the tools below
Use these parts for a 3D amalgamate tool - derive into your part, locate it with transform tool, and boolean subtract. This is for female threads, in common NPT sizes, per your example. (use the configuration called a "tap")
This one is for external male threads, in common NPT sizes, (use the configuration called a "die") - used the same way.
As these are generic tools, not every variation can be taken into account, but they should be relatively accurate. Side note - 3d threads will kind of make a mess in drawings, if you have too many.
I don't write feature script, so I can't automate the tool (that's why Evan Reese got involved) - but you can save a lot of time making 3d threads.
Good luck and I hope this helps
0 -
I may as well just share my own production example of this exact problem being solved since people keep asking on the forum, discord, and Reddit for the printable NPT answer. Geometry in this document has been modified from the version that @EvanReese posted. I slimmed down a lot of the options to optimize purely for printed NPT threads and strip out the things that weren't relevant to that specific need.
I noticed your document isn't taking advantage of the Amalgamate capability where this process you describe:
"derive into your part, locate it with transform tool, and boolean subtract."
can actually be handled all in one step, and for multiple locations simultaneously if you wish. In the case of these amalgam tools I've only got them configured for subtractive tools but if someone were so inclined to draw the additive geometry for their own library because that makes more sense to them instead Amalgamate works that way too. It'll even do additive and subtractive operations simultaneously if you wanted to, and with different targets for each - though I would not recommend that for this specific kind of tapered threaded connection.
You can grab the Amalgamate feature itself here in the main forum thread and see some more non-NPT specific Amalgam advice from Evan in these two videos:
0 -
Great feedback - I was hoping that others would take this idea and complete the automation. There seems to be a lot of interest in pipe threads
I was creating a custom library of aircraft fittings and needed a quick way to reproduce threads, multiple times, so I made the tools that are mentioned in the last post. These tools are supposed to recreate threads that are cut with taps & dies. Not really considering 3D printed parts (another area I have no experience)
I will do more research into the Amalgamate feature you described. Cheers.
0