Welcome to the Onshape forum! Ask questions and join in the discussions about everything Onshape.
First time visiting? Here are some places to start:- Looking for a certain topic? Check out the categories filter or use Search (upper right).
- Need support? Ask a question to our Community Support category.
- Please submit support tickets for bugs but you can request improvements in the Product Feedback category.
- Be respectful, on topic and if you see a problem, Flag it.
If you would like to contact our Community Manager personally, feel free to send a private message or an email.
Rib from round edge
 amir_livne
Member Posts: 85 ✭✭
amir_livne
Member Posts: 85 ✭✭
in General
Hi
I'm trying to build a rib from a round edge but I can do it only when the line is not at the edge.
I understand that there is a problem with the round edge.
I'll appreciate if someone can give an idea to handle it
I'm trying to build a rib from a round edge but I can do it only when the line is not at the edge.
I understand that there is a problem with the round edge.
I'll appreciate if someone
can give an idea to handle it 0
Comments
The Onsherpa | Reach peak Onshape productivity
www.theonsherpa.com
This allows you to still use the Rib feature.
I think the OP has an angled rib like on this doc. I am not understanding how Replace or Move Face can be used. Could you please explain more?
Thanks!
What we need is a so-called Profile rib. See this (Creo) video at minute 4:00 (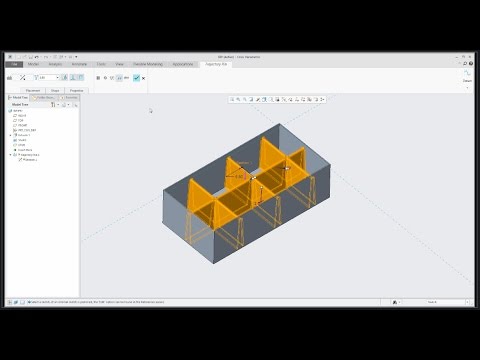 https://www.youtube.com/watch?v=083RQmSn6mY&t=240s).In Onshape I have a workaround for that:
- Make the rib via Revolve.
- Replace the 2 flank faces of the rib with an offset from the sketch segment

https://cad.onshape.com/documents/e51377d5946c9f26f8c4fc95/w/bb28cfc559312e726531793e/e/789f28aede42b11f568b66bd
I like @Henk_de_Vlaam's suggestion to use the sketch for an offset face replace operation on a revolved feature.
The design intent captured by the CAD is part of the story - the other part is what is actually being produced, and are there any additional factors to be considered as a result of making the part into a physical thing.
In this way I also split a complicated sketch in two or more sketches.
For the sketch plane of the (second) sketch that must remain related to the first, I always choose a sketch segment from that first sketch.