Welcome to the Onshape forum! Ask questions and join in the discussions about everything Onshape.
First time visiting? Here are some places to start:- Looking for a certain topic? Check out the categories filter or use Search (upper right).
- Need support? Ask a question to our Community Support category.
- Please submit support tickets for bugs but you can request improvements in the Product Feedback category.
- Be respectful, on topic and if you see a problem, Flag it.
If you would like to contact our Community Manager personally, feel free to send a private message or an email.
Create a 3 dimensional wire mesh
 antonio_freixas
Member Posts: 5 ✭
in Drawings
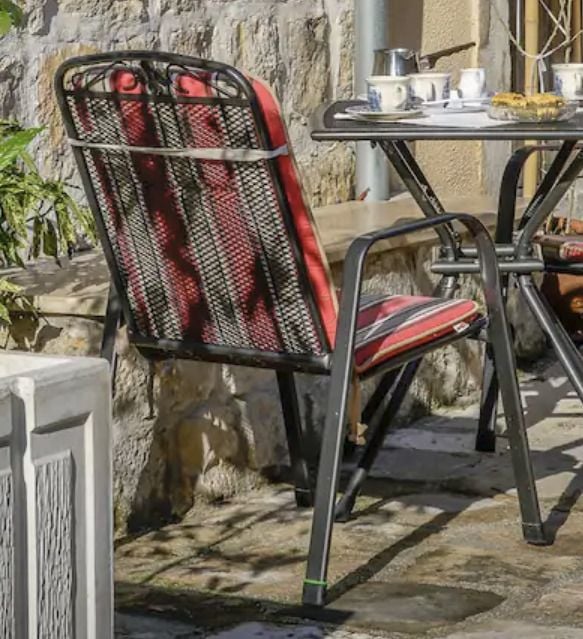
I'm trying to create a model of a patio chair for printing on a resin 3D printer at 1:12 scale.
Here is the reference photo for the chair:

I've modeled most of the chair and I managed to use the Fill and Thicken functions to create the area that needs the mesh.

There
may be multiple ways of accomplishing my goals and I'm open to anything
that might work. I should note that I am mostly a beginner with OnShape
and learning as I go. There could be a spiffy feature available that
makes this task very easy. Or it might be impossible to do and I could
be wasting my time. Obviously, if this shape were flat, I could use a
Linear Pattern along with some Boolean operation to approximate the
look. I realize that's not how these wire meshes are manufactured, but
then, most chairs aren't 3D printed and if they were, they would
probably look different.
0
Answers
https://cad.onshape.com/documents/a64ac0e2a3535b258d00659e/w/776763eac57c1b1bc1e410ab/e/355e01568ec03a68d2fecd79
How to search for custom features and add them to your toolbar:
Learn more about the Gospel of Christ ( Here )
CADSharp - We make custom features and integrated Onshape apps! Learn How to FeatureScript Here 🔴
I think your troubles are coming from your model being created with fill features. The fill feature is adding more complexity to the surface then I think you actually want. This surface complexity is also causing the custom features to fail. By the look of the shape, you should be able to just use a solid extrude