Welcome to the Onshape forum! Ask questions and join in the discussions about everything Onshape.
First time visiting? Here are some places to start:- Looking for a certain topic? Check out the categories filter or use Search (upper right).
- Need support? Ask a question to our Community Support category.
- Please submit support tickets for bugs but you can request improvements in the Product Feedback category.
- Be respectful, on topic and if you see a problem, Flag it.
If you would like to contact our Community Manager personally, feel free to send a private message or an email.
Connecting two configuration inputs
 andy_colborn
Member Posts: 13 PRO
I'm very new to OnShape. I'm coming from SOLIDWORKS and trying to port over a part that was driven by a design table with a vlookup and some other excel functions. Essentially I'm trying to connect two configuration inputs together.
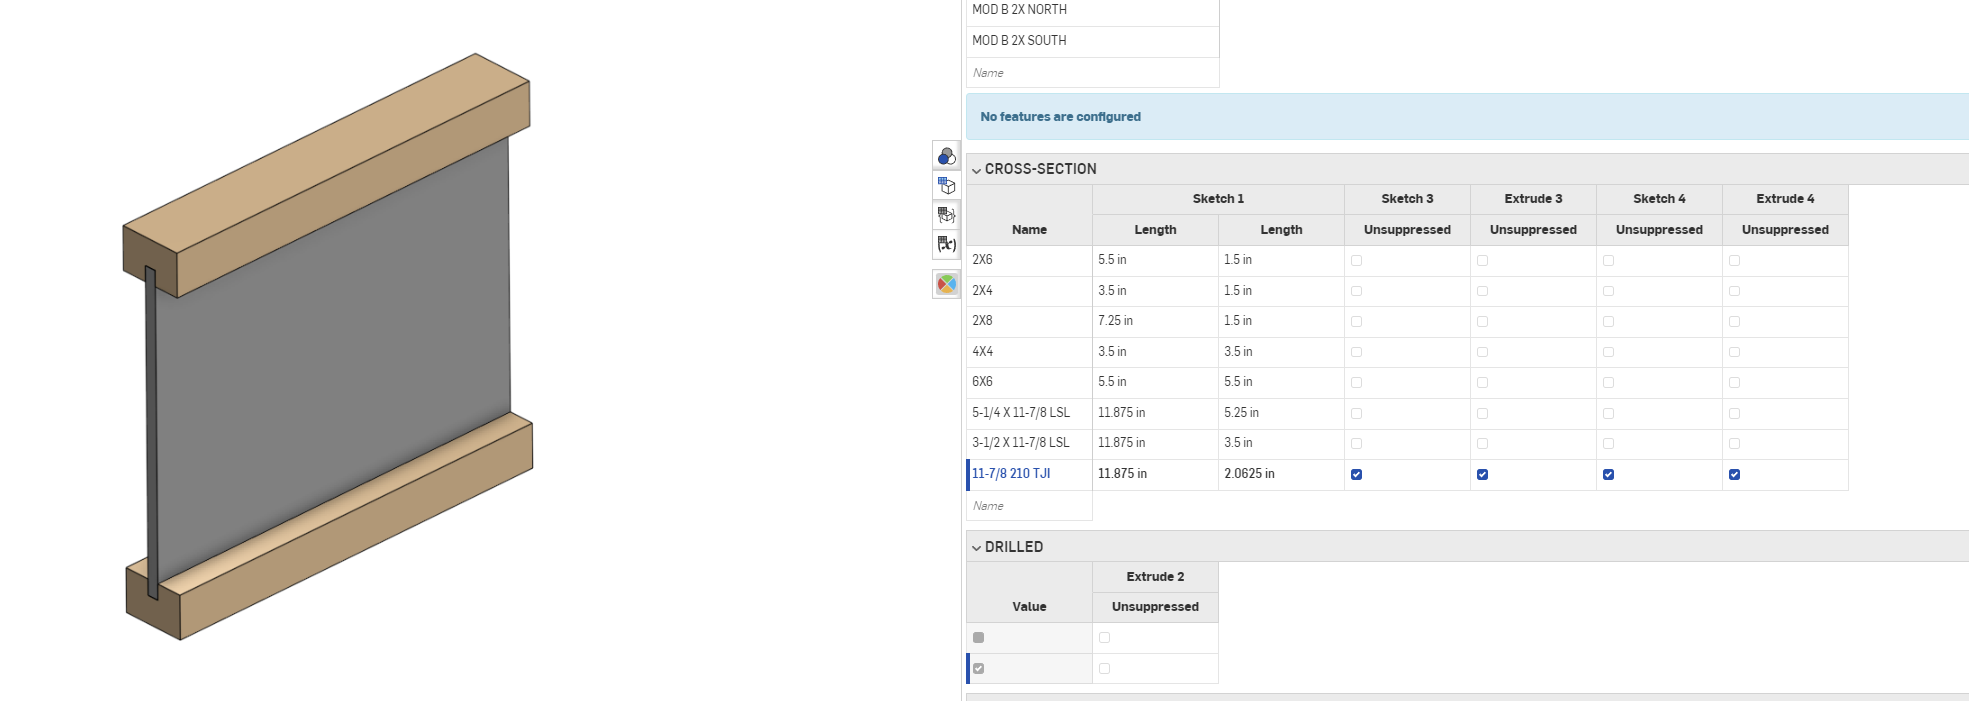
I built a table that has a series of wood profiles that control the geometry of a cross-section. And I have a lot of configurations that take one of a few cross-sections and extrude it to a configuration-specific length.
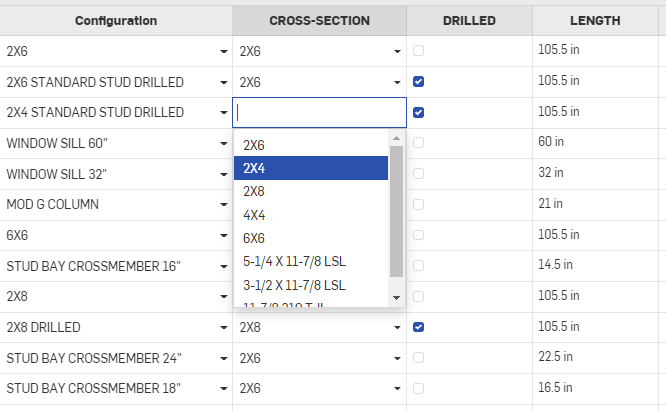
And I've been trying to find a way to map a profile to each configuration. i.e. have my "2X6 STANDARD STUD" pull the info for its 2x6 cross-section from the table below and be configured to 105.5" at the configuration level.


The "Configured Properties" tab to the right looks like it would do exactly what I'm looking for, where I can select a profile for each configuration from a drop-down.


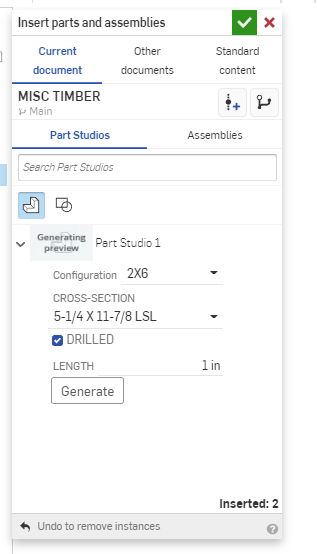
But when I try and insert the part into an assembly, the cross-section is still editable and not locked to a configuration. I feel like I'm missing something super obvious.


I built a table that has a series of wood profiles that control the geometry of a cross-section. And I have a lot of configurations that take one of a few cross-sections and extrude it to a configuration-specific length.
And I've been trying to find a way to map a profile to each configuration. i.e. have my "2X6 STANDARD STUD" pull the info for its 2x6 cross-section from the table below and be configured to 105.5" at the configuration level.


The "Configured Properties" tab to the right looks like it would do exactly what I'm looking for, where I can select a profile for each configuration from a drop-down.


But when I try and insert the part into an assembly, the cross-section is still editable and not locked to a configuration. I feel like I'm missing something super obvious.


0
Answers
Simply click the + Configure assembly feature, then select the part you have imported. This will bring up the options you can select and want to configure.
My assembly example below is set to pick the size to use and which locking type (bottom option)
It looks like you are trying to create a "subset" of the possible combinations of inputs with your "configuration". In Onshape the different configuration inputs are completely independent so the way to do this is to use what I call a "configurable master" and add a "level" to define a subset.
Here's a simple example:
https://cad.onshape.com/documents/46a326b4a97bd99579866e64/w/98aff52f023b0b23139beb54/e/dbad0655ebb1decfe04b996f?configuration=List_CfK1kQIjtoTHRj=Default&renderMode=0&rightPanel=configPanel&uiState=634c61a7b733a51ce9df937e
If you look at the tab above there are 3 "sizes" blocks defined by deriving in and configuring an infinitely configurable (using configuration variables) "master" (first part studio tab). You could basically do the same either in a part studio or assembly by moving your "configuration" table to a higher level and setting the correct "cross section", and "drilled" configurations. You can decide to add the "length" either as a column in your "configuration" table (to only have set lengths to pick from) or keep as a separate input variable to get "infinite" options. Or even have a separate table of standard lengths instead of the variable.
Note that the "configured properties" tab is only for setting metadata (description, part numbers, etc...) for combinations of parameters and doesn't affect the available configurations.
One thing to be aware off is that the inputs are completely independent and there is no way to exclude certain combinations so if you have a length table with 3 options and 2 "profiles (eg 2x4 and 2x6), you cannot make it so that only 2 lengths are available for one of the profiles if that makes sense...
I also discovered the framing tool and have a much more elegant way now of building framing but both of these answers have been super helpful in handling a lot of related conditions.