Welcome to the Onshape forum! Ask questions and join in the discussions about everything Onshape.
First time visiting? Here are some places to start:- Looking for a certain topic? Check out the categories filter or use Search (upper right).
- Need support? Ask a question to our Community Support category.
- Please submit support tickets for bugs but you can request improvements in the Product Feedback category.
- Be respectful, on topic and if you see a problem, Flag it.
If you would like to contact our Community Manager personally, feel free to send a private message or an email.
Looking for feedback on large sheet metal part studios
 jonathan_b
Member Posts: 10 PRO
I designed and built this camper shell [warning, its slow] using Onshape's sheet metal tools -- and while I was writing this article about it I re-lived a lot of the challenges I had with modeling regeneration.
This design is done now, and built. So I don't have any immediate need for it to be improved. But I do want to know how I should have done it from the onset to avoid the ~205s document regeneration.
This design is done now, and built. So I don't have any immediate need for it to be improved. But I do want to know how I should have done it from the onset to avoid the ~205s document regeneration.
A brief description of the problem: ~36 panels connected together with flanges and rivet patterns. Each panel and sheetmetal model is thickened off of a 'reference shell' that I split into sizable panels. I used sketches to define the flanges, and the custom feature 'shaped flange' to make them.
I just stubbornly kept it all in one part studio, because it felt like it was all related. In retrospect this clearly drove the performance into the ground. How should I have structured this design? An Assembly with in-context modeling? Part studios for each halve/quarters? I really liked that all of the important relations and sketches were in one part studio, but is there a better way I'm missing?
I think I managed to get this across the finish line by lots of suppression. Basically working one panel at a time, and then suppressing all of its features before moving on to the next.
To reiterate, I don't necessarily need this model fixed -- just looking for feedback. Thanks!
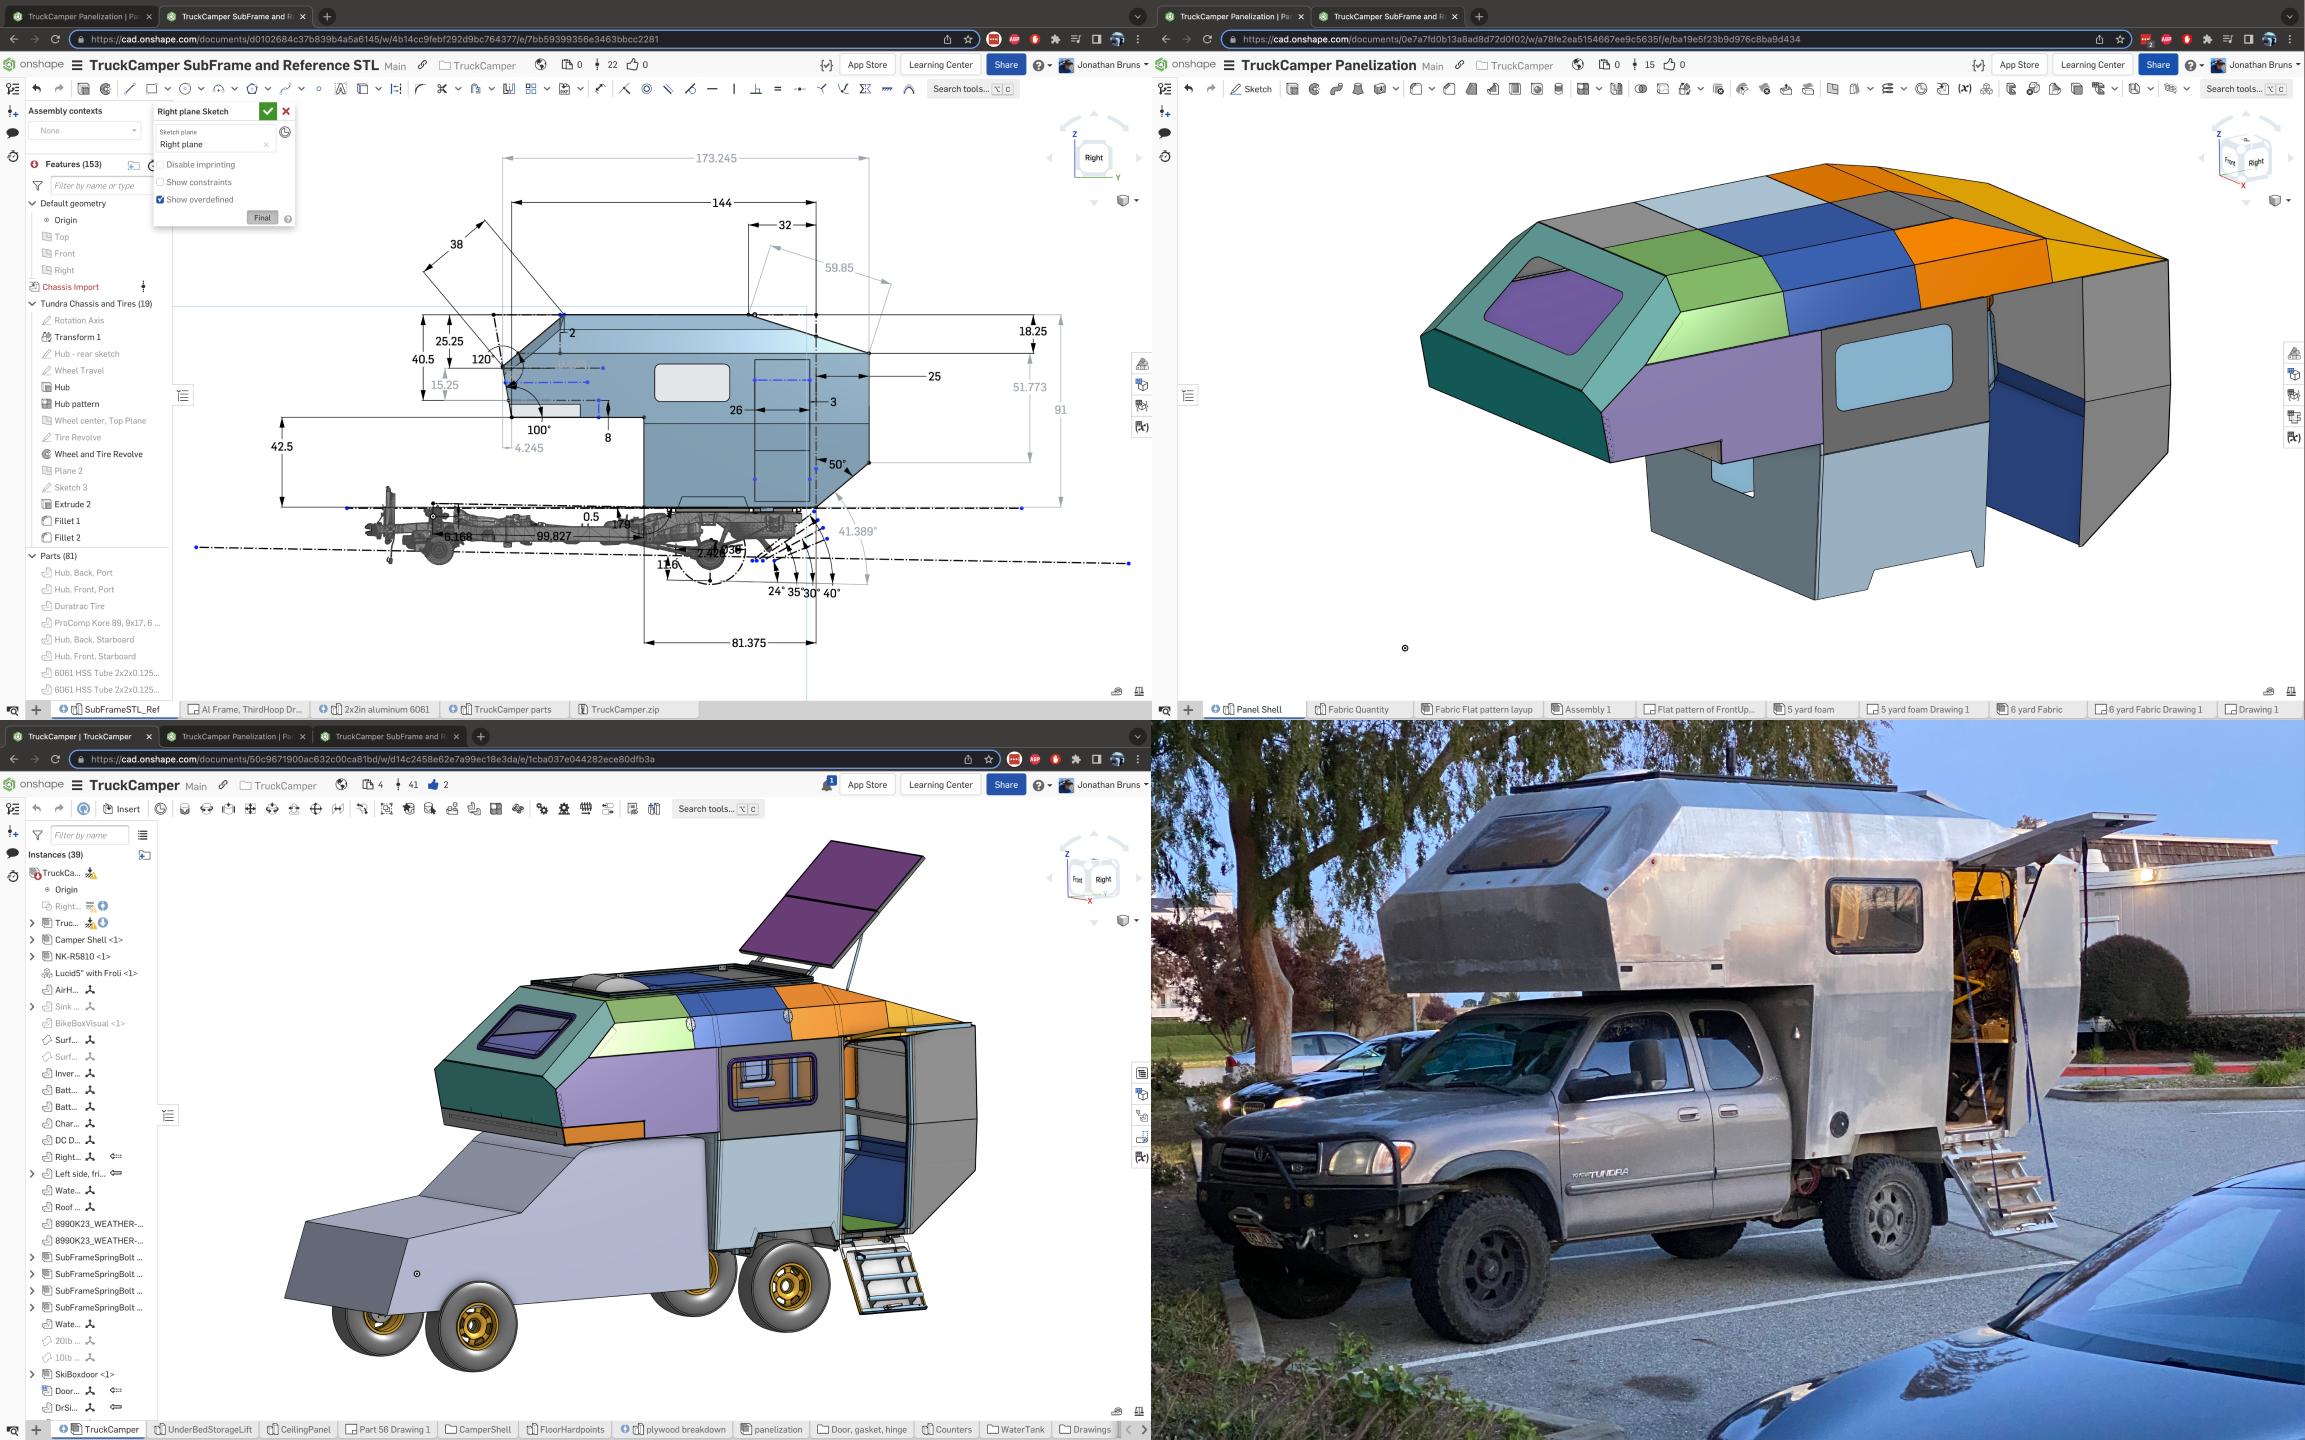
Picture of three model stages, and the final result:

Tagged:
2
Comments
The downside would be extra steps to get the holes to line up, probably the easiest would have been to create reference sketches on the one part and derive that back to the "mating" part to locate the holes, or do the holes at the end using assembly context.
It seems like the bulk of of the regen time is the holes so if you had a configuration checkbox for all the hole features and you suppressed them as you went it might be "fast enough" the way you did it.
The Onsherpa | Reach peak Onshape productivity
www.theonsherpa.com
1) "finish sheetmetal" as soon as you can. Put the holes in after. This only will work if you are sending vendors step files of the 3d shape, as opposed to sending a dxf of the flat pattern to a laser cut vendor.
2) I was adding a lot of air flow hexes (like on a PC case), and they were bringing my model to a halt. I even reached the timeout limit of I think it was 10min. The best way I found to improve the regen time was to extrude the holes/hexes as a new part, pattern it, and union it to a dummy part (for the sole purpose of making all the pattered pieces one body). Not to the main sheetmetal. Then, use that single dummy body to union remove from the sheetmetal. That cut my regen time at least in half. It was a tip from a member here months back, I forgot whom.
The unfortunate thing about this whole situation is you don't know when the studio will slot down. And when it finally does, its too late at that point to use a different strategy of derived parts or in-context editing.