Welcome to the Onshape forum! Ask questions and join in the discussions about everything Onshape.
First time visiting? Here are some places to start:- Looking for a certain topic? Check out the categories filter or use Search (upper right).
- Need support? Ask a question to our Community Support category.
- Please submit support tickets for bugs but you can request improvements in the Product Feedback category.
- Be respectful, on topic and if you see a problem, Flag it.
If you would like to contact our Community Manager personally, feel free to send a private message or an email.
Laying parts flat for 3D printing
 m1chol_kozioł
Member Posts: 4 ✭
Hi,
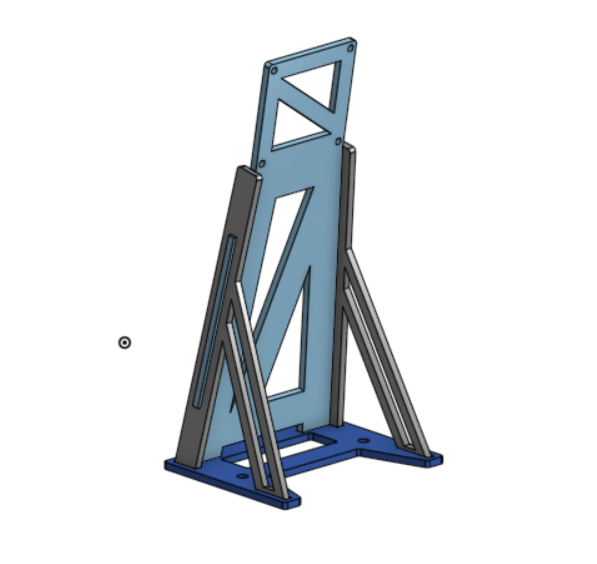
I am a beginner in CAD and Onshape. This is my first time designing a model with angled parts. I would like to arrange all the parts in preparation for 3D printing. My question is: what is the best approach to laying out these parts on one plane? Do I have to do it manually using the transform tool, or is there an easier method?
https://cad.onshape.com/documents/86c579047f8428d386a1932d/w/2bac08d5830ab26af6bbdce1/e/df9d33021d4a4726c0c99d75?renderMode=0&uiState=659084f2c2b9ca68301ad461

0
Best Answers
-
 robert_scott_jr_
Member Posts: 741 ✭✭✭
I've have used two slicers for 3d printing. Both have options for managing print orientation; one of which is to select a face to place on the build plate. Perhaps I am misunderstanding your question because I see in your document you already have the parts laying flat. - Scotty
1 -
 martin_kopplow
Member Posts: 1,189 PRO
You can always use a planar mate to position the parts lower face on the Z=0 plane in an assembly and still be able push them around to find the best nesting (When in doubt, model your printbed first).
0
Answers
I manually layed the parts and then exported them to stl, but small errors in placement lead to weird slicing artifacts. What worked was using tool in slicer to lay object on its face - as you mentioned. Still I imagine this process for more complex projects would be tedious.
Problem solved!
For nesting on a CNC router to get the most out of a sheet of plywood, maybe it makes sense to do it in CAD. For 3D printing, no way, I'd rather use that time watching youtube videos:)
Exactly, use the right tools for the right jobs, slicers are phenomenal at arranging the objects that are to be printed, for a good reason.