Welcome to the Onshape forum! Ask questions and join in the discussions about everything Onshape.
First time visiting? Here are some places to start:- Looking for a certain topic? Check out the categories filter or use Search (upper right).
- Need support? Ask a question to our Community Support category.
- Please submit support tickets for bugs but you can request improvements in the Product Feedback category.
- Be respectful, on topic and if you see a problem, Flag it.
If you would like to contact our Community Manager personally, feel free to send a private message or an email.
How to copy geometry from one part to another
 Arkelic
Member Posts: 9 ✭
Hi everyone,
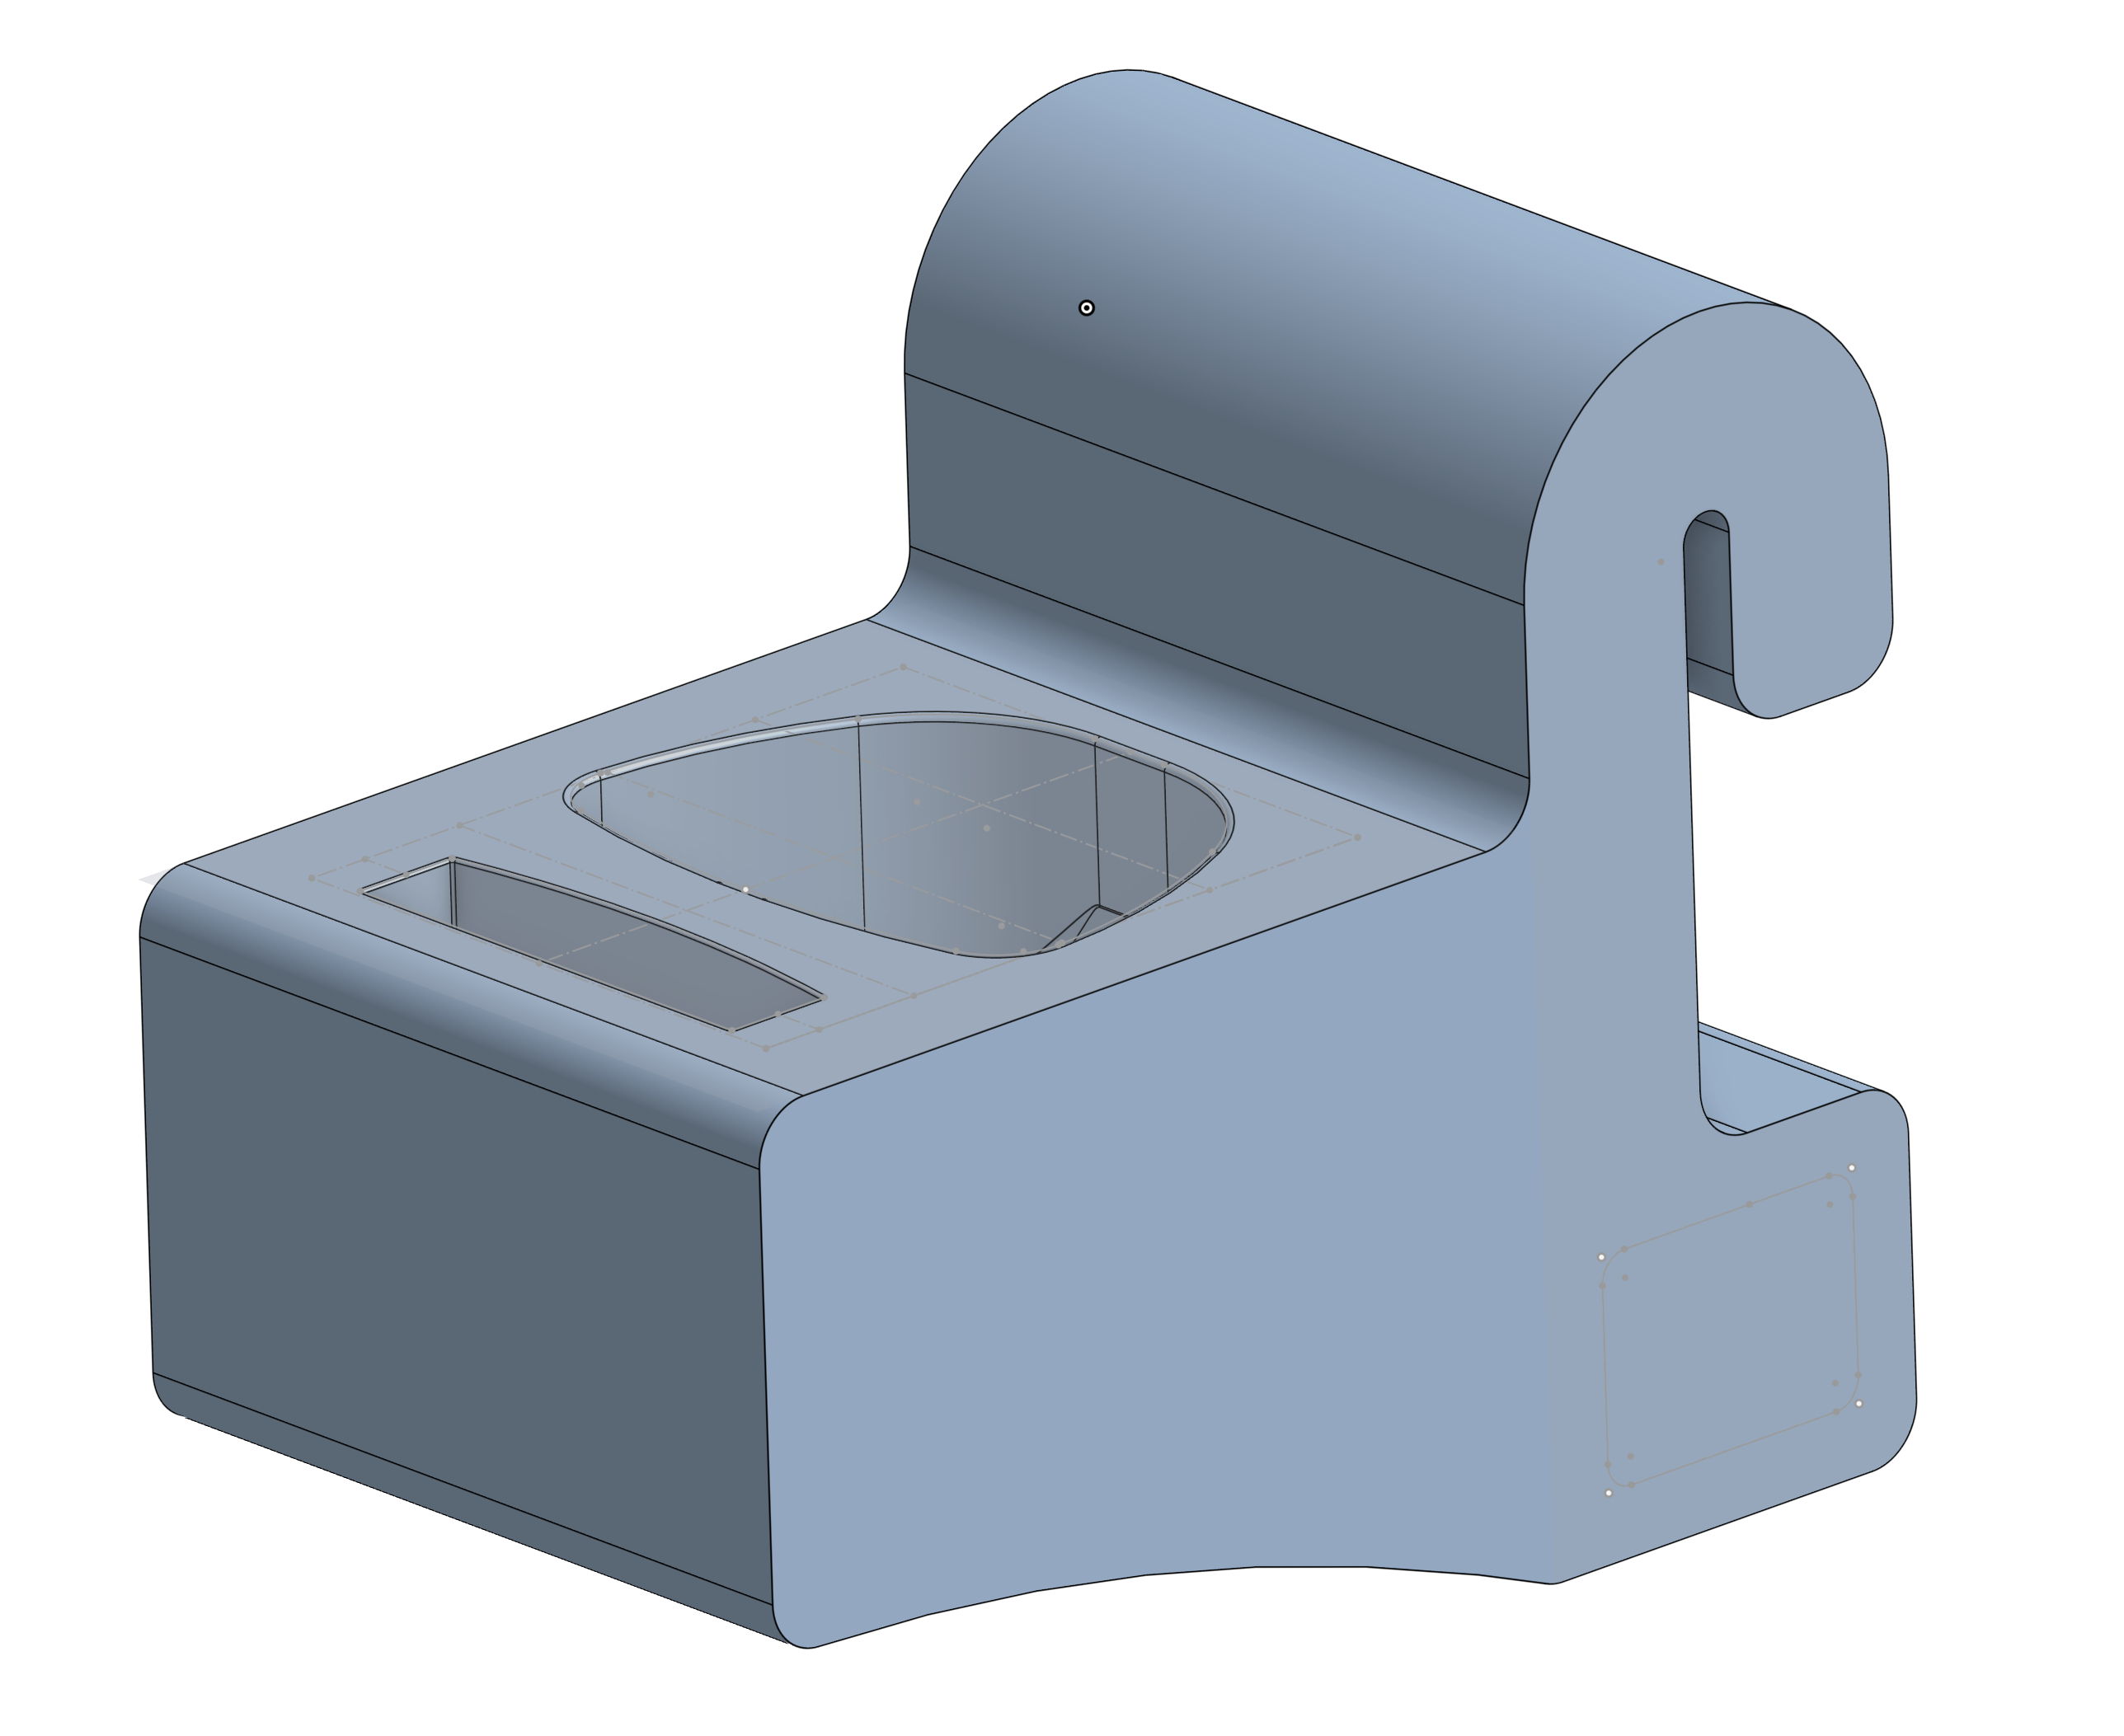
I am just getting started with onshape and CAD in general and looking for some guidance on how to perform the following actions. Here is some context for what I am trying to achieve. I am making a tv remote shelf for storing 2 remote controls (Apple TV remote and a LG TV remote) and have modeled the shelf itself. Below is a picture of the shelf I am making to get an idea of what I am trying to achieve.

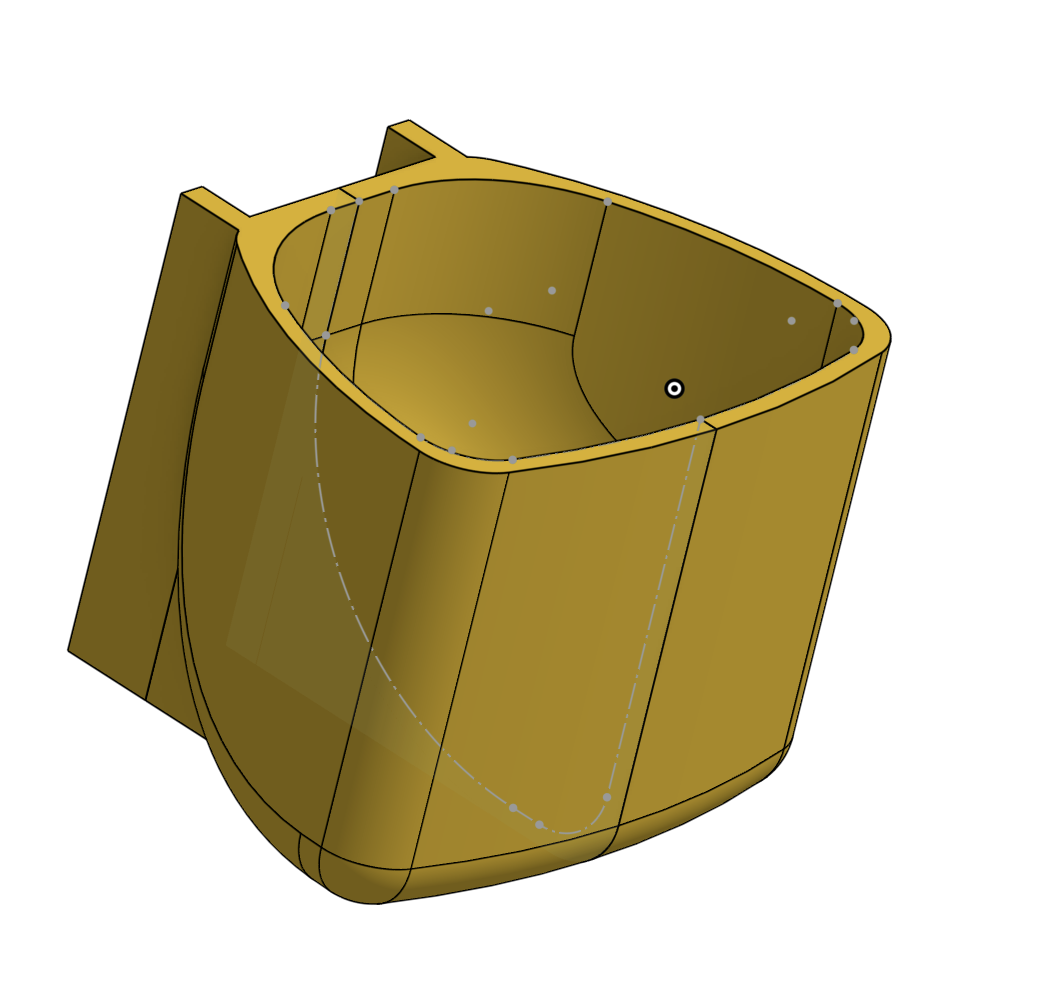
Since I am just getting started with CAD, I do not know the best way to model and measure the LG TV remote but have found the step file for a LG TV remote holder that looks like this:

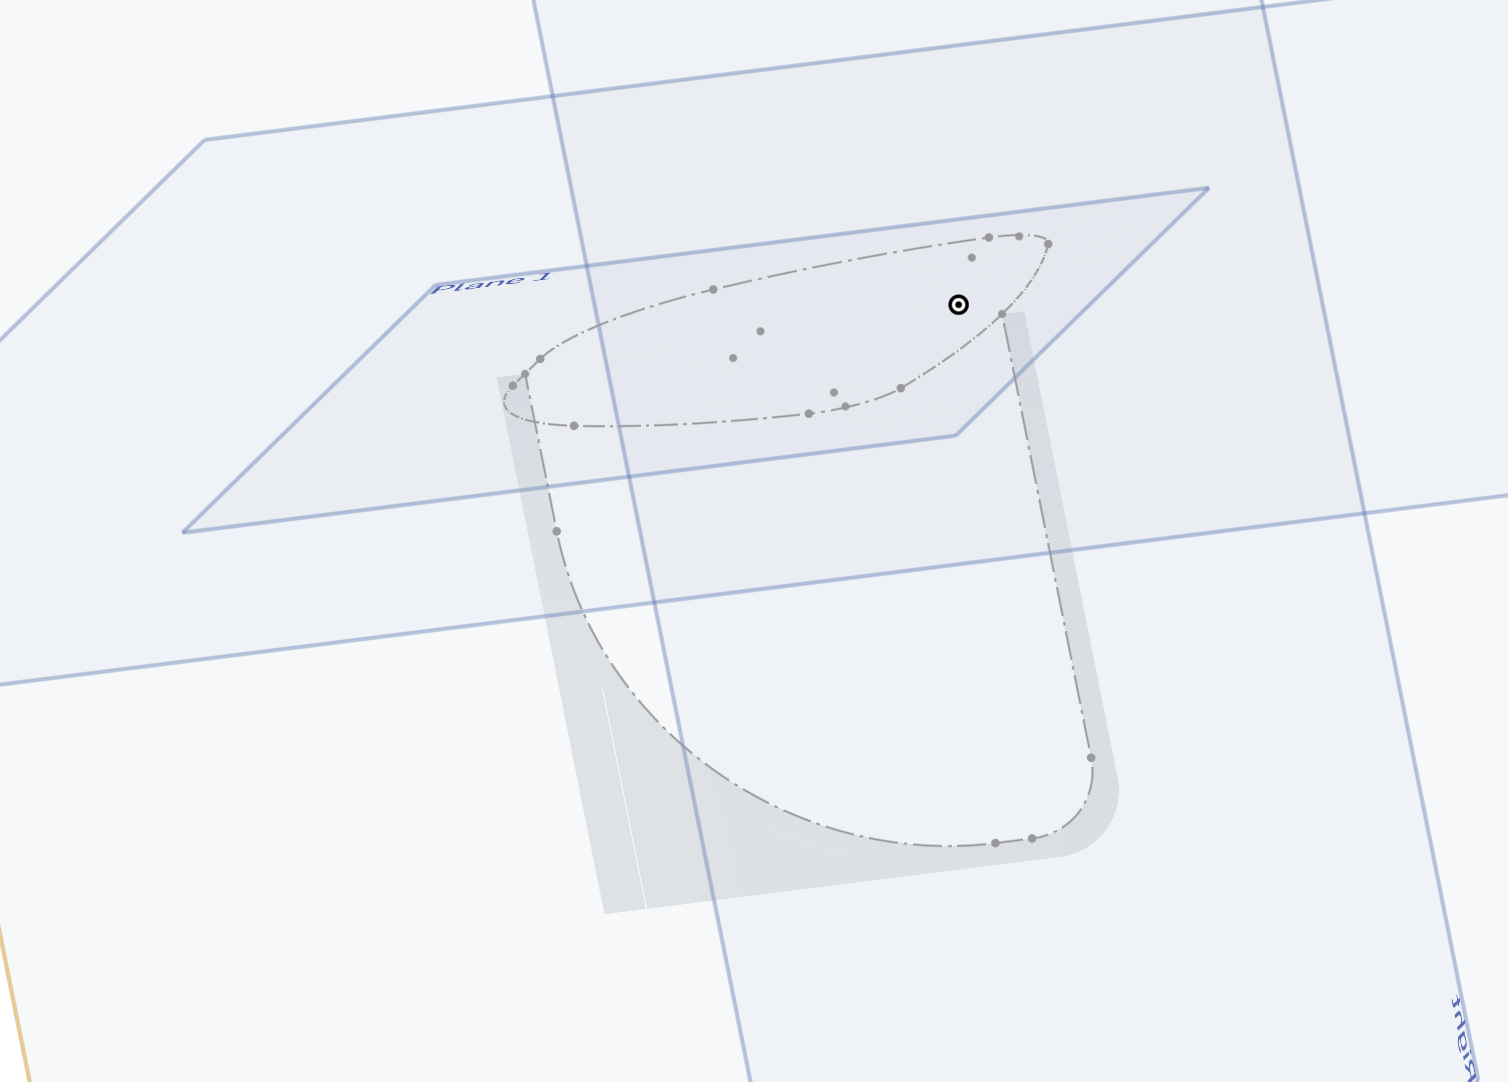
I've tried splitting the object down the middle and the center to get a 2d sketch from the top and from the side to hopefully combine them into the 3d shape I am looking for

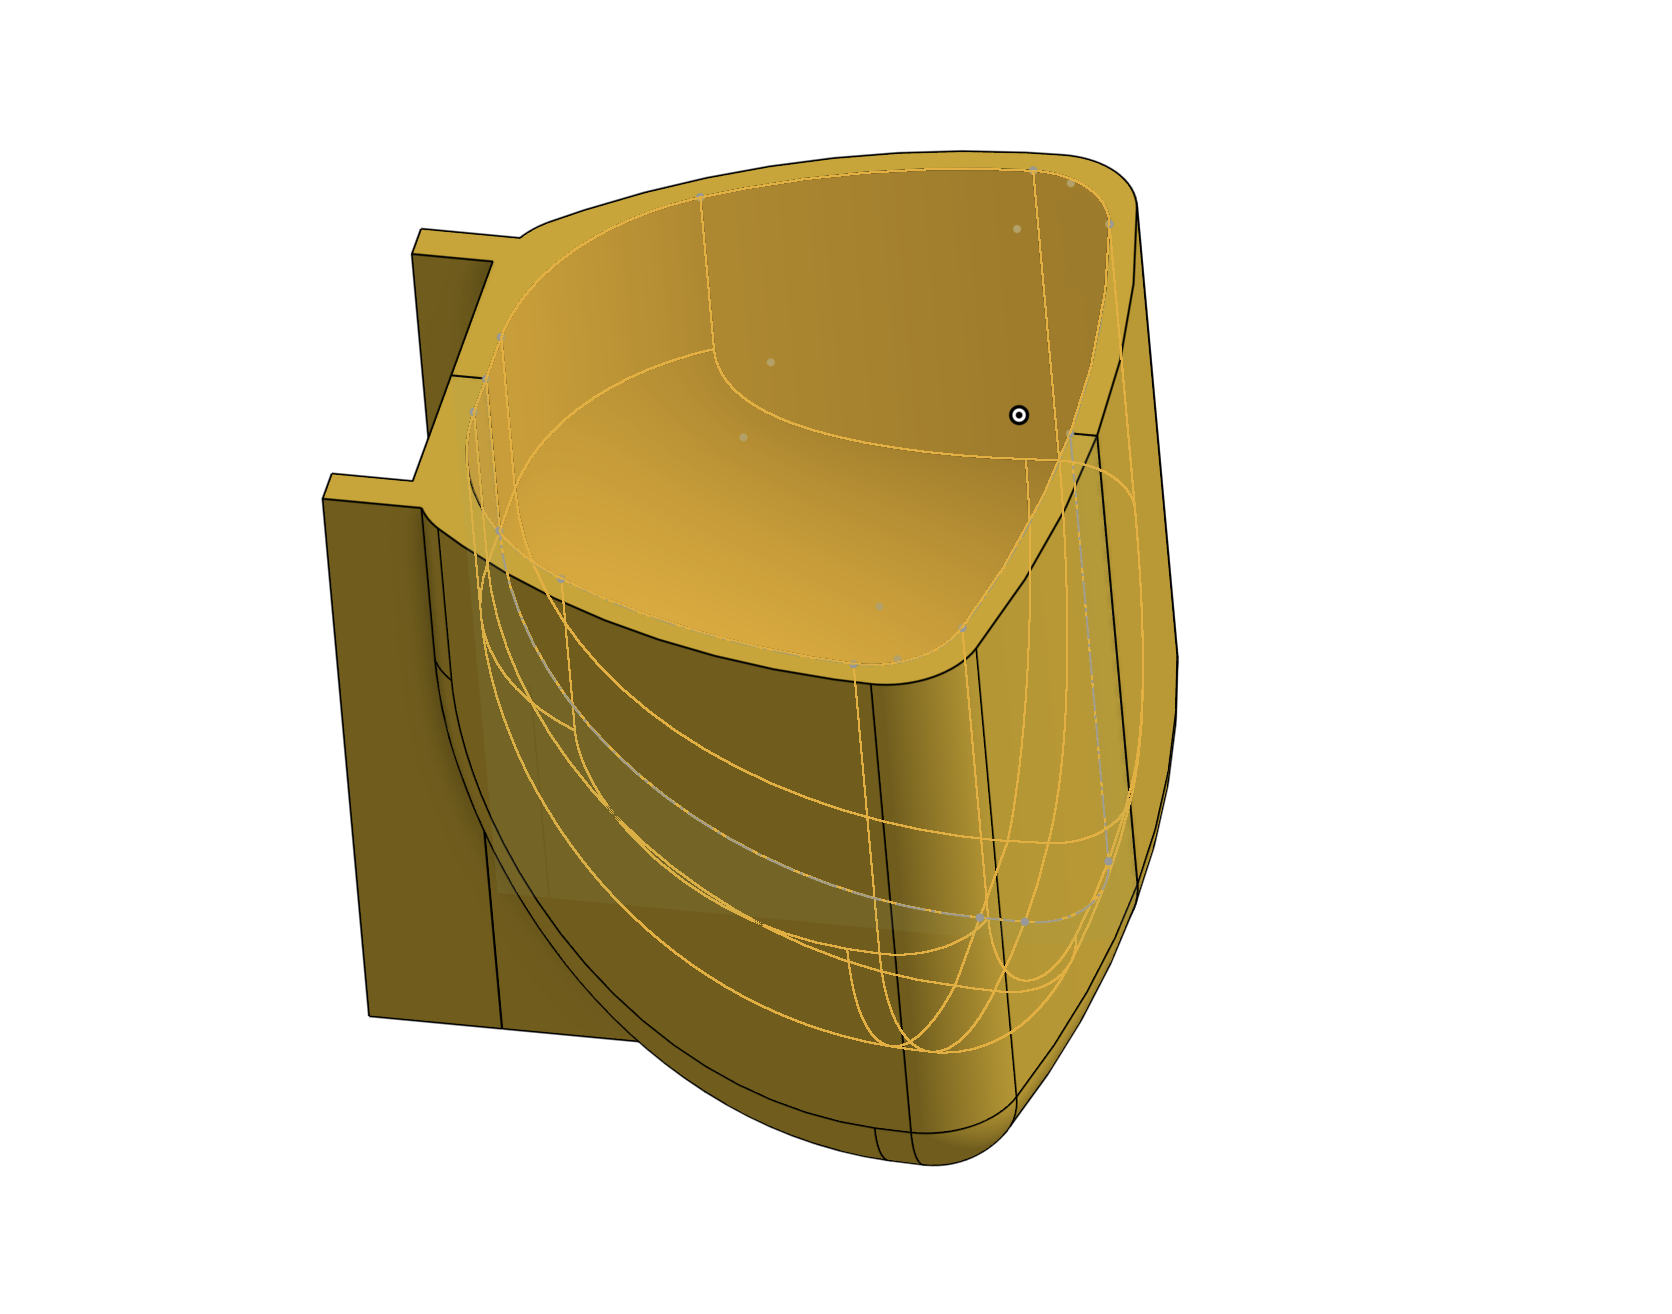
But that is as far as my skills take me. Ideally what I'd like to do is copy all of the geometry that makes up the cavity of the control and paste it into the shelf to make the hole

0
Best Answers
-
 eric_pesty
Member, pcbaevp Posts: 2,554 PRO
I would do an offset surface (with an offset of 0) in the part studio with the imported model and then use the "Derive" feature to bring it into your shelf part studio.0
 -
 eric_pesty
Member, pcbaevp Posts: 2,554 PRO
You should be able to just use a "split" feature using the surface as the tool. You just have to make sure the surface is at least up to top of the solid.0
Answers