Welcome to the Onshape forum! Ask questions and join in the discussions about everything Onshape.
First time visiting? Here are some places to start:- Looking for a certain topic? Check out the categories filter or use Search (upper right).
- Need support? Ask a question to our Community Support category.
- Please submit support tickets for bugs but you can request improvements in the Product Feedback category.
- Be respectful, on topic and if you see a problem, Flag it.
If you would like to contact our Community Manager personally, feel free to send a private message or an email.
Exporting assemblies as multiple .stl and retaining assembly origin
 pete_k
Member Posts: 3 ✭✭
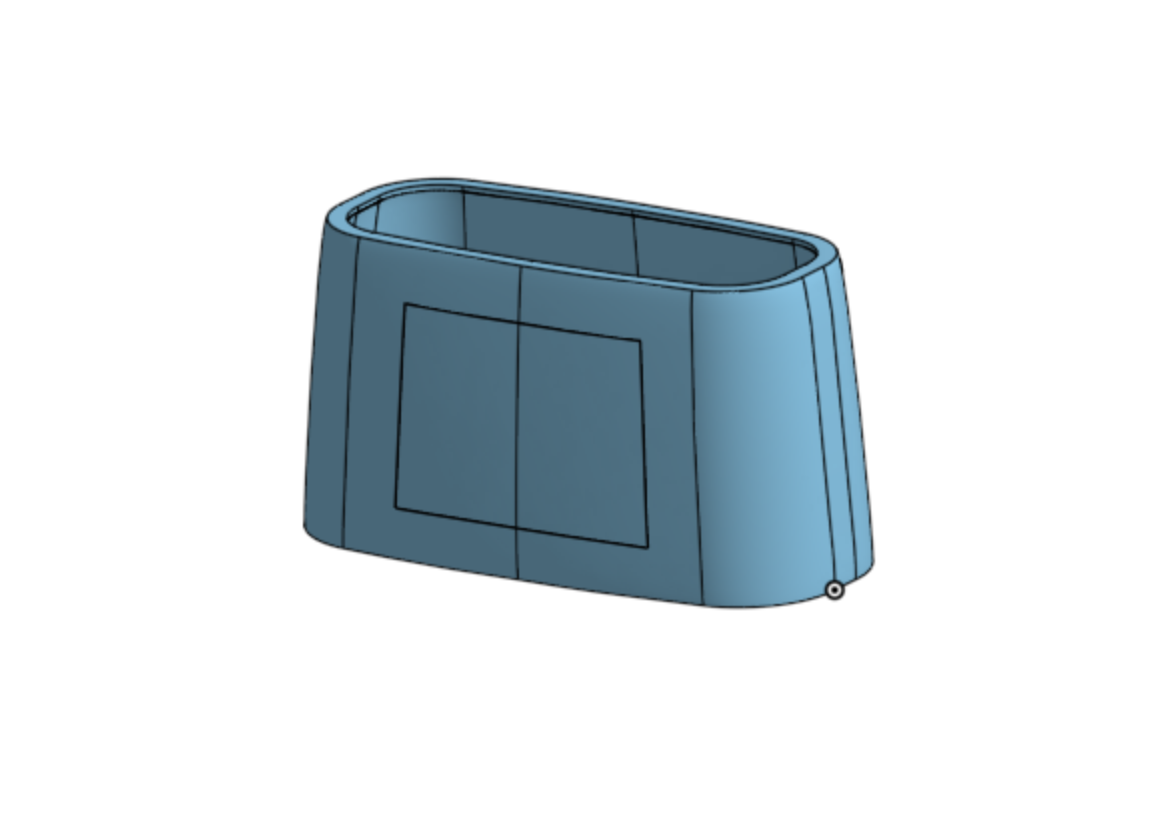
Drawing ref:
https://cad.onshape.com/documents/f312b2b905821d889338dd60/w/203be7d7a7a8aaa74b6d2cd1/e/430524f182b277f30ef72c3c
Hi,
I've been trying to export a model for 3d printing, it consists of two parts for dual density extruding. In order to line up the model in the slicer software (Simplify3D) I need to export the assembly of the two parts with a common origin so that Simplify3d can place it correctly in the modelspace (Simplify3D's transfrom tools are very basic, so it needs to drop in perfectly, first go ideally).
When I export the assembly in OS and use 'export unique parts as individual files' option the parts are exported with an origin that looks something like the geometric centre of the part (or the original part origin?), and not the origin defined in the assembly - so no good for multi extruder 3d printing.
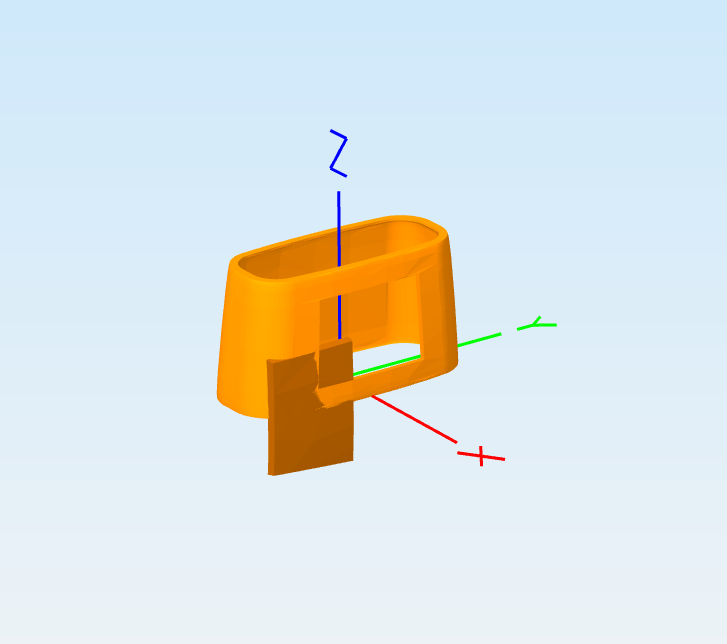
Assembly in OS with origin:
Part imported into Simplify 3d - origins all wonky.

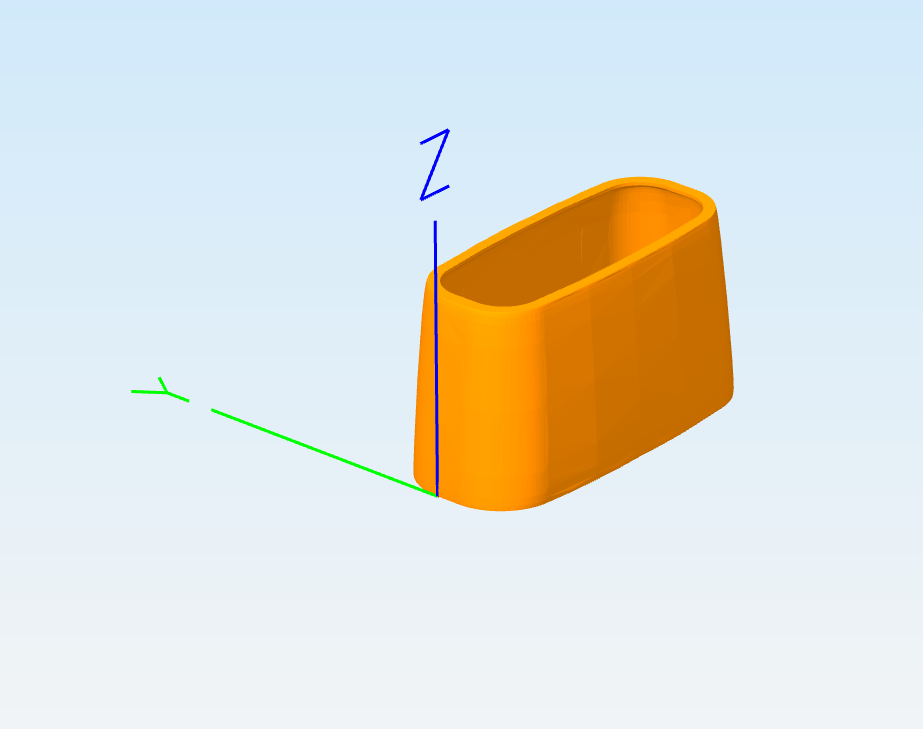
When I export the assembly with the 'export unique parts as individual files' unchecked, the part renders in Simplify3D with the correct origin. Which is weird, but still not good for 3d printing as i need two distinct parts!
Part exported as one .stl - origin is correct to the assembly in OS.

What am I doing wrong here? I assume there is an option to export using the assembly origin or something that I haven't found for the multiple part export... Done a lot of trawling forums and tutorials this evening but none the wiser.
I can replicate the problem with my old slicing software RepG - so i think the .stls are coming out of the export process with the missing origin data somehow.
thanks
Pete
https://cad.onshape.com/documents/f312b2b905821d889338dd60/w/203be7d7a7a8aaa74b6d2cd1/e/430524f182b277f30ef72c3c
Hi,
I've been trying to export a model for 3d printing, it consists of two parts for dual density extruding. In order to line up the model in the slicer software (Simplify3D) I need to export the assembly of the two parts with a common origin so that Simplify3d can place it correctly in the modelspace (Simplify3D's transfrom tools are very basic, so it needs to drop in perfectly, first go ideally).
When I export the assembly in OS and use 'export unique parts as individual files' option the parts are exported with an origin that looks something like the geometric centre of the part (or the original part origin?), and not the origin defined in the assembly - so no good for multi extruder 3d printing.
Assembly in OS with origin:

Part imported into Simplify 3d - origins all wonky.

When I export the assembly with the 'export unique parts as individual files' unchecked, the part renders in Simplify3D with the correct origin. Which is weird, but still not good for 3d printing as i need two distinct parts!
Part exported as one .stl - origin is correct to the assembly in OS.

What am I doing wrong here? I assume there is an option to export using the assembly origin or something that I haven't found for the multiple part export... Done a lot of trawling forums and tutorials this evening but none the wiser.
I can replicate the problem with my old slicing software RepG - so i think the .stls are coming out of the export process with the missing origin data somehow.
thanks
Pete
0
Answers
Cheers,
Owen S.
HWM-Water Ltd
What I'm doing is exporting the assembly (after using OS to mate the parts together correctly to get 100% alignment) - i.e. right click on the assembly tab and export - and not the individual parts. So the assembly (and therefor I assumed the parts as well) essentially get a new origin as you are rotating/placing the parts into a new model space.
When I export the assembly as a single .stl then the assembly origin is correct, however if i export the assembly as individual .stl files (as required for dual extrusion) the origins appear to revert back to the part origins, and not the origin of the assembly.
The mega clunky workaround I discovered today is to align the parts in the assembly, then simply delete from the assembly one part, export it, then undo the delete, repeat the process for the other part, then you end up with two parts, with the same origin. Horribly clunky - although it works, and it demonstrates that the assembly origin is applied only when there is a single part being exported, and not when more than one part is exported which is a bit weird (at least for my use case).
Not sure if this is designed-in behaviour or not - there may be a totally valid reason for not wanting this behaviour!
Thanks for your help though folks - let me know if I'm still not getting it and I'm doing something odd. In my case its usually a P.I.C.N.I.C problem...
I also have this problem and really need some fix to it. I cannot do the clunky fix for this as my assemble is to complicated.
I tested the STL files in Blender and these are the result, one in the left is "One file for all parts" and the right one is "File for each part".
As you can see its just a mesh and no use for this.
I know this works in Inventor.
First part group (2 wedges and pair of brackets)
Second part group (block and other pair of brackets)
Export each group from OnShape as a single file. Import both files to the slicer. Centering each group will align them to the same origin. This is working for me with a dual extruder printer (FlashForge Creator Pro Max) using FlashPrint slicer.
@eben_demong If you need a common origin and are exporting STLs as a final step, consider making a part studio in context, using transform with the copy-in-place option for all of the parts, then exporting STLs of the copied parts in the in-context studio. That way, all of the parts should have a common origin at the part studio origin. However, this may not work if your slicer is trying to be smart and comes up with its own origins or does something else (I have not tried this method yet--just something I came up with on the fly)
@alnis is my personal account. @alnis_ptc is my official PTC account.
@alnis is my personal account. @alnis_ptc is my official PTC account.
Great solution!