Welcome to the Onshape forum! Ask questions and join in the discussions about everything Onshape.
First time visiting? Here are some places to start:- Looking for a certain topic? Check out the categories filter or use Search (upper right).
- Need support? Ask a question to our Community Support category.
- Please submit support tickets for bugs but you can request improvements in the Product Feedback category.
- Be respectful, on topic and if you see a problem, Flag it.
If you would like to contact our Community Manager personally, feel free to send a private message or an email.
carving out a section of a large project to fit in the printer
 david_orlando
Member Posts: 15 ✭
david_orlando
Member Posts: 15 ✭
in Drawings
I went ahead and started designing a socket tray. While it’s not finished yet, I’d like to begin printing sections to test if the design will work. Since the printer I’m using isn’t large enough for the entire tray, I’ll need to break it into multiple parts. I'm unsure whether dowels or dovetails would be the best option for reattaching the sections after printing.
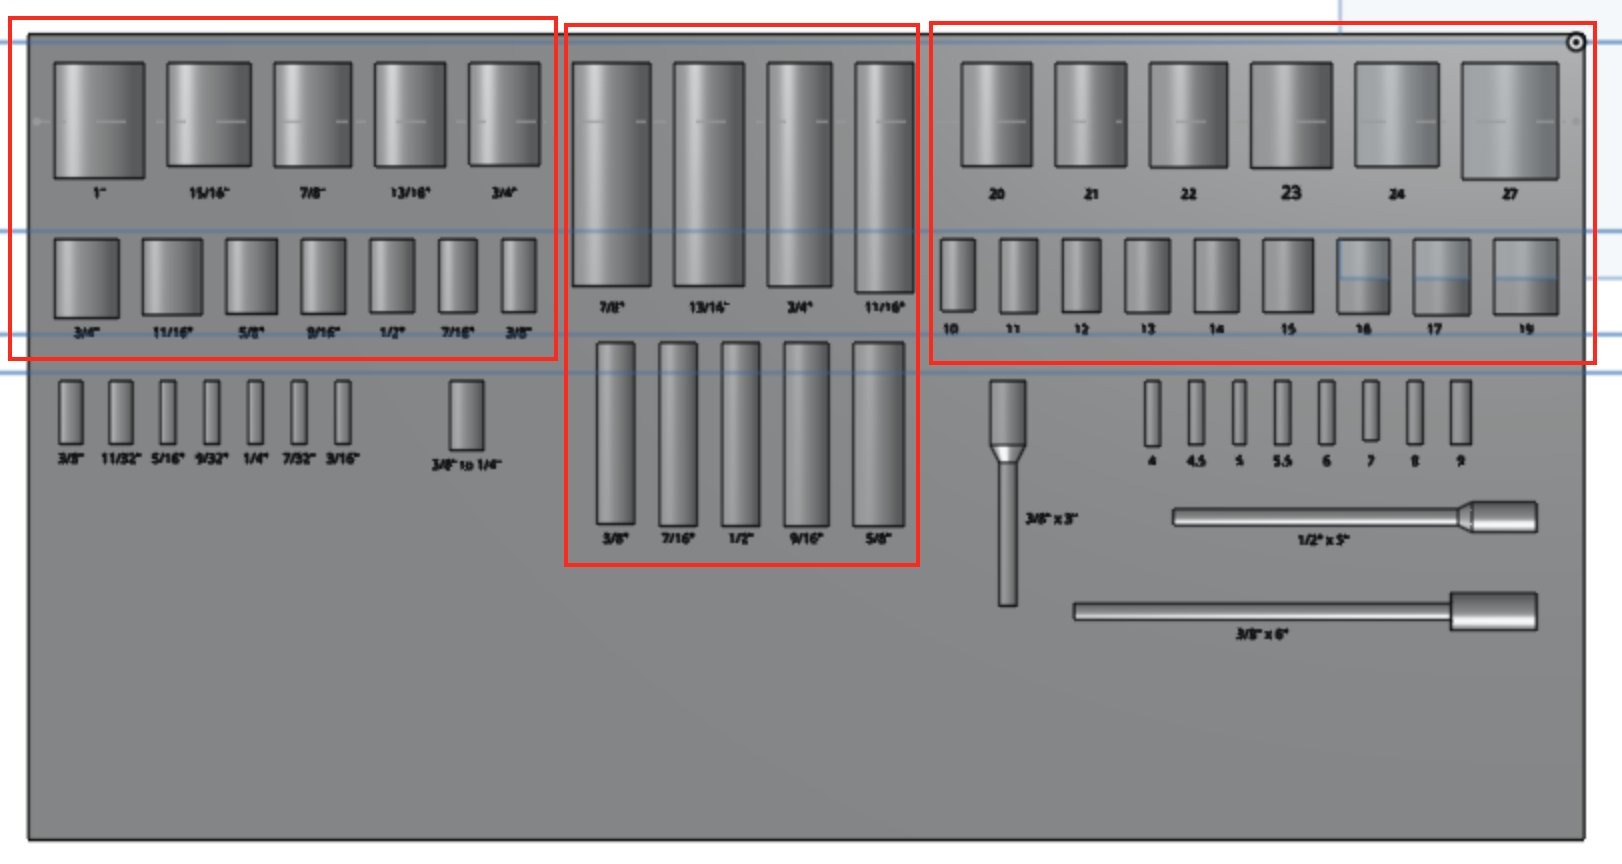
So my question is: how do I carve out sections of a larger project?
Thanks
0
Comments
There are a ton of ways to do it depending on what you're after. Get creative what 3D printing opens up too, quirks and all. I've had good luck designing some joints like this which are very slightly tapered. That way when they press fit in a clamp, the layer lines actually lock them together and no glue is needed. This particular design also looks really clean on the 3 visible sides if you care about that.
I took a quick look at your model, and have some thoughts.
It would be cool to see some custom features to automate this kind of thing.
The Onsherpa | Reach peak Onshape productivity
www.theonsherpa.com
Feel, uh… feel free to make a custom feature that generates these joints. I really like the look.
Maybe when I need one for something, but I've got plenty else going on at the moment :D
The Onsherpa | Reach peak Onshape productivity
www.theonsherpa.com