Welcome to the Onshape forum! Ask questions and join in the discussions about everything Onshape.
First time visiting? Here are some places to start:- Looking for a certain topic? Check out the categories filter or use Search (upper right).
- Need support? Ask a question to our Community Support category.
- Please submit support tickets for bugs but you can request improvements in the Product Feedback category.
- Be respectful, on topic and if you see a problem, Flag it.
If you would like to contact our Community Manager personally, feel free to send a private message or an email.
How to make sectorial cut
 marko_leino
Member Posts: 4 ✭
marko_leino
Member Posts: 4 ✭
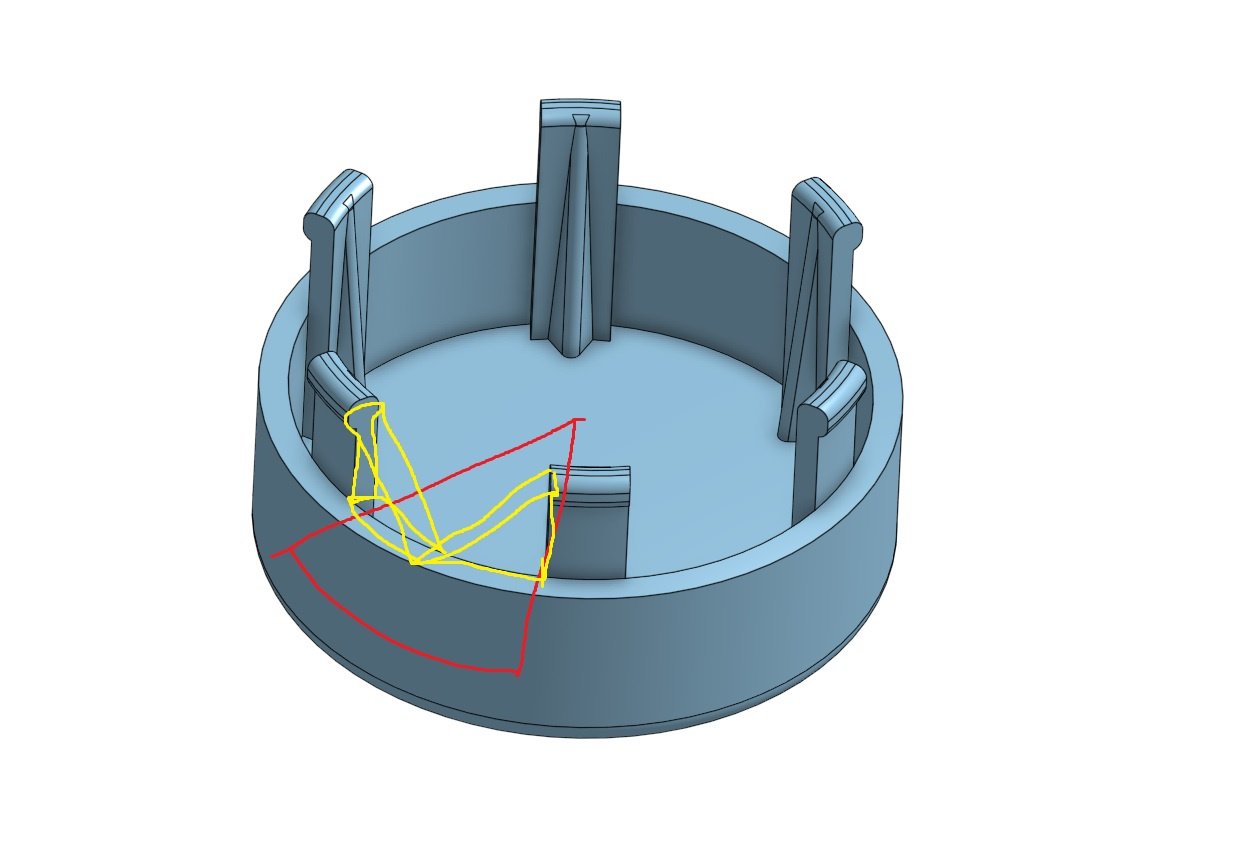
I would like to add reinforcements to the clips, but I can't figure out how to do it. I have tried adding planes, helix and sweep after that. But I would like the cut to be straight in the direction of the origin, i.e. an addition to the yellow area and the direction of the red area.
https://cad.onshape.com/documents/e8a05f26e53d4a6326ba7297/w/f1a229c6e6ec0c4a8ab0c24e/e/506ac3296f0335a912a7a5b3
0
Comments
Hello. The yellow lines in the image look like you want to extend the sides of the clips down to the top edge of the cup. I have my doubts that what's intended since I assume that part is meant to snap into another piece and the additional supports to the top edge would prevent that. Thinking that you want to make the clips wider by adding a sloping side, it may be better to revolve the clip profile around the entire circumference and then remove unwanted areas via a feature circular pattern. - Scotty
Agree with Scotty. The yellow lines look to be coming down on a face that might mate to another part and doesn't look like that's what your really intending to do. Seems like a feature that should of been incorporated before some of the finer detail and patterned. You could use a series of move face features with the rotate option to get close but it will leave the angle of the resulting faces at an odd angle.
I think a simple "draft" feature might do the trick… Ideally you would put it before patterning the snaps (unless it was built as a complete revolve and cutout…), but otherwise you might need to draft the two sides separately.
Something like this I think you're looking for.
Unfortunately a circular array off the cut outs gave me a bunch of problems so I just cut away most and arrayed all that was left. Hope you find better way.
https://cad.onshape.com/documents/6a45f88a9171b3cd3479ba20/w/5b48eaa920ee9f87c514c3dc/e/6bd71e2dfdb0bfdbe20cfde4
Geometry thickening in a cylindrical context with a specific slope geometry around that cylinder? Smells like a Wrap feature problem.
Derek Van Allen | Engineering Consultant | MeddlerPossible. You may try an approach like this one:
https://cad.onshape.com/documents/c8665e47652038157382d452/w/bc930eb01af83b30f5a8acfe/e/530c6f1db2f305c89b57c67f?renderMode=0&uiState=68e38c1b6856327f6413c0a7
Thanks. That's exactly what I was looking for. Next I'll find out how you did it. And yes, it should snap onto the other part because it's a wheel cap and I'm trying to print it. Without those extension pieces it would be too weak.
You can use the rollback bar to display step by step. Start early: Both Glen and me started out by cleaning up your model first and then we both opted for a patterned approach by creating only one snap resp. gap with most features already in place and then pattern that. There's no use in doing the same thing five times over. ;0)
After the comment about wrap feature I said Hmmmmmm.
I went back and tried using the wrap feature for my own edification and this looks cleaner.
Don't try to make an array in the sketcher. Array didn't like the splines. Variables add some robustness for future variants and easier changes.
https://cad.onshape.com/documents/6a45f88a9171b3cd3479ba20/w/5b48eaa920ee9f87c514c3dc/e/0bb090fba230bcefecd58849