Welcome to the Onshape forum! Ask questions and join in the discussions about everything Onshape.
First time visiting? Here are some places to start:- Looking for a certain topic? Check out the categories filter or use Search (upper right).
- Need support? Ask a question to our Community Support category.
- Please submit support tickets for bugs but you can request improvements in the Product Feedback category.
- Be respectful, on topic and if you see a problem, Flag it.
If you would like to contact our Community Manager personally, feel free to send a private message or an email.
How to Spec. a Laser Cut Box for Vendor?
 matthew_stacy
Member Posts: 489 PRO
I would love to hear recommendations and best practices from the Onshape user community regarding how to specify a plywood box for laser cutting.
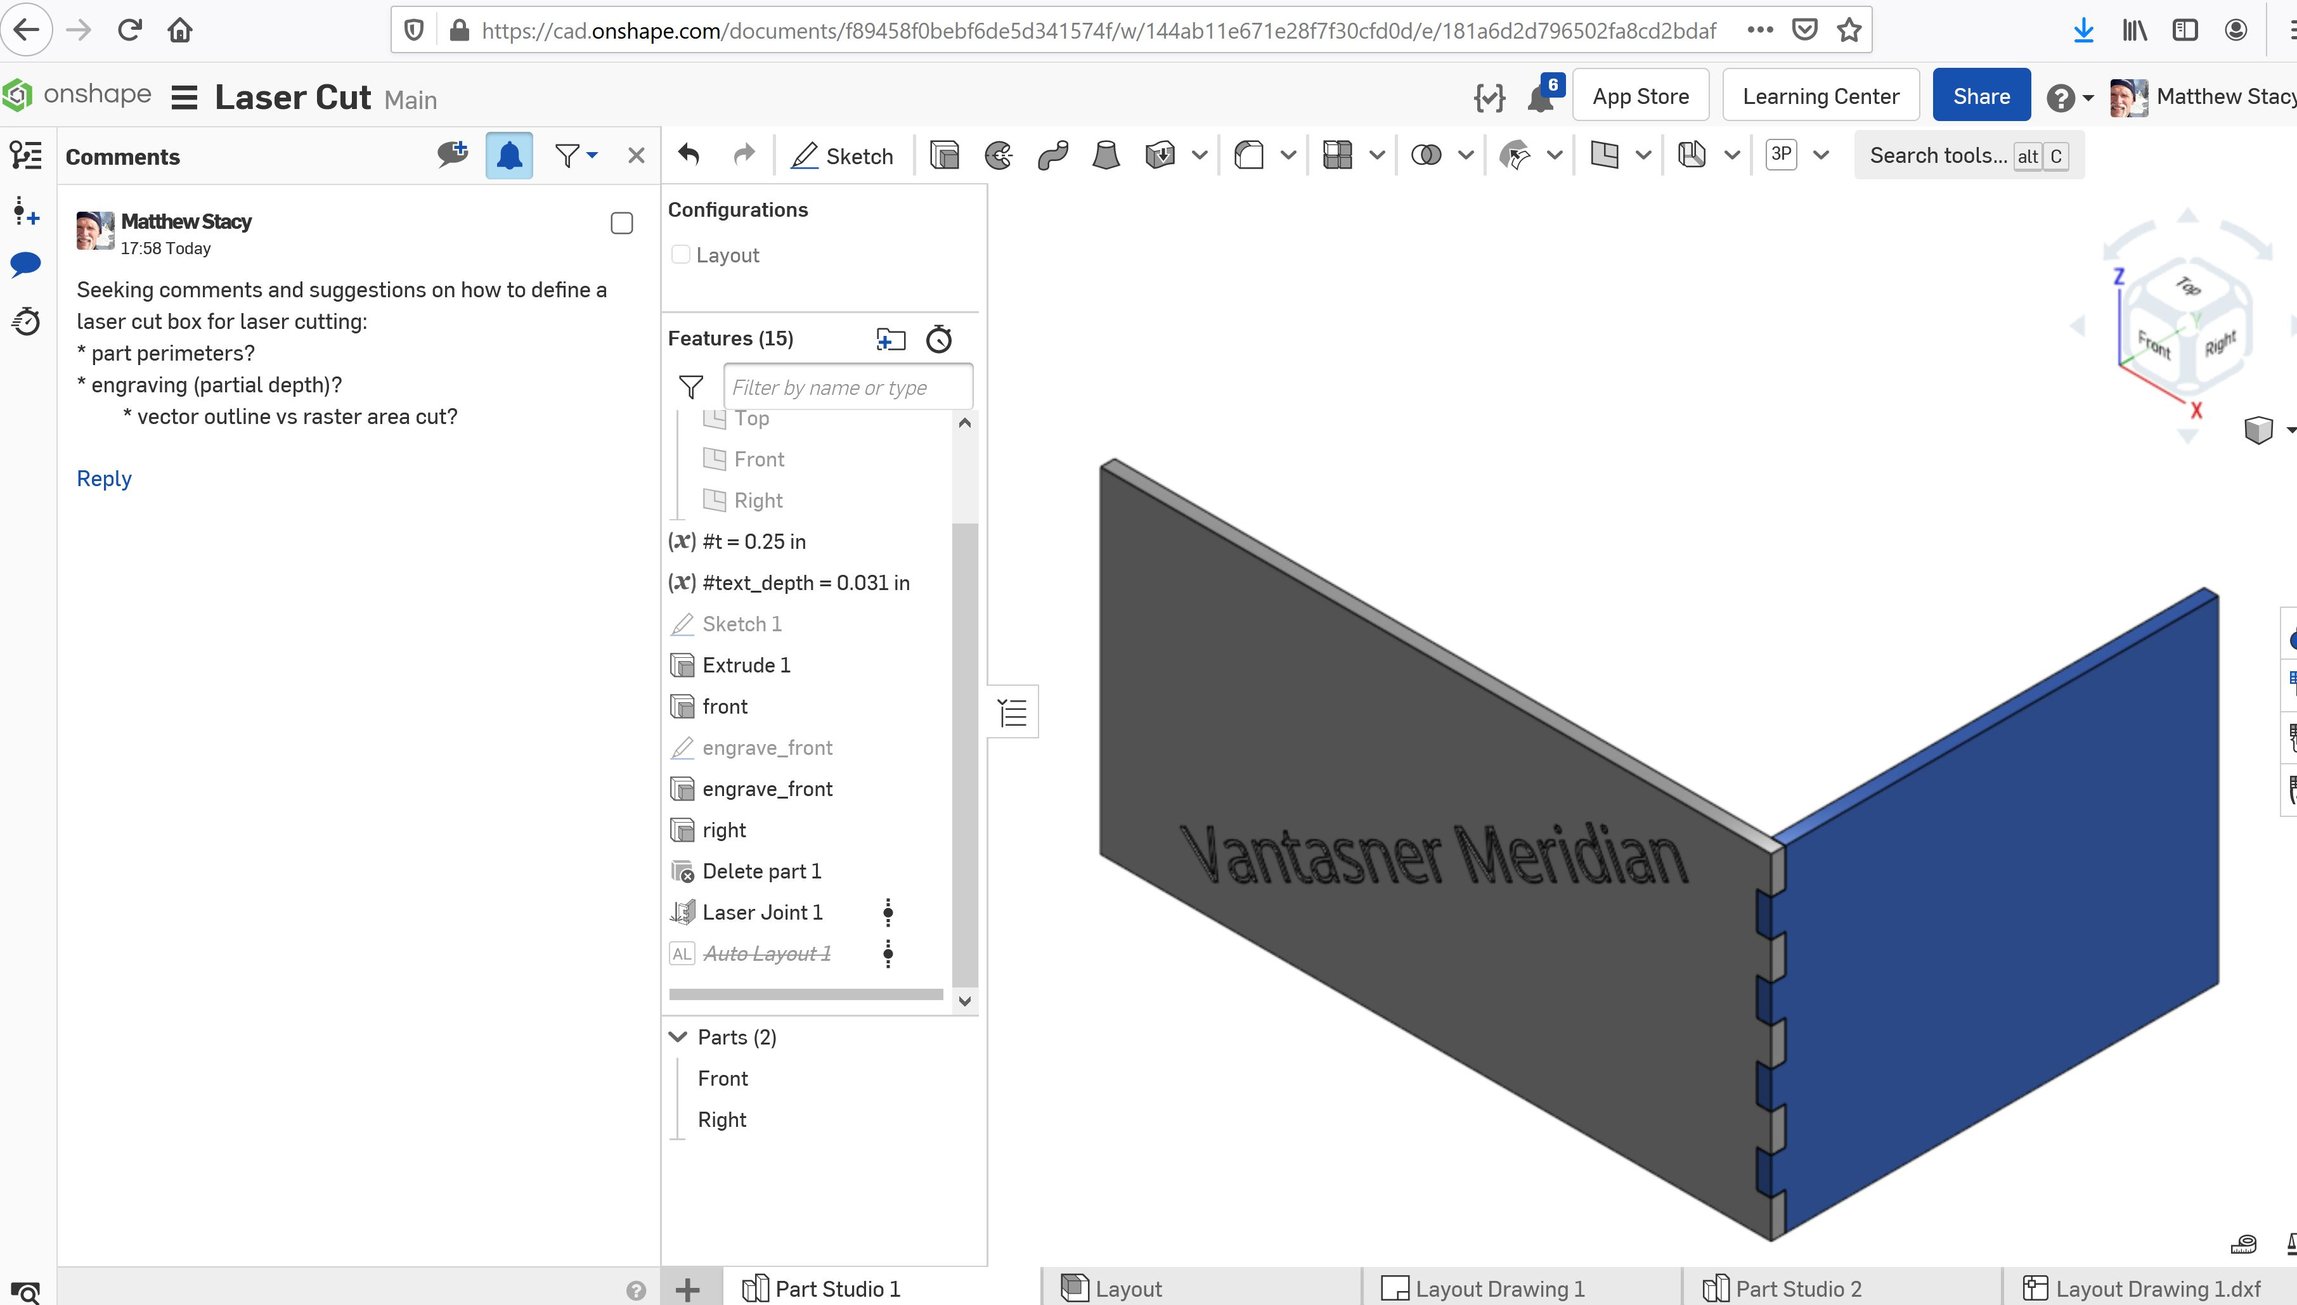
This simplified model has a front panel and right side panel, finger-jointed together. The front panel includes engraved text. How would you communicate this design to a laser cutting vendor? My understanding is that laser cutters typically work from DXF files but that different types of cuts would be segregated on two or more layers:
- Thru cuts
- Partial depth cuts (w/ some way to differentiate between vector-perimeter cuts and raster-area cuts)
But unless I overlooked the obvious, OnShape does not offer layering.
I would be happy to share the document directly with anyone who wants to roll up their sleeves and collaborate on this.
So far my work flow is to:
- Create the parts and flat layout in a Part Studio
- Create an assembly from the layout
- Create a drawing from the assembly (delete all border entities, resize background to large format, 1:1 scale)
- Export drawing as DXF
DXF units, or lack thereof, seem to be a whole 'nother can of worms with potential for designer/vendor communication errors.

0
Answers
So give them a drawing of the assembly specify the depth of engraved text and name all part's A,B,C,etc., export the flat's direct out of the partstudio name them A,B,C, etc.
Don't worry about layer's , outline's and compensation for the fitting of the part's, don't think about nesting as well, the lasercutter know best, it's their job.
Ask your lasercutter about how he like the corner's of the part's, sometimes it is better, faster to avoid sharp corner's.
CUT= Black line color
ENGRAVE = Blue line color
GREEN = Ignore
each color can be given a different process setting, the particular color doesn’t matter as long as you send them a key.
typically we include a border around the whole document with the “ignore” color in case it needs to be resized. That way the entire document can be selected and scaled properly using the binding box. You can also include design notes in this col
CUT= Black line color
ENGRAVE = Blue line color
GREEN = Ignore
each color can be given a different process setting, the particular color doesn’t matter as long as you send them a key.
typically we include a border around the whole document with the “ignore” color in case it needs to be resized. That way the entire document can be selected and scaled properly using the binding box. You can also include design notes in this color as well or part labels that you might not want to be engraved or cut.
@michael_denault do you implement this workflow in Onshape? If so I'd love to see a simple example (shared as public document).