Welcome to the Onshape forum! Ask questions and join in the discussions about everything Onshape.
First time visiting? Here are some places to start:- Looking for a certain topic? Check out the categories filter or use Search (upper right).
- Need support? Ask a question to our Community Support category.
- Please submit support tickets for bugs but you can request improvements in the Product Feedback category.
- Be respectful, on topic and if you see a problem, Flag it.
If you would like to contact our Community Manager personally, feel free to send a private message or an email.
Help creating a thread (nut and bolt essentially) that aligns both parts when tightened
 morgin_black
Member Posts: 7 ✭
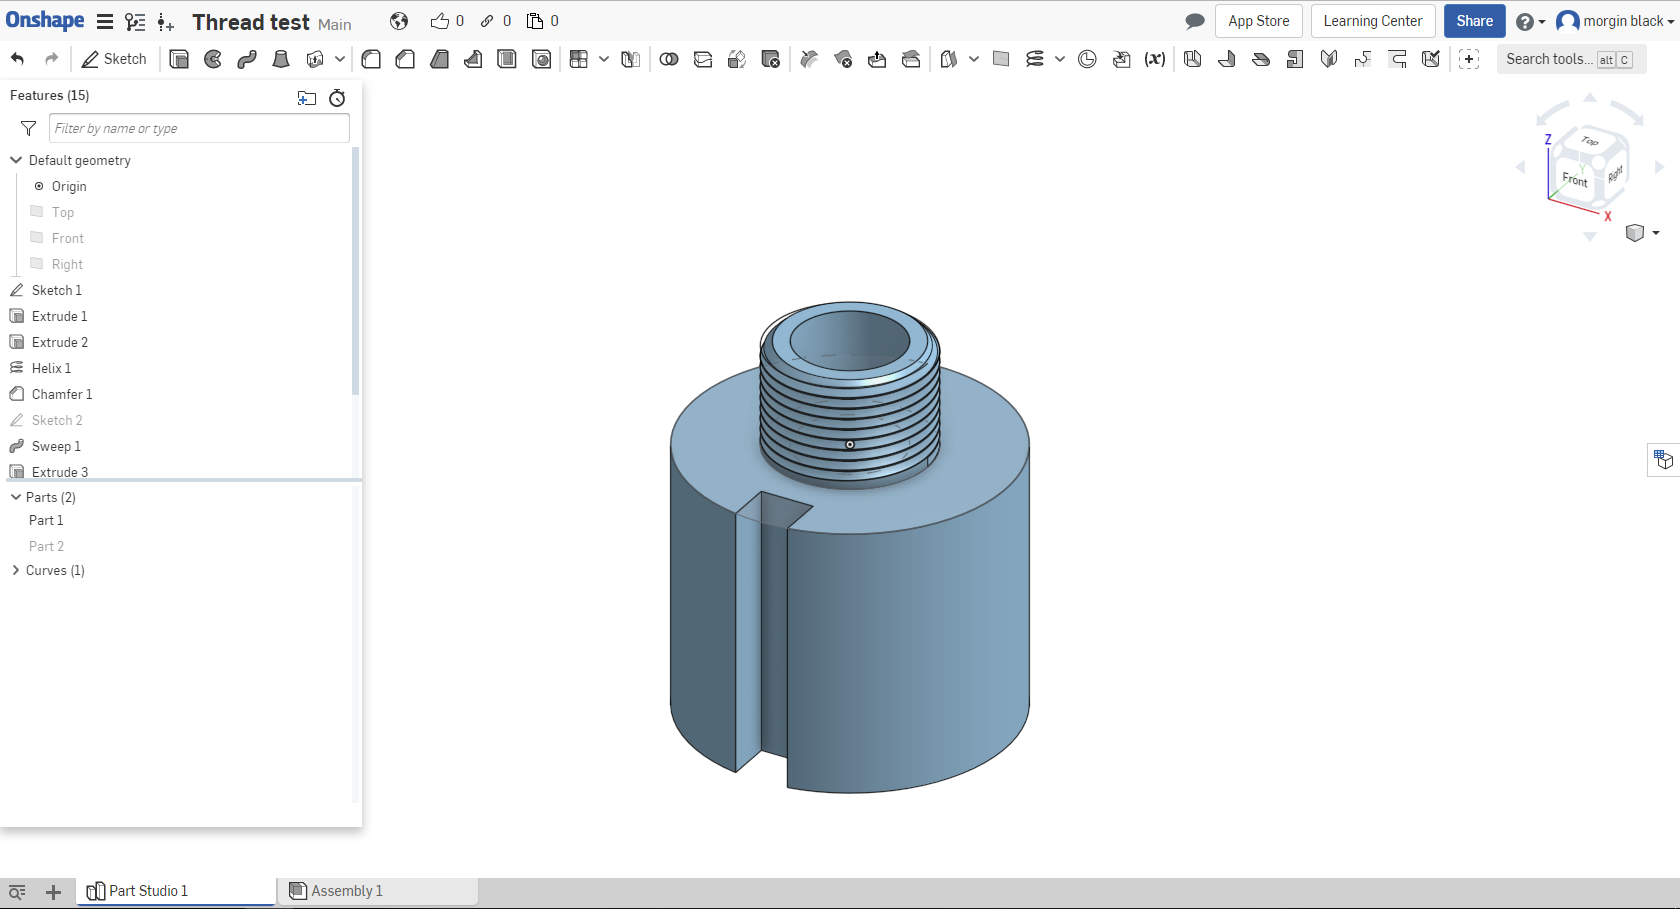
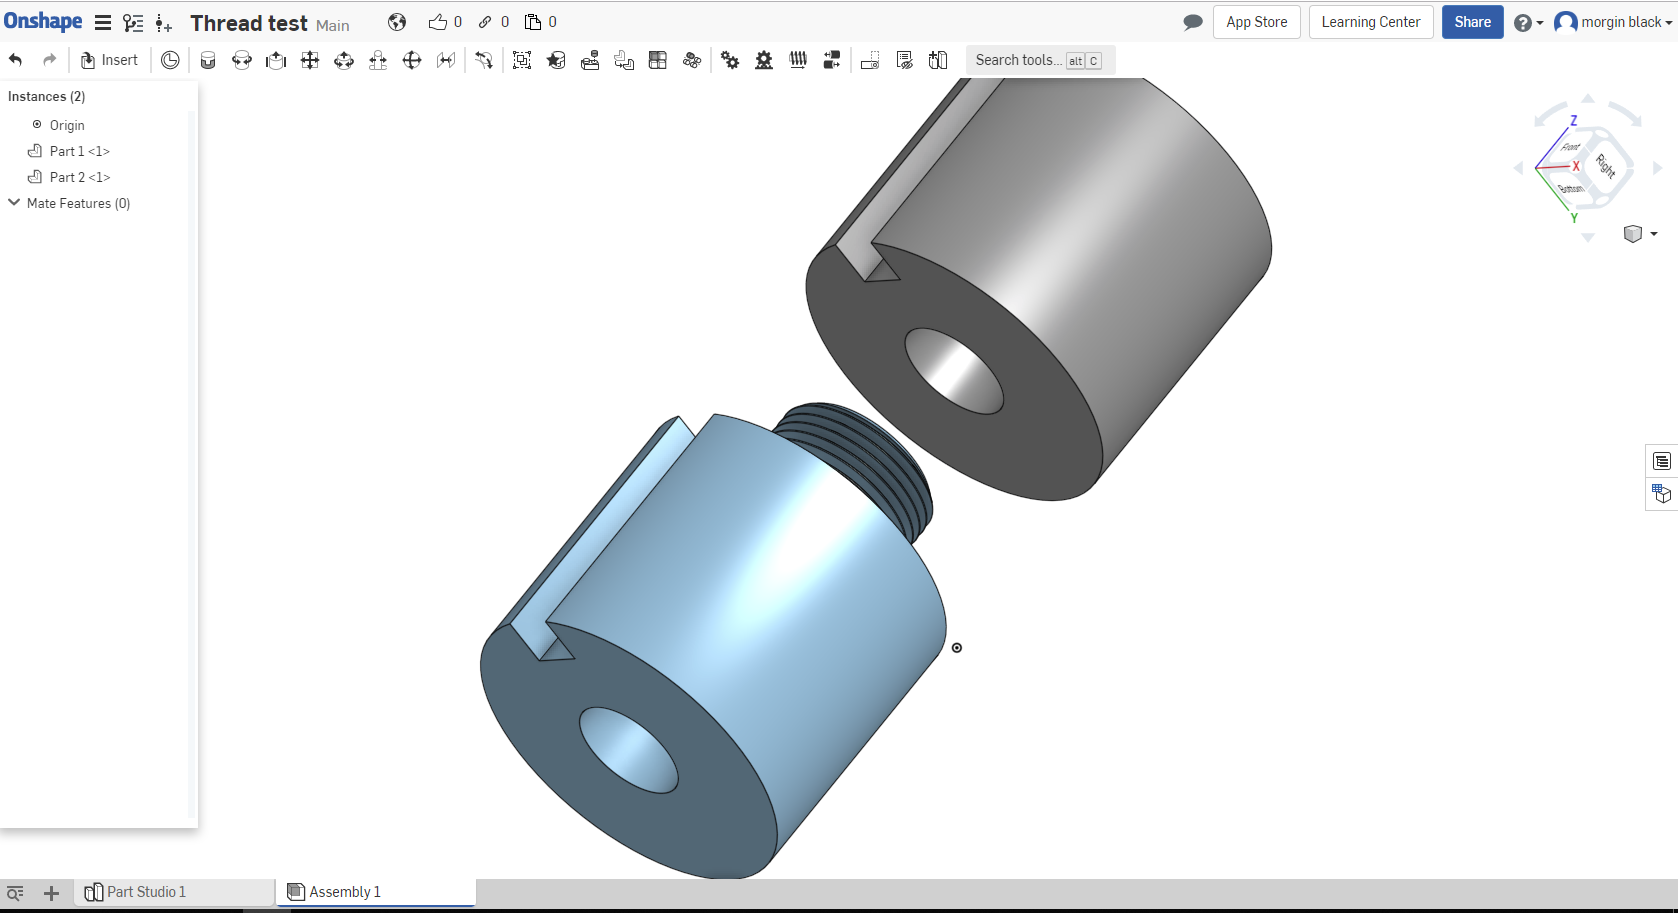
i understand the male thread but i don't quite understand how to do a top down design scenario of a female thread yet. i wish to have two parts screw together and align on a thread in the same place. multiple different ends will be screwed on and i wish them to all fit tight on the same axis.
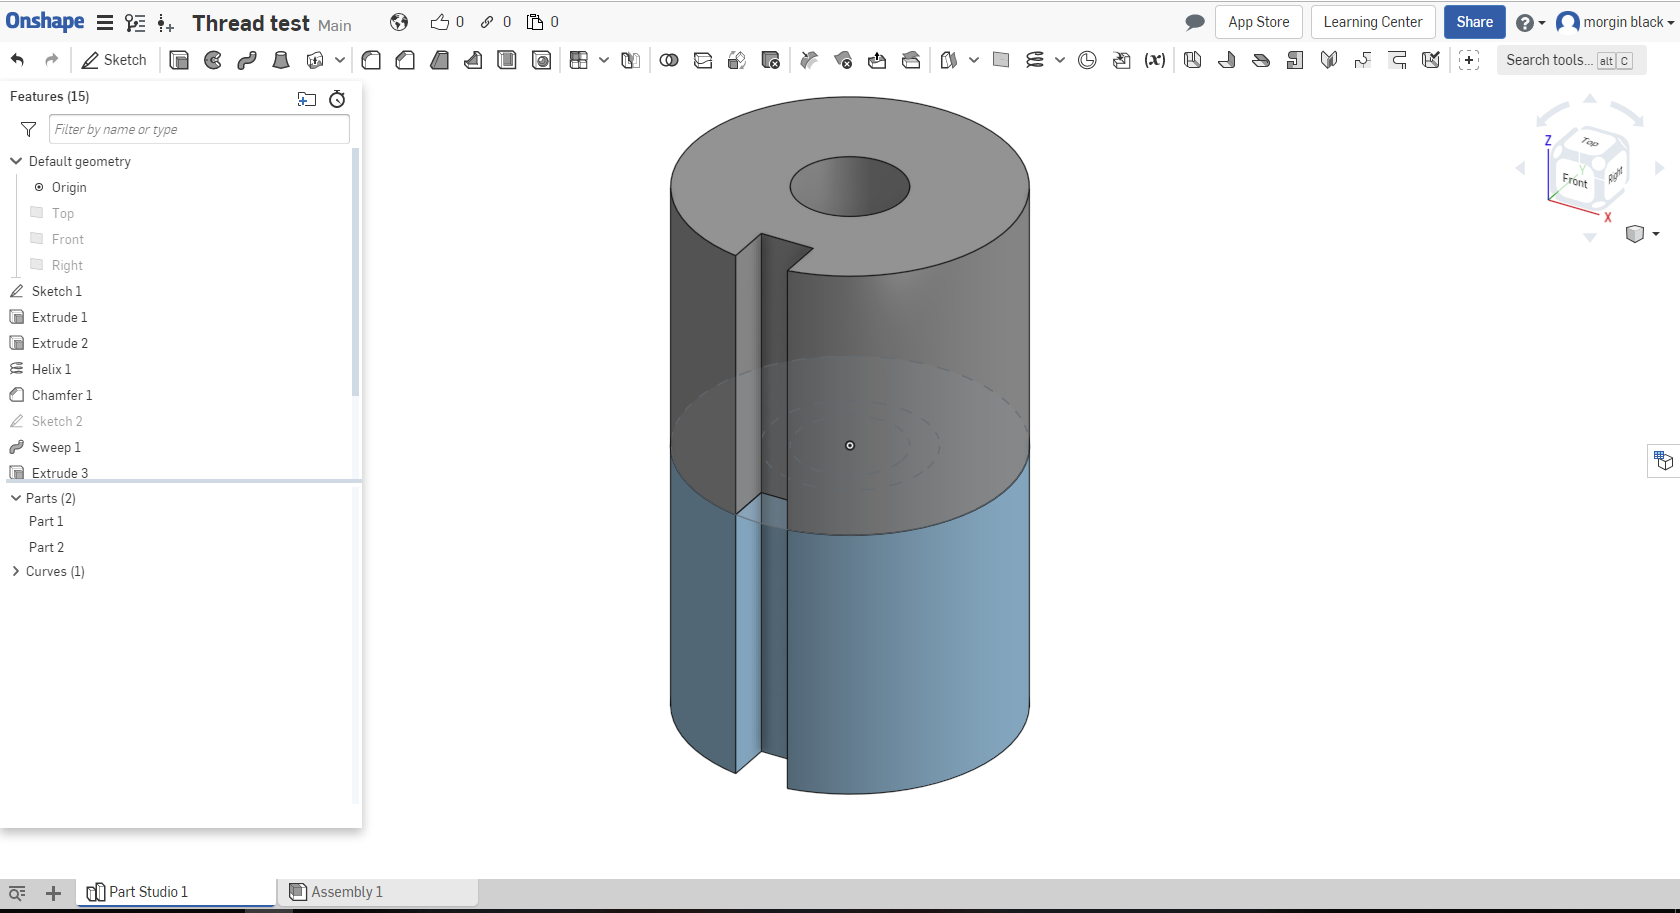
i tried starting with a male thread and just extruding over to make the female but it wont work in the assembly


here is the workspace https://cad.onshape.com/documents/0636238f4d38df61fb6e3ee2/w/918435fe7a7d1af8c188b37b/e/aa98d01a0106f97e79164eb4
i tried starting with a male thread and just extruding over to make the female but it wont work in the assembly


here is the workspace https://cad.onshape.com/documents/0636238f4d38df61fb6e3ee2/w/918435fe7a7d1af8c188b37b/e/aa98d01a0106f97e79164eb4
0
Best Answers
-
 owen_sparks
Member, Developers Posts: 2,660 PRO
morgin_black said:so everyone is saying it cant be done. it is impossible to have a thread alignment in onshape?Perfectly do-able in onshape (just make sure your helices start in the same place and there is no gap whatsoever between parts, or if there is a gap make sure you allow for the additional rotation it affords.) It's just not a sensible application in real life.For threads to work there has to be slop/tolerance between them. This allows them to fit one over the other as nothing can be manufactured perfectly.How big is this slop, how much of an extra rotation will it allow?Will it be consistent between parts?Then how much will the thread flex? It's effectively a long helix shaped spring, so how much will it deform, and how much of an extra revolution will this permit?Will the part stretch over time if it's left under load, so do you make it too small so that it wears in?What happens if you use a different material, or if printing a different layer height, or infill percentage?What happens if it gets hotter or colder?Think of real word examples and we'll see things like a screw in light bulb will have one terminal as the entire outside of the thread so the angle it ends up doesn't matter, or it might be a bayonet fitting rather than a screw thread if orientation is required.Or thinking closer to your part say a flywheel with a key-way on a crankshaft. The key-way will be a through-hole to slide over the shaft. It will be held in place with a bolt. They are totally independent of each other as far as orientation goes.Does that make sense?Owen SBusiness Systems and Configuration Controller
HWM-Water Ltd6 -
 konstantin_shiriazdanov
Member Posts: 1,221 ✭✭✭✭✭
it's just a mechanical reason - not everything you can model digitally will work when will be manufactured. say if your thread pitch is 1 mm and thread backlash tolerance is about 0.01 mm you would have angular orientation tolerance 0.01/1*360 *deg = 3.6 deg. and if your shaft diameter is about 30 mm linear slot mismatch will be 30*3.14/360*3.6 = 0.942 mm. so a mere 0.01 mm tolerence per 1 mm thread pitch leads to the whole 1 millimeter of linear mismatch on the shaft surface of a given diameter. in the world of the metal parts it is not acceptable.morgin_black said:so everyone is saying it cant be done. it is impossible to have a thread alignment in onshape?
7
Answers
I would say boolean subtract them, but that would not be a proper thread.
You can also use Thread Creator to reduce the workflow
https://cad.onshape.com/documents/6b640a407d78066bd5e41c7a/v/845d049782179b9faee8b6e6/e/f8aea9e5c33e02eab0854a4f
HWM-Water Ltd
We have never relied on threads being the same. So not used to the thought process of engineered thread position.
I'm curious now, how is this handled when 3D printed threads or whatever get manufactured? is it a guess and check after it's made? Then tweak the rotation?
However, getting the tolerances of the printed parts just right would be tough - you'd need to design, print, check (adjust with files / sandpaper etc) and adjust to get the torque in the right range for your prototype application (hand-tight?). Each process has it's tolerance range, and for 3D printed threads the friction becomes the biggest issue (even if you have the dimensions correct). The "steps" created from the additive process usually need to be worked in some way to make the thread free-running.
Aside: (I had a good trick for a large custom thread I was prototyping on FDM: model with a little extra room in the thread - then drop in sandblasting medium and let the particles clear out the thread as I worked the parts together. Worked surprisingly well - without having to manually file smooth every inch of the male threads (can't really get in to mess with the female ones).
HWM-Water Ltd