Welcome to the Onshape forum! Ask questions and join in the discussions about everything Onshape.
First time visiting? Here are some places to start:- Looking for a certain topic? Check out the categories filter or use Search (upper right).
- Need support? Ask a question to our Community Support category.
- Please submit support tickets for bugs but you can request improvements in the Product Feedback category.
- Be respectful, on topic and if you see a problem, Flag it.
If you would like to contact our Community Manager personally, feel free to send a private message or an email.
Soccer Ball - Truncated Icosahedron Assembly
 rod_muirhead943
Member Posts: 96 EDU
in General
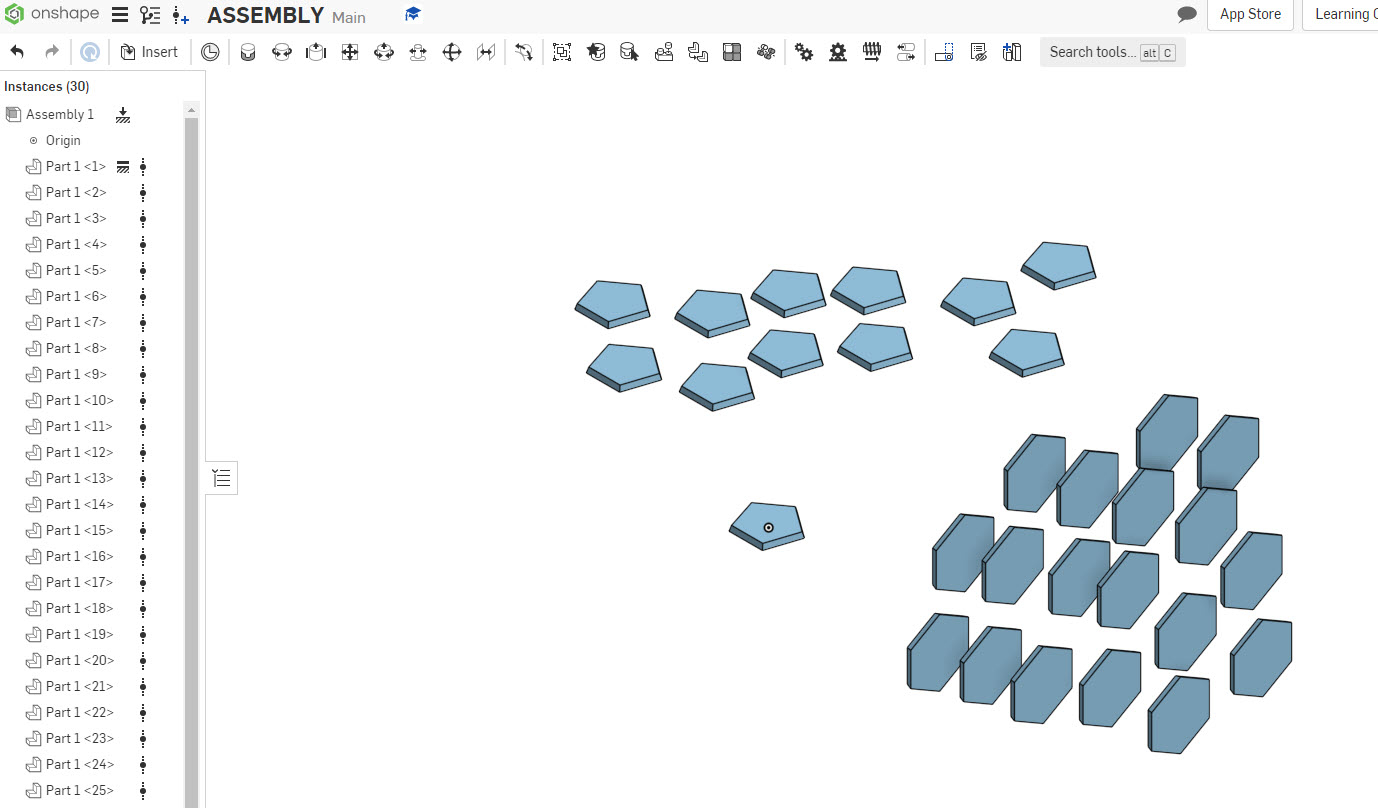
What are the correct assembly constraint commands to join the hexagons and pentagons to complete the truncated icosahedron. The students will then 3D print their assemblies.
I am failing measurably.

I am failing measurably.

0
Comments
and make sure you make it public
see 4th post below
I had to look up how to calculate a soccer ball. Not much of a polygon person. (had to wiki some maths)
but here is one way to do it i guess.
VERY NICE JOHN !
https://cad.onshape.com/documents/aa51e464fba34983ad78e2e5/w/4acdfcc9d7f3f9f4b6db37d7/e/25fbc467c63ad85db1f9dd1c
After seeing @john_mcclary soccer ball, I definitely wanted to incorporate some of his methodology. That was some good stuff that he did. I’m kind of ticked at myself for not thinking of that LOL — come on brain - work
The way I’m doing it here is going to require an extra assembly tab. So you may want to just bypass the rest of this post
But if you’re interested in being able to figure out how to make a soccer ball without any calculation, then read on
There is a second assembly tab used for finding the angle between the different polygons. It was a matter of hinging them to determine where other sides of the polygons would mate together, which in turn, would give the proper angle without calc
The variable determines the length of one seam in plan view (a straight line) — not an arc along the ball surface. This can be adjusted to change the diameter of the ball. BUT, to get the exact diameter, it’s gonna take a few tries at changing the variable AND updating context in assembly, in order to find the exact diameter you’re looking for — maybe three or four tries. Doesn’t take that long
Remember — whenever you edit the variable in the Part Studio — that you need to UPDATE CONTEXT in the tab called ANGLE FINDER
By the way, if you did happen to see the way I did it before, it was convoluted. This way is a lot simpler
Here is a short video showing how to mate the assembly part by part.