Welcome to the Onshape forum! Ask questions and join in the discussions about everything Onshape.
First time visiting? Here are some places to start:- Looking for a certain topic? Check out the categories filter or use Search (upper right).
- Need support? Ask a question to our Community Support category.
- Please submit support tickets for bugs but you can request improvements in the Product Feedback category.
- Be respectful, on topic and if you see a problem, Flag it.
If you would like to contact our Community Manager personally, feel free to send a private message or an email.
How to split large design into smaller pieces for printing in steps?
 amr_h704
Member Posts: 5 ✭
Hello, I am quite new to CAD in general. I have been spending some time, creating simple designs in Onshape for things I have required around the house.
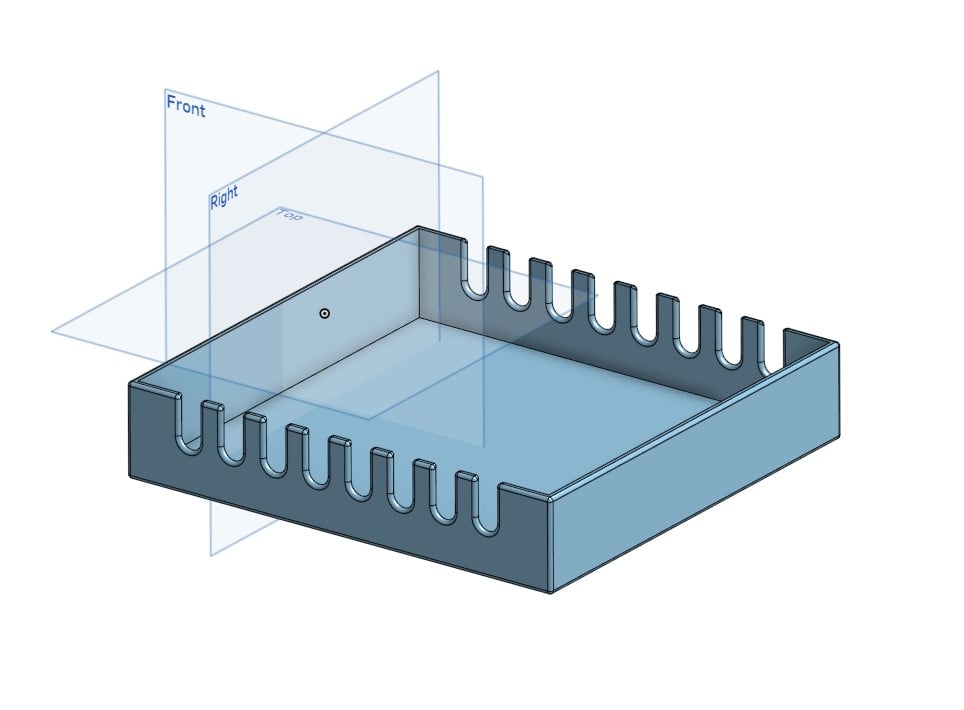
Currently I am designing a box that should hold about 4-5 charging cables (an attempt to make the desk a little tidier).
The problem is that the design would take around 19-20 hours to print on my Ender 3 V2. As both my wife and I work from home, the loud fan sounds of the printer would be very annoying.
So I am wondering if it would be possible to split a design into smaller pieces, so I have run into several issues I am unfamiliar with:
- how best to split a design?
- how best to design it that split pieces snap together after printing?

0
Answers
A 3d printer is not allways the best productionmethod.
Design your part as sheetmetal and you have your contour of the sheet in minutes.
https://cad.onshape.com/documents/beaf2d7bd47456b3a0d1f5be/w/b2d0214c3879739dc3e0667c/e/749fc9046f68247be3f3eb7a
Here is one way that might work well: You can use a mortise & tenon approach.
Try the custom feature Laser joint by @Arul_Suresh. Make sure to use the "Add allowance" button so your joints will fit together in the real world.
This doesn't handle splitting up the part in the middle, but you can apply this same approach and manually split it. If you do this all the time you can create a custom feature for it or extend the functionality of the laser joint feature.
https://cad.onshape.com/documents/b94745e7f883b552a05b8b02/w/c1cdbff0140616d7e76bbf9f/e/e5feda682246ad3b5b660c5a?renderMode=0&uiState=63b57a6071939f621fb83a13
Here is a great video on this topic: https://youtu.be/oA7p_YQ_KoQ?t=1318
Looks like a soldering iron, super glue, or a 3d printing pen will work for joining.
If you need it smooth after it has been joined, use wood putty, then sand it.
Learn more about the Gospel of Christ ( Here )
CADSharp - We make custom features and integrated Onshape apps! Learn How to FeatureScript Here 🔴
https://cad.onshape.com/documents/beaf2d7bd47456b3a0d1f5be/w/b2d0214c3879739dc3e0667c/e/537405e28a147889b96b9736
To add a little more to the conversation
Since your post is about making shorter print times — well you might want to break up the print time for the floor also
@NeilCooke Box Joint featurescript seems like the perfect tool for this, because it also does dovetails with the flared out pins or tabs — which should help at least a bit, in keeping things from being pulled apart
https://cad.onshape.com/documents/57612867e4b018f59e4d52ce/w/1e657f13b93a753115dcbd12/e/29340b9ea8177088647ffe75
And @steve_shubin with the homerun!
Learn more about the Gospel of Christ ( Here )
CADSharp - We make custom features and integrated Onshape apps! Learn How to FeatureScript Here 🔴