Welcome to the Onshape forum! Ask questions and join in the discussions about everything Onshape.
First time visiting? Here are some places to start:- Looking for a certain topic? Check out the categories filter or use Search (upper right).
- Need support? Ask a question to our Community Support category.
- Please submit support tickets for bugs but you can request improvements in the Product Feedback category.
- Be respectful, on topic and if you see a problem, Flag it.
If you would like to contact our Community Manager personally, feel free to send a private message or an email.
Face blend not completely seamless
 s_b178
Member Posts: 4 ✭
s_b178
Member Posts: 4 ✭
Hello everyone,
I'm trying to do a face blend with a block to a cylinder but I keep getting this annoying bumps:

How do i change the face blend so that the block seamlessly connects to the cylinder?
Best Answer
-
 GregBrown
Member, Onshape Employees, csevp, pcbaevp Posts: 404
GregBrown
Member, Onshape Employees, csevp, pcbaevp Posts: 404 
Just based on what I can see in the image, this will take more than just a single face blend feature to achieve. It will need a bit of surface modeling, but not much.
See example here:
https://cad.onshape.com/documents/cc00aeaccfa37cd98094b575/w/5cc1d965e9f1477b471e4a83/e/7f64f8520e5081d654943d73
I've exaggerated the "bump" you mentioned, it is not something that the face blend is designed to conform to.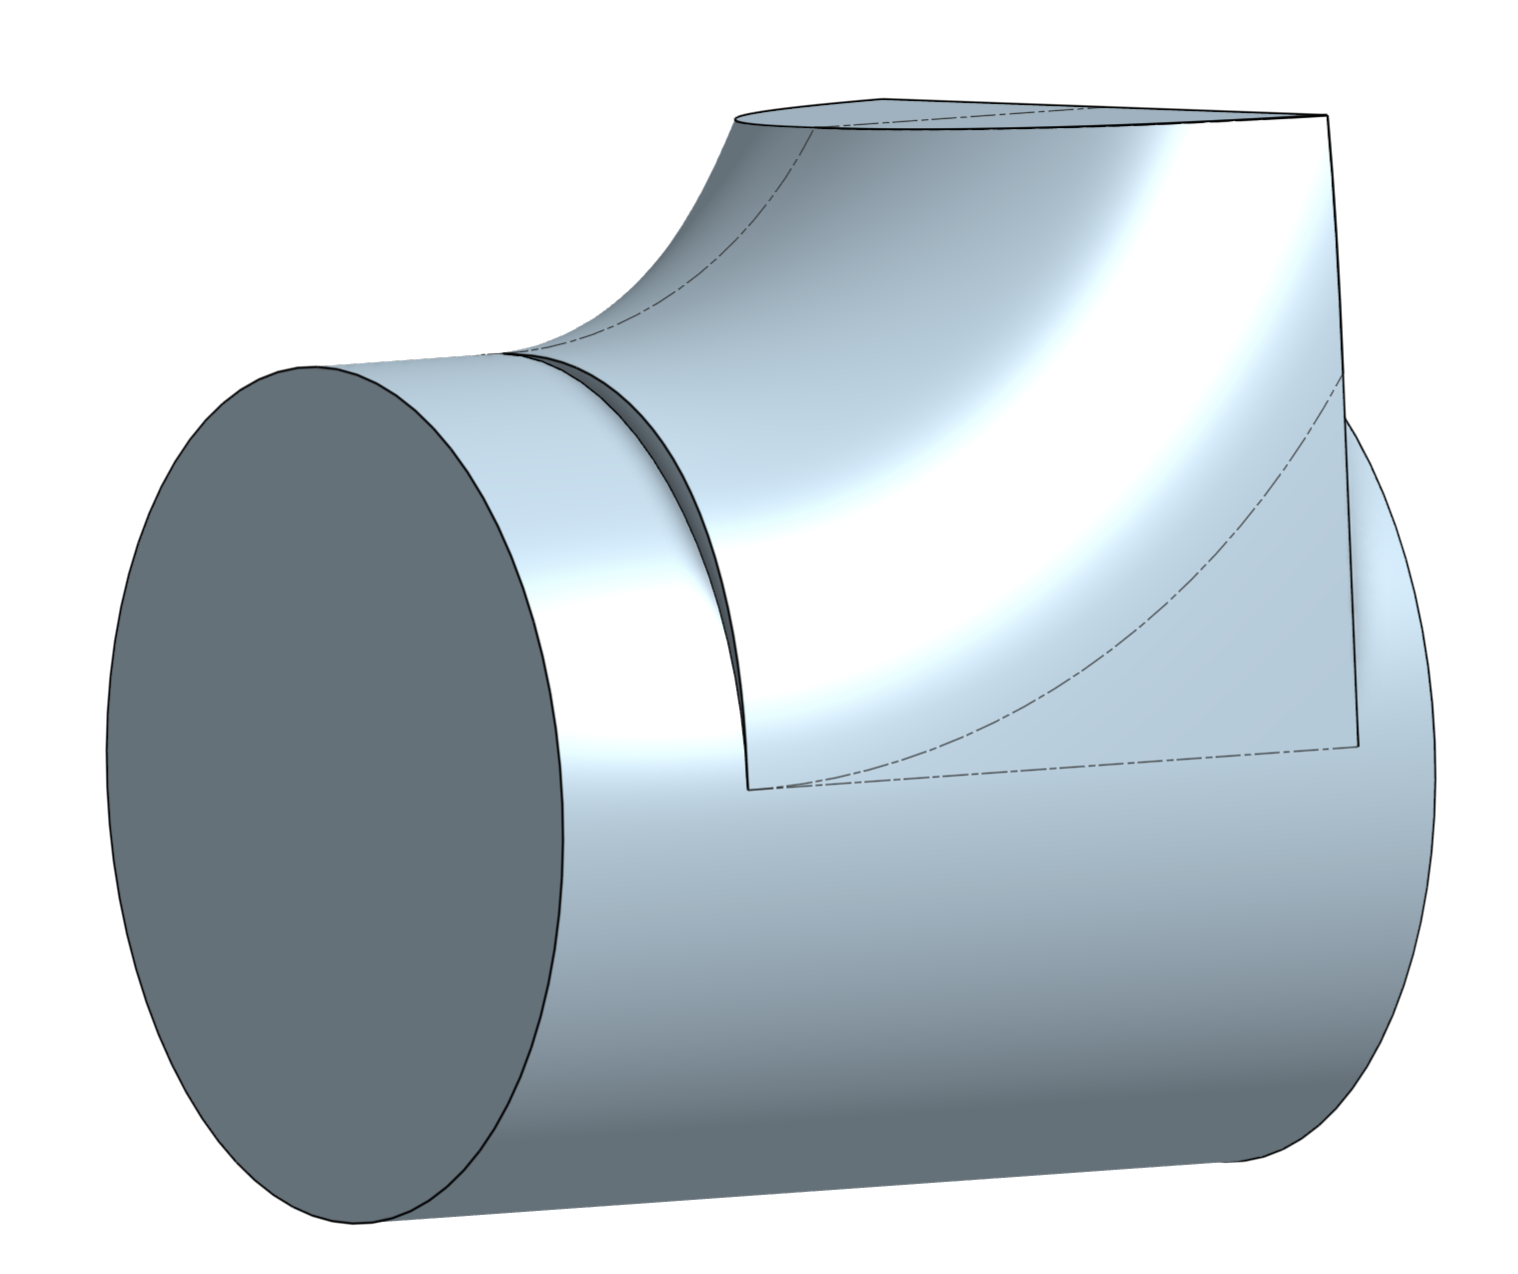
But I can use some of the edges created by the face blend! I copied them, mirrored them to the other side and created a single patch (using a Fill feature) that blends in perfectly. Do this again (deleting the face blend helper faces and you'll be done. There are a ton of other ways you could do this (e.g. create the curves directly, without the face blend helper feature), but basically creating a smooth surface patch from surrounding reference feature is the way. Just be careful not to introduce any ugly noise in the curves you use for subsequent surfaces…
0
Answers
You might want to share a view/copy link to an example document - then people might be able to help
Just based on what I can see in the image, this will take more than just a single face blend feature to achieve. It will need a bit of surface modeling, but not much.
See example here:
https://cad.onshape.com/documents/cc00aeaccfa37cd98094b575/w/5cc1d965e9f1477b471e4a83/e/7f64f8520e5081d654943d73
I've exaggerated the "bump" you mentioned, it is not something that the face blend is designed to conform to.
But I can use some of the edges created by the face blend! I copied them, mirrored them to the other side and created a single patch (using a Fill feature) that blends in perfectly. Do this again (deleting the face blend helper faces and you'll be done. There are a ton of other ways you could do this (e.g. create the curves directly, without the face blend helper feature), but basically creating a smooth surface patch from surrounding reference feature is the way. Just be careful not to introduce any ugly noise in the curves you use for subsequent surfaces…
Thank you, I managed to finish the design. Now I can use my loppers again!