Welcome to the Onshape forum! Ask questions and join in the discussions about everything Onshape.
First time visiting? Here are some places to start:- Looking for a certain topic? Check out the categories filter or use Search (upper right).
- Need support? Ask a question to our Community Support category.
- Please submit support tickets for bugs but you can request improvements in the Product Feedback category.
- Be respectful, on topic and if you see a problem, Flag it.
If you would like to contact our Community Manager personally, feel free to send a private message or an email.
I CUT MY FIRST PART
 bill_schnoebelen
OS Professional, Developers, User Group Leader, csevp Posts: 131 PRO
in CAM Studio
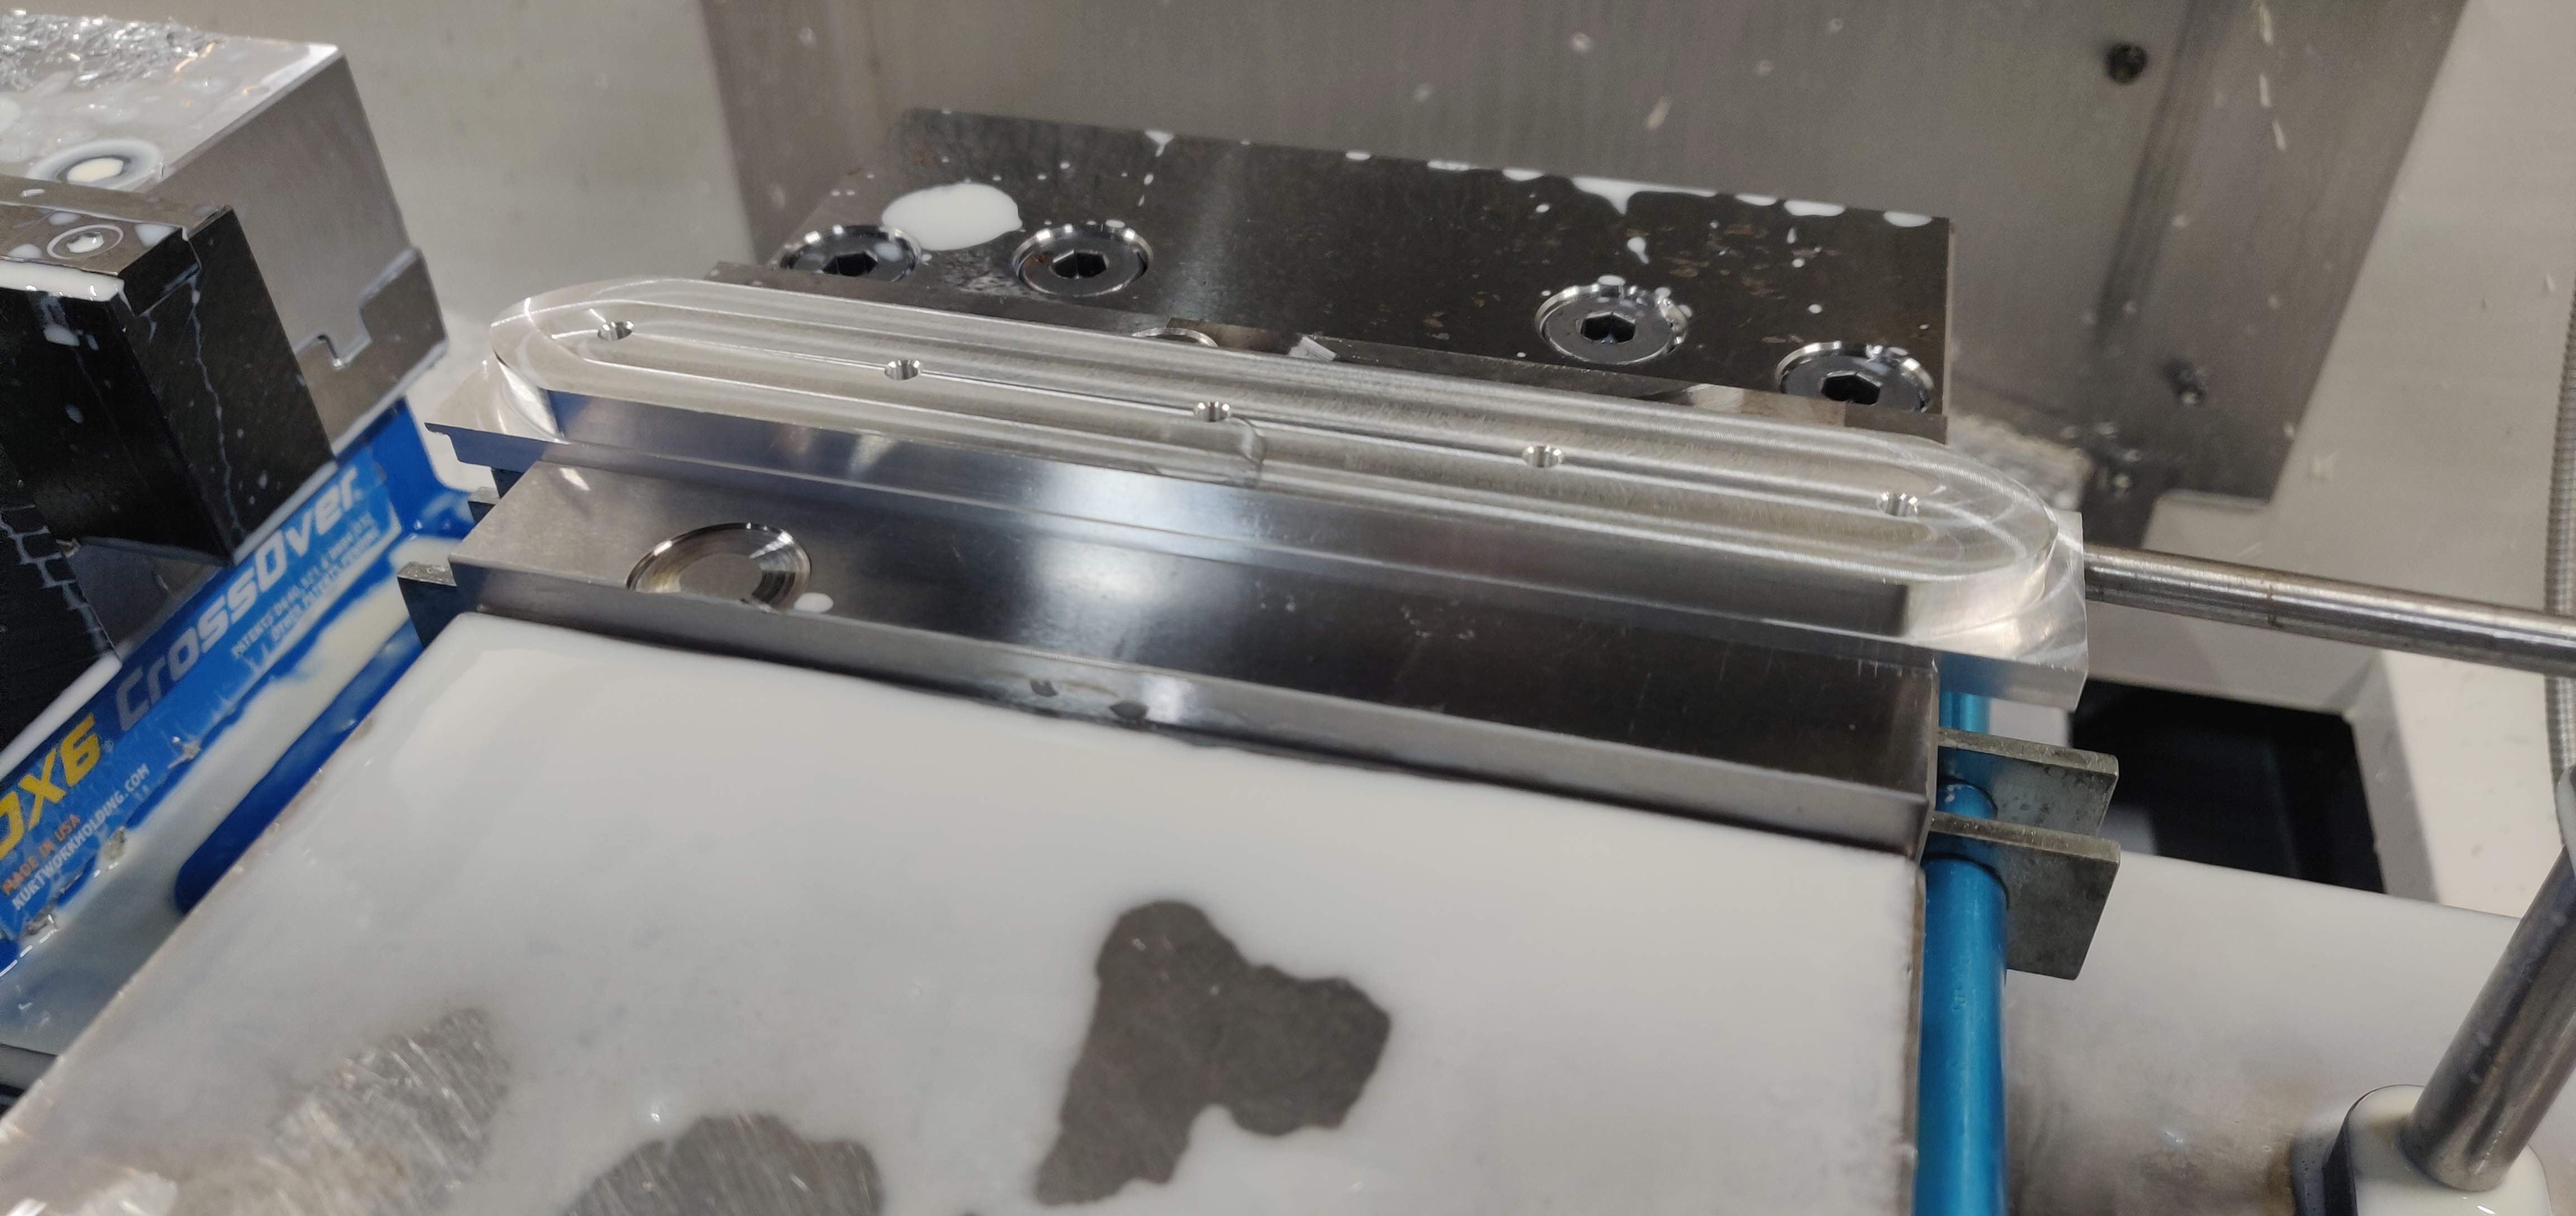
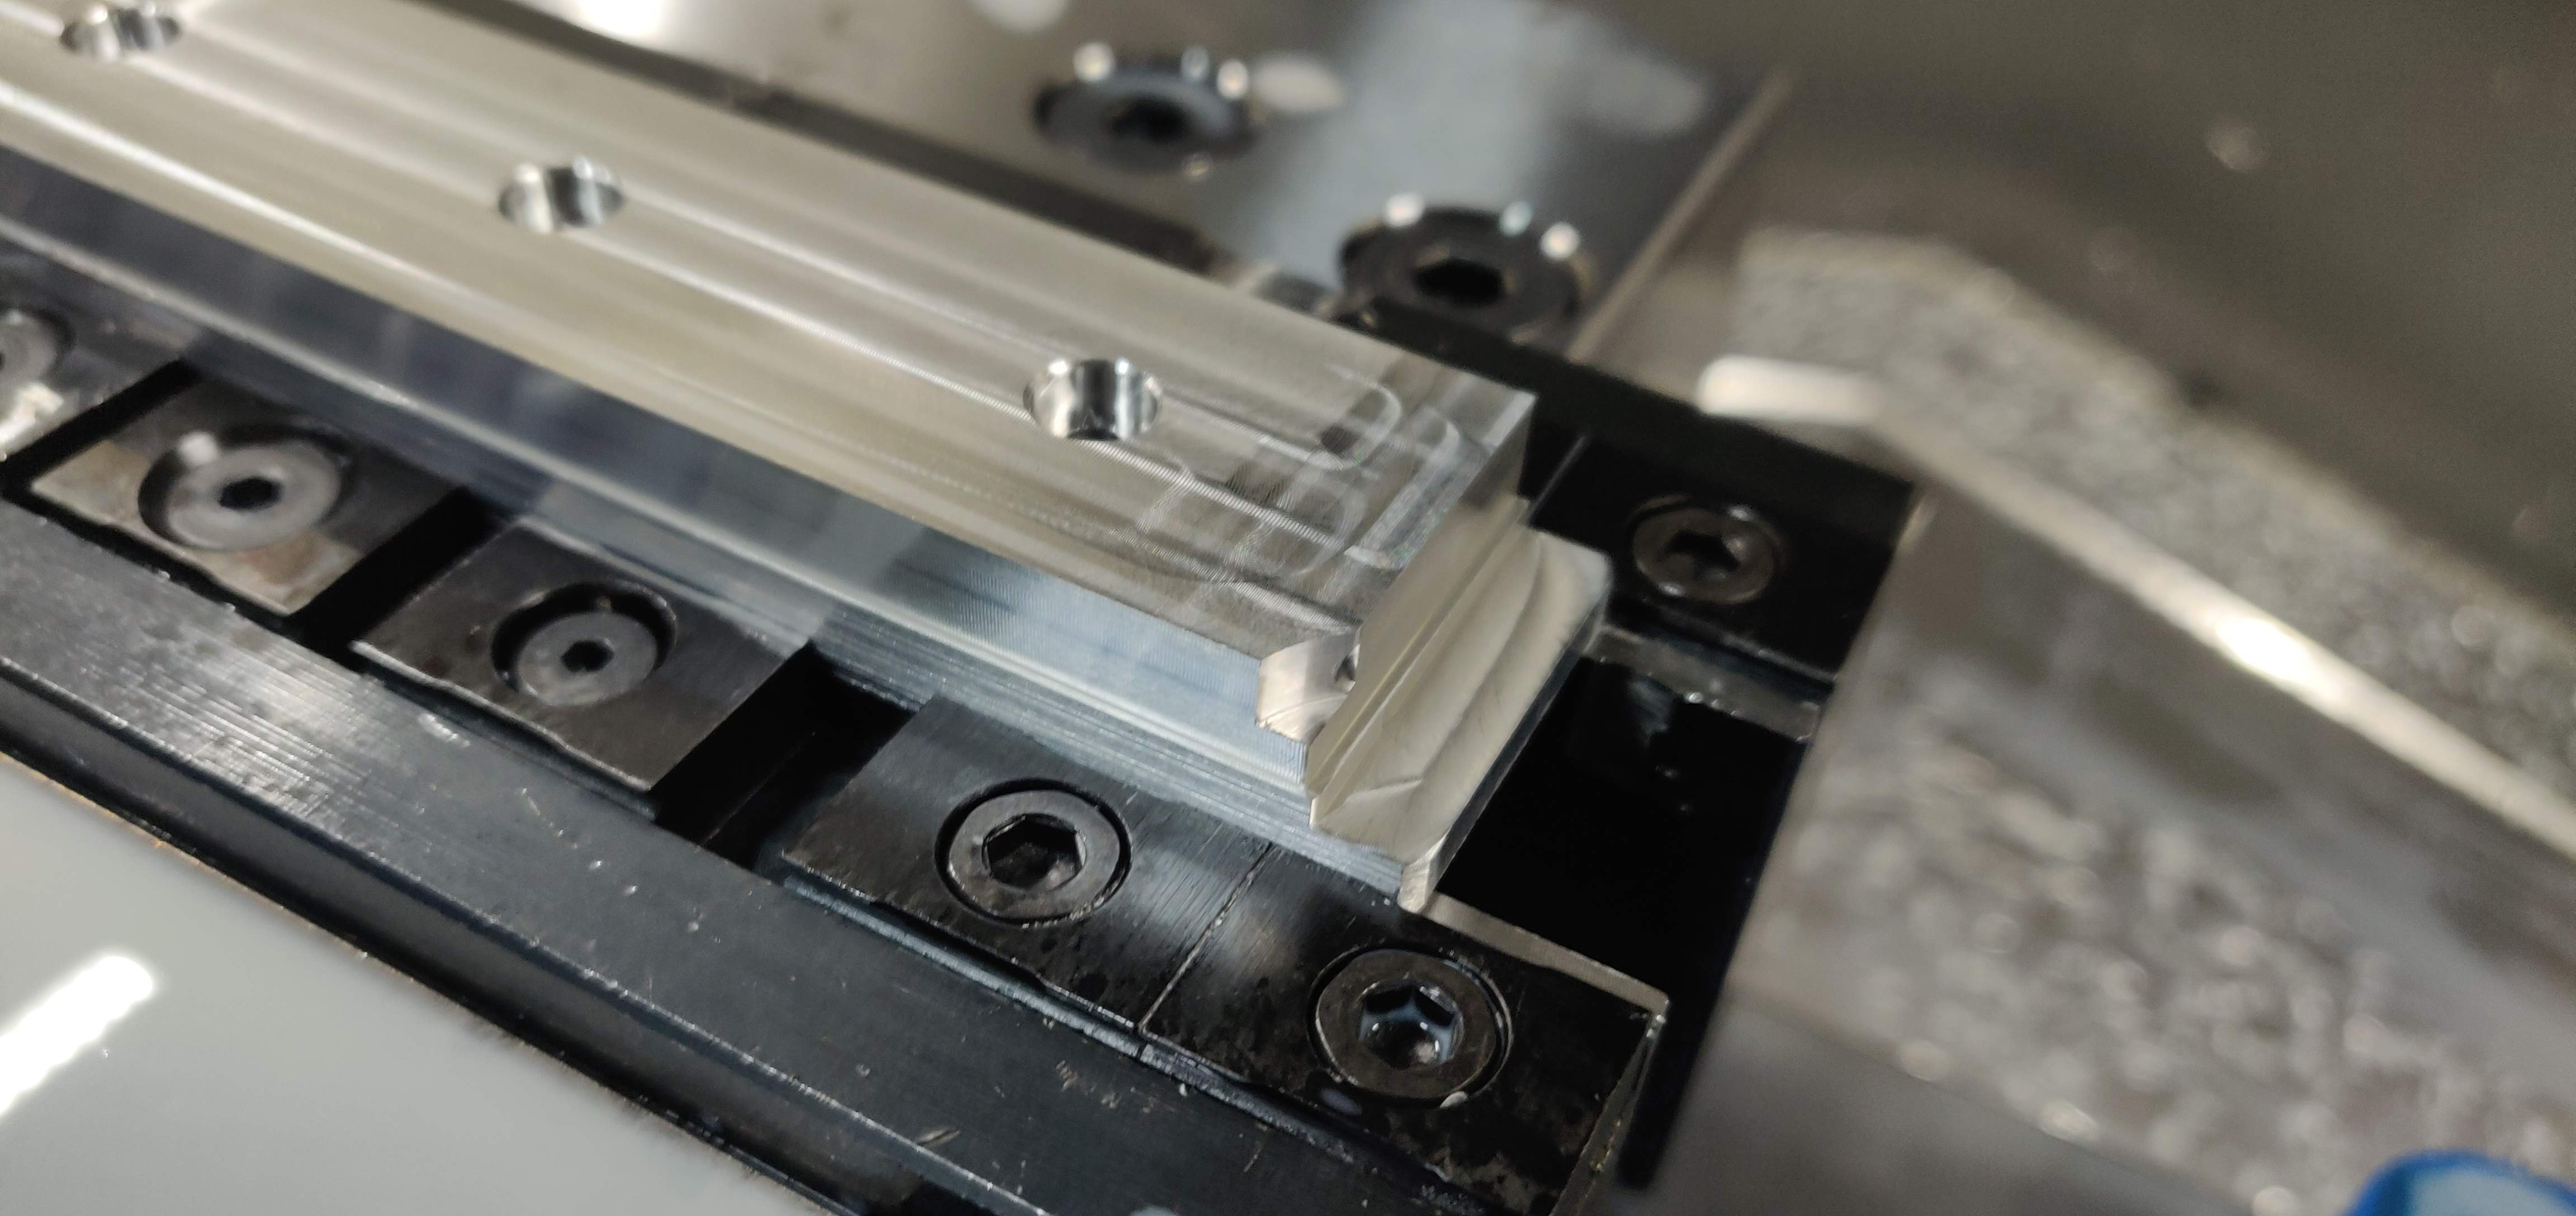
I finally got around to making a part. This was a simple 2 1/2D fixture.
Pros: I like the toolpaths. They can use some work for usability, but I like the flow. It is not there yet, but I can see a point where there is not a lot of clicking. Copying or templates ability could be incredible!!
Cons: It was pretty difficult to deal with the posts. I had to rewrite the tool changes. I did have one digger, but I think that was my fault rewriting the post. It took way too long...
I think it needs two things:
1. NEED TO BE ABLE TO SUPPRESS FEATURES. These programs can easily get to 20k lines of code. It is very hard to search through this much code to change tool changer settings. This allows me to break it down to smaller slices.
2. NEED CONTROL OVER POST PROCESSOR. I need block numbers at tool changes, max tool cut depth, datestamp, etc.
Both these would be very helpful in troubleshooting.


Both these would be very helpful in troubleshooting.


2
Comments
Regarding the post-processing aspects, may I ask some further details?
- The block numbers at tool changes - yes, that is typically quite useful; I will include this as an enhancement in the backlog.
- Max Tool cut depth - this is probably something we can achieve - I believe we could look at generating some report together with the NC, either at the header of footer, or even along with the existing tool list
- Date-stamp - the posted NC already generates a date stamp at the top, in the format of a comment, like "CREATED ON : 2024-06-03T10:27:37" - would you need something different?
Also, please let us know which machine/post you selected to run this job.King regards,
Gabriel Stein
I was either using the generic fanuc or haas post. John Desilets is working on getting me a post which works with my Brother machine. It will be a game changer!!
Thanks. I'll investigate the time-zone thing. Sounds like its sticking to the Onshape server time, rather then the desired local time.
Fixtures are coming in the next version; for CAM Studio they are named "Workholding", so I hope that will improve your workflows.
We are also looking at the Brother post and machine, which are also expected for the near future.
Regards,
Gabriel
Did you use a facing operation on this part?
I have not figured out a good workflow for facing operations. Does anyone have a good example?
One additional note. In the links section, you can adjust what the tools does between each pass. In the above example I changed small gaps along cut to arc-line-arc.
I air-cut my first part last evening, and for the most part, things looked good. However, the post I'm using has a flaw. Also, I hope that post customization is being worked on, as there are a few things I like optimized for our machines.
My real reason for posting here is that I can not find the place to tell the program what Work Coordinate System I want it to use, for example, G55, G58, or G56.1. I was also wondering if Cam Studio supports multiple WCS. The main use case I have for this is, at times when machining multiple parts, I simply use multiple WCS instead of trying to place parts in perfect relation to each other.
Using this part as an example. In the part studio, I transformed the origin to the top center of a feature.
In cam studio, the origin is used for the setup.
As for preloading a tool. Please feel free to submit a ticket for this issue so we can investigate further. If you can please provide a gcode program example that shows the preloading that would be helpful as well.
Not all tool changes can do this. Simple carousel changes fixed locations for each tool (tool 1 goes in slot 1), and the tool must be loaded from that location to the spindle and from the spindle back to the location. There is no preloading for that style changer. On a Haas, their "umbrella changer" works this way. No pre-loading.
The ones that can preload have an arm that swaps the tool in the carousel with the one in the spindle in one move. For the Haas, this is their "side mount" changer. This hardware system creates a few interesting differences. For one, if your tool count is the number of slots in the carousel + 1. So a 30-tool carousel machine can hold 31 tools in its library, numbered 1 to 31. 30 in the carousel and one in the spindle at all times. Also, since tools are swapped, they have no fixed location. So if tool 1 is in the spindle, and the next tool is 12, that tool might be in location 6, so it moves to location 6, then swapps, which puts tool 12 into the spindle and tool 1 into location 6. The machine must have non-volatile memory of the tool numbers that is mapped to each carousel location. The g-code doesn't deal with that, you just ask for T10 and it moves to wherever T10 is currently stored.
In G-code, the command T5 rotates the carousel to tool 5's location but does not perform the tool change. The M6 command executes the tool swap. They are often used together, as in T3 M6 to load tool 3. However, they can be done separately with the type of machine that supports carousel positioning and swapping independently.
Without preloading, the G_code is simple,
M6 T10
<g-code for tool 10>
M6 T2
<g-code for tool 2>
With a machine that can do pre-loading, it becomes:
M6 T10. (Load the first tool, which is T10).
T6 (start the carousel spinning to bring Tool 6 into position)
<g-code for tool 10> (T6 is still running while the machining for T10 starts)
M6 (loads T6 and puts T10 back into the carrousel) (or M6 T10 if you want to make sure that it's T10 you are loading).
T12 (start the pre-load tool 12)
<G-code for tool 6>
These machines can spin the carousel to pre-load, and at the same time, they run G-code to do the machining for the current tool in the spindle. So they do tool carousel motion and machining at the same time.
This greatly speeds up tool changes because the swap only takes a couple of seconds, whereas waiting for a big carousel to advance to the next tool can take 10 seconds. Pre-loading speeds up tool changes from 10 seconds to 2 seconds without slowing down the machining.
The arm changers are far more complex and cost a lot more. But they swap tools in a fraction of the time IF you do the pre-loading correctly. Without pre-loading, they are often slower than the other type.
I will try to post some things soon; I'm on other projects now.
Here are two screenshots (same part), one from
I have not, good idea.
We have an older gentleman who works on our machines (he used to be a Mazak tech), and this is what he told me to do. But it would probably be a good idea to check with Mazak and see if there is an option like that.
I'll check when I have a moment.