Welcome to the Onshape forum! Ask questions and join in the discussions about everything Onshape.
First time visiting? Here are some places to start:- Looking for a certain topic? Check out the categories filter or use Search (upper right).
- Need support? Ask a question to our Community Support category.
- Please submit support tickets for bugs but you can request improvements in the Product Feedback category.
- Be respectful, on topic and if you see a problem, Flag it.
If you would like to contact our Community Manager personally, feel free to send a private message or an email.
How to approach modeling a complex shape
 roger_smetaniuk
Member Posts: 8 ✭
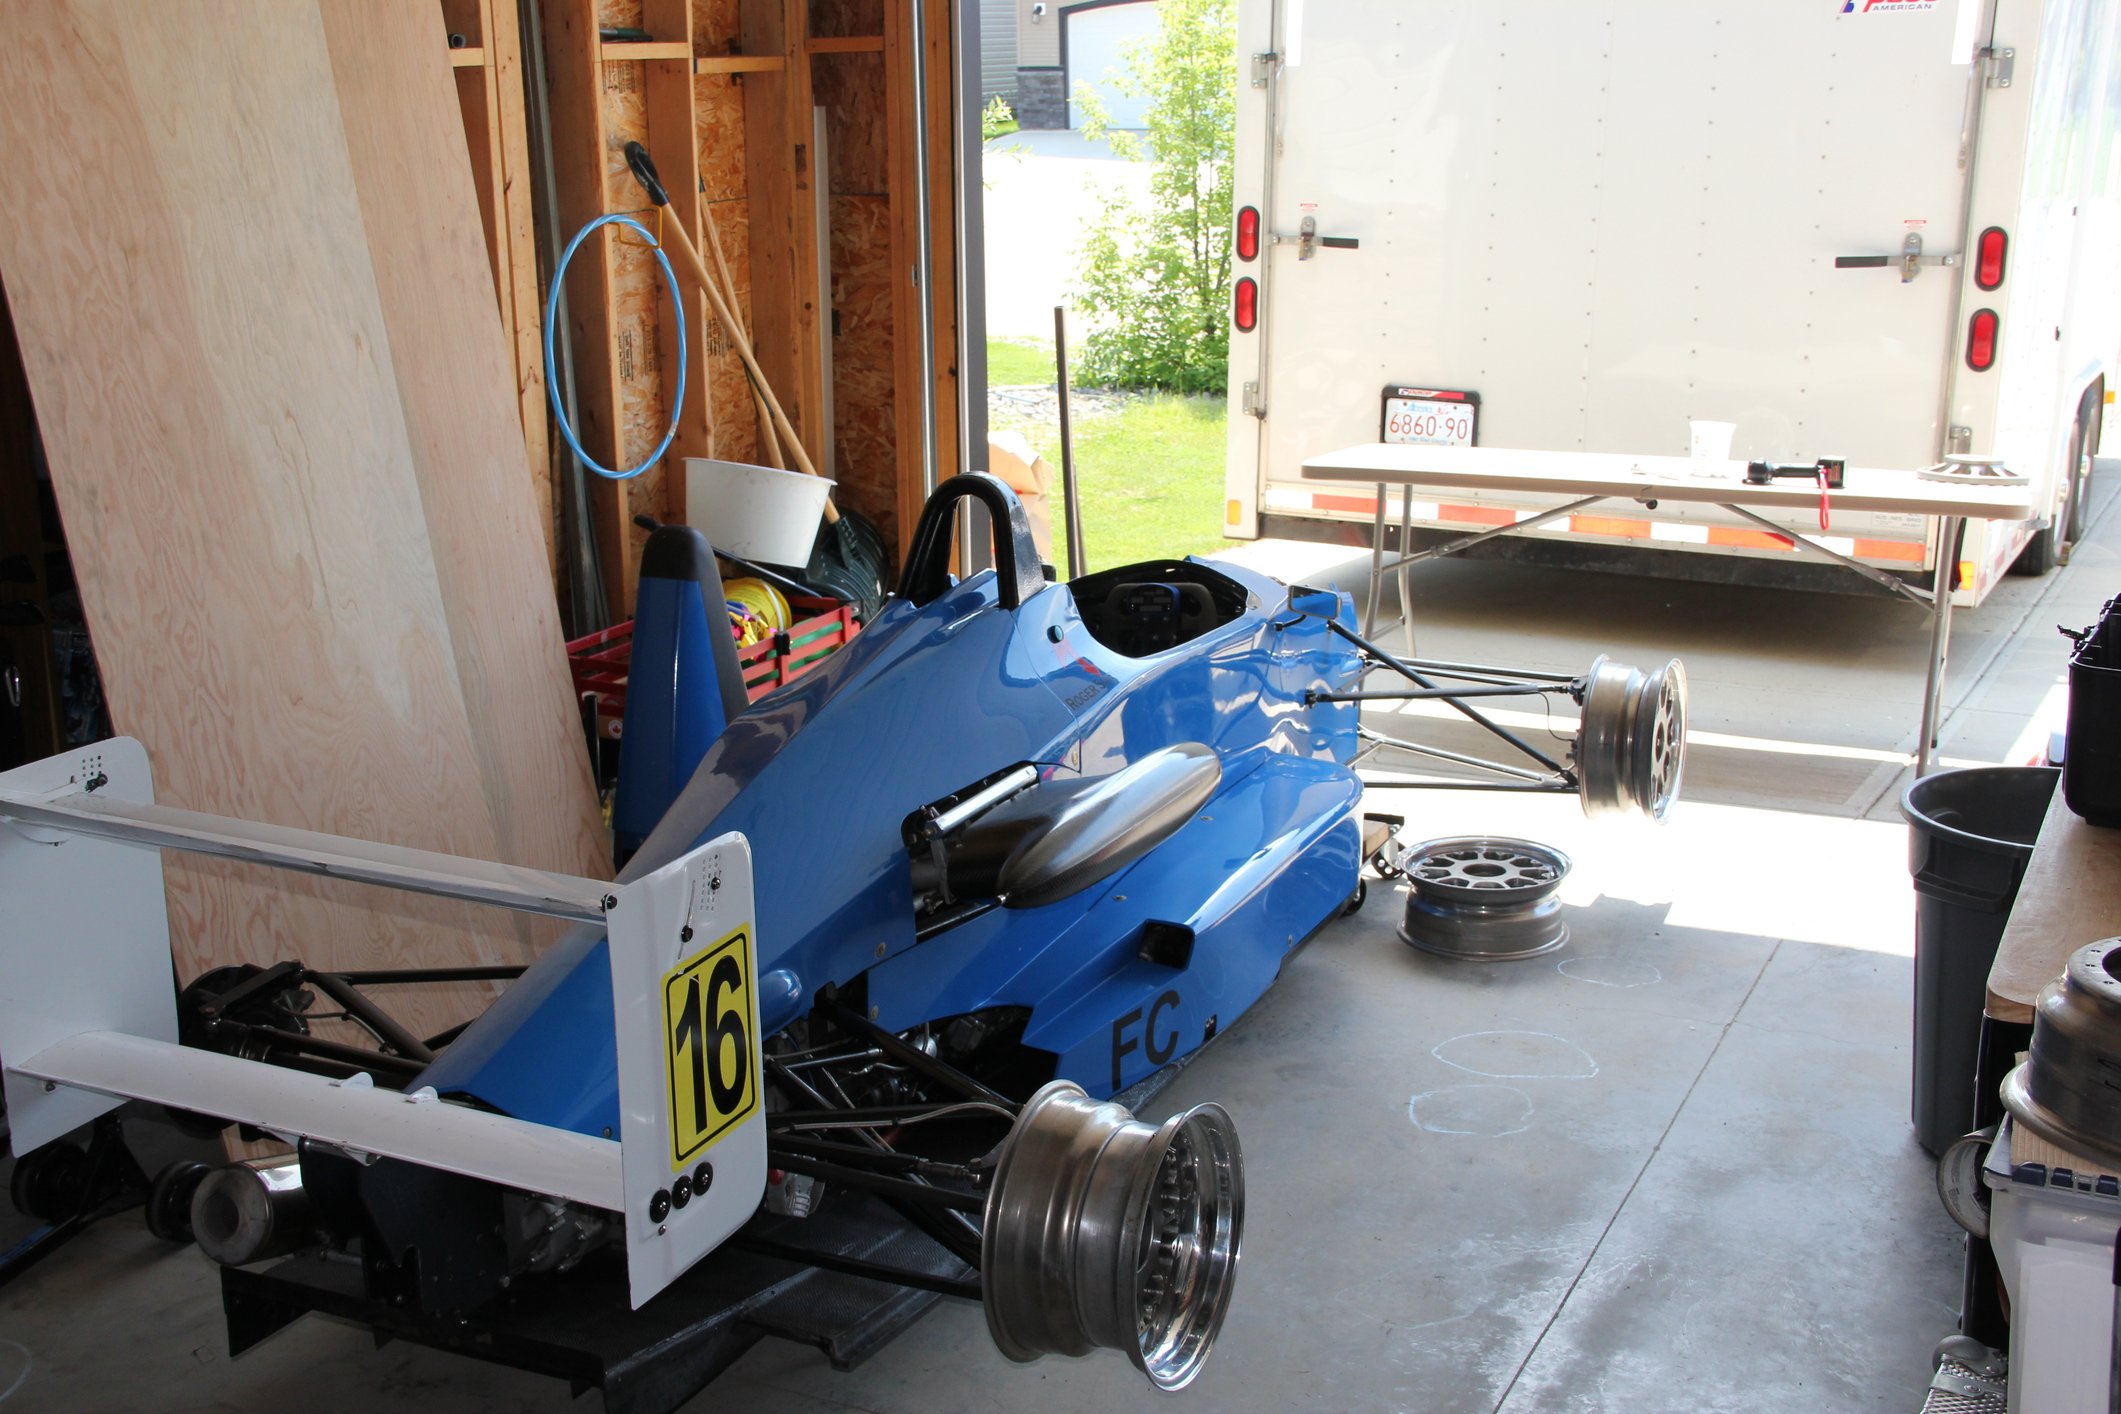
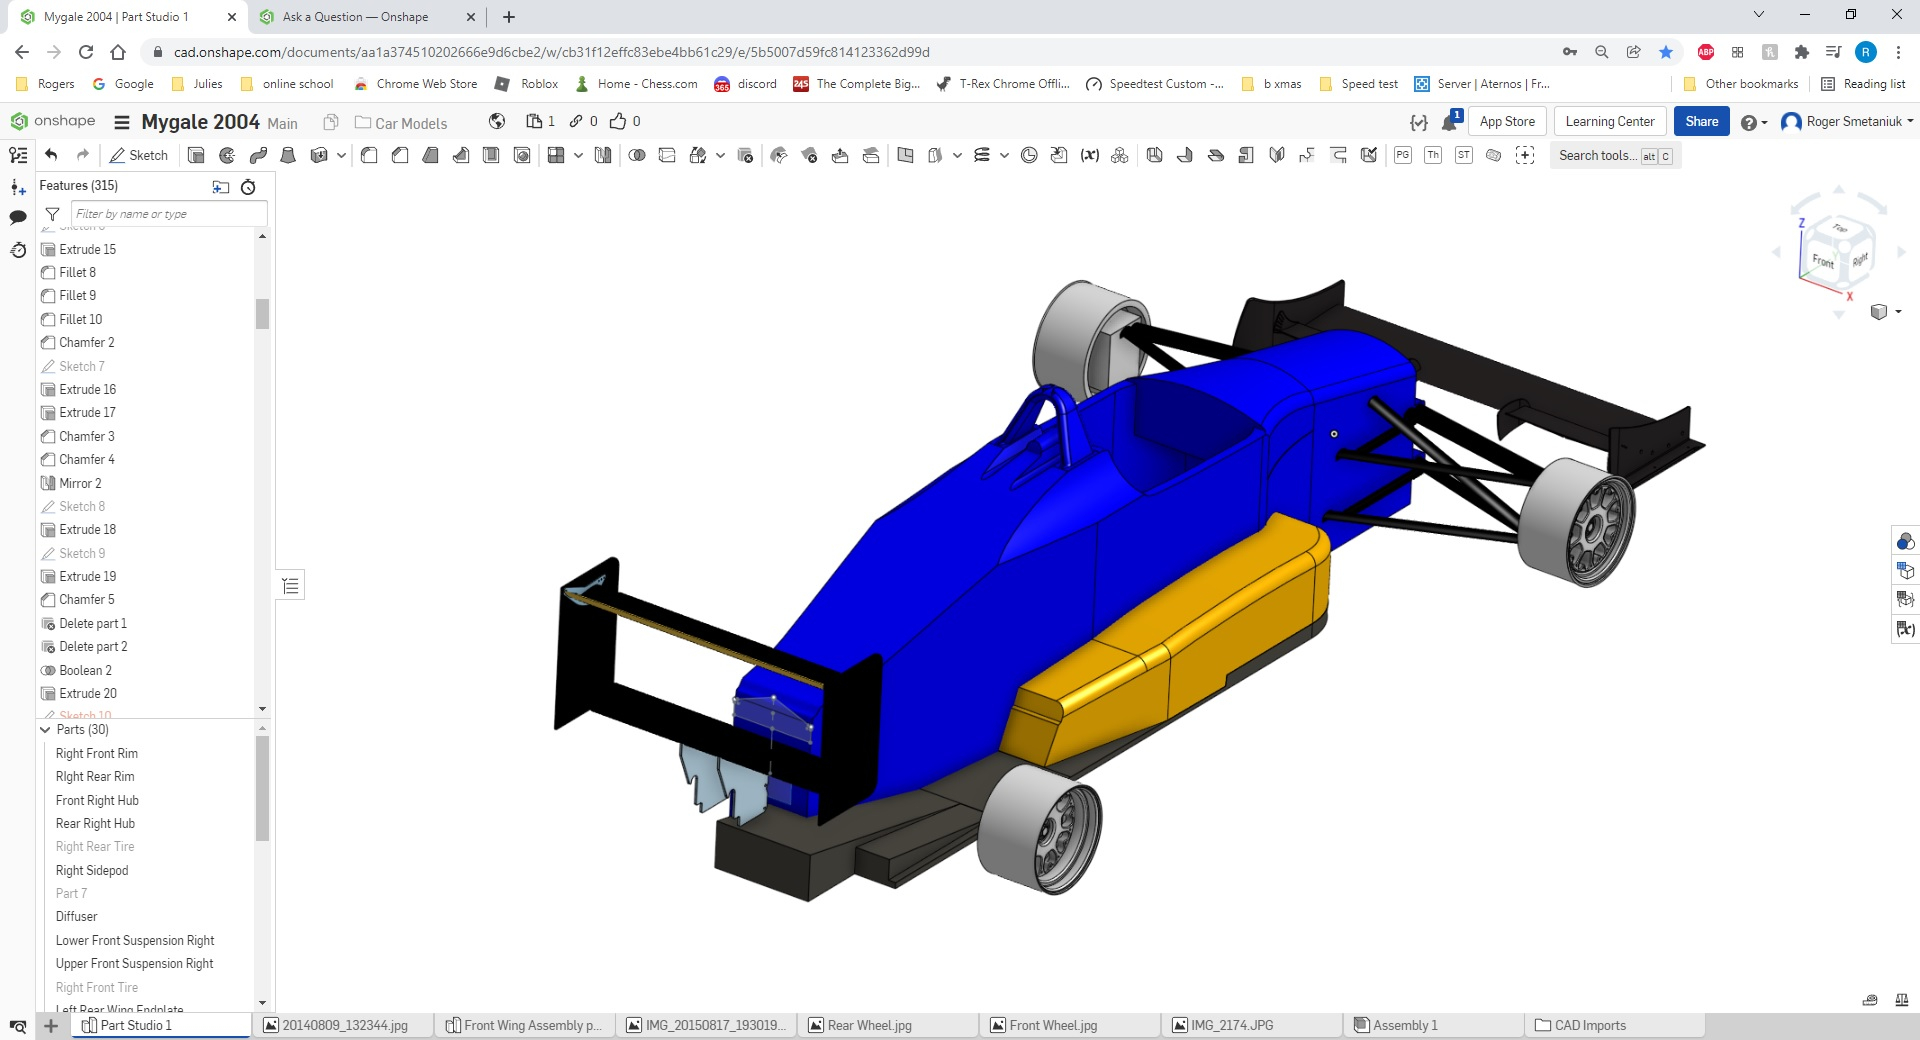
Currently I have been getting comfortable with onshape by modeling up the race car. I am having trouble coming up with a plan of attack for modeling the rear engine cover as it has a lot of different curves, angles and shapes usually all flowing into one another.
Anybody have any suggestions? Currently I think I will have to make up several different slices and try and loft it all together but I find loft can be hit or miss depending on the complexity of the shape.


Anybody have any suggestions? Currently I think I will have to make up several different slices and try and loft it all together but I find loft can be hit or miss depending on the complexity of the shape.


0
Answers
The key to making a complex loft work is:
- Match connections (You can match several connections. Once the first two connection points are selected, minimize that connection to be able to start a new connection.)
- Show iso curves to see which connections need to be adjusted
Other things that can help but it will depend on the level of control you need:Learn more about the Gospel of Christ ( Here )
CADSharp - We make custom features and integrated Onshape apps! Learn How to FeatureScript Here 🔴
DIFFICULT TO MEASURE
Here in the forum, you will find posts by @billy2 who has some kind of a scanner that attaches to either his computer or iPad or iPhone or similar device. And he is able to make parts for his motorcycles off of the scans that he brings into Onshape, But I think the scanner that @billy2 has is something that’s no longer in production
Well I happened upon a video by someone reviewing a scanner app that works with one of the newer iPhones
https://www.youtube.com/watch?app=desktop&v=dVCbZmIXoTI
I looked at the app in the iPhone App Store
https://apps.apple.com/us/app/em3d-ethan-makes-3d-scanner/id1546149822
Read a review about the app by Bryson H. He said the app was good enough for engineering. And that by using the apps STL output, he can bring a scan into CAD, and make slices (profiles) from that
Here in the forum, I’ve also heard people mention a program called meshmixer which is free and has been used as an intermediary program WHEN NEEDED. From there, you should be able to get it into Onshape
BUT — you likely can export an STL file directly from the scanner app, and then bring that STL into Onshape without even having to use meshmixer as an intermediary
There are options to purchase within this scanner app. It looks like at minimum, you would have to buy the STL export feature in order to get a scan into Onshape.
A sidenote — I always try and research who it is that makes an app before I install it on my iPhone or computer. When you get to the App Store, there will be a link to the developer site for the scanner program. Go there and under the three horizontal lines (the hamburger), tap ABOUT and then scroll down and take a look at the picture of the author of that program. All I can say is YIKES. Someone that young making an app like that. WOW
You could visit the kids YouTube site and even watch him showing how to do some basic python programming
I have not looked at any other scanner reviews. That is something you might want to do before making any purchase
There are a lot of video's and webinar's to see and to learn from.
Like this one
https://learn.onshape.com/courses/surfaces-and-curves-in-onshape
The Structure Sense for ipad is not too bad either but more expensive.
Simon Gatrall | Product Development, Engineering, Design, Onshape | Ex- IDEO, PCH, Unagi, Carbon | LinkedIn
For all the major body parts I would very strongly agree with that advice. For things like the wheels or steering wheel, it probably makes sense to have those part studios' origins set so that the axis of rotation is at the intersection of two of the default planes. This means that you'll need to derive the mounting pattern from the top level and transform it, or perhaps derive the mounting pattern in the top level master from the wheel and steering wheel part studios.
Simon Gatrall | Product Development, Engineering, Design, Onshape | Ex- IDEO, PCH, Unagi, Carbon | LinkedIn
They still make it: https://structure.io/structure-sensor-pro
I have a really old version and need to update it. For the cost, it works well. Does it work with Onshape? Yep, I've been using it ever since Onshape has supported meshes and Onshape has it working well.
How do you get started? Follow every suggestion above. Aligning meshes up will be problematic and establishing an origin is key.
I don't use derived partstudio's and prefer to run everything through an assembly & incontext. It's a poison you get to chose.
You won't have one mesh due to density issues and will be aligning different meshes with different resolutions. If you create a layout sketch you can attach different meshes to the layout sketch keeping everything organized.
Don't forget about pictures. For the overall shape, I'd use an image. Images are a pain due to parallax, but you'll figure it out. Something this long you'll probably need a front image and a back image. I think there would be too much distortion for one image and the entire car length.
You have to learn surfacing, there's no extrude, fillet, fillet, fillet, blah, blah, blah.
Think about your primary shapes, like the car body, then the finer shapes, like a wheel well. With onshape you'll control primary (car body) & secondary (wheel well) surfaces. Then, you'll transition between the primary & secondary with a tertiary surface. Don't watch videos about sub-divisional surfacing, Onshape doesn't work that way. Creating a primary & secondary surfaces properly so it'll accept a smooth tertiary surface is the art of engineering a body shape.
For your primary surface, your construction curves are not the edges of the surface you're looking for. Create the shape and then trim back to form your wanted edges. This is an IGES 144 which is old school from the '80s. Read about it, it's extremely simple.
https://cad.onshape.com/documents/7fb41efc3e90820ffcb95eca/w/8538cad1400bf7739a959cb5/e/8195c46701f990d168312ea4
You have to master the workflow above, many have and you can do it.
You're first attempt won't look that good, but your 5th or 6th will look alot better. The best time to create a body for your car is Saturday morning between the 1st & 2nd cup of coffee.
The nice thing about onshape is that it's parametric so there's no reason you can't build a control skeleton, attach your surface curves and create shapes that'll update with your design intent. You can change your wheel base and have the body automatically update.
Is this doable? yep, there's a lot guys here in this forum that can do this. With time you can do it too, but it takes time.