Welcome to the Onshape forum! Ask questions and join in the discussions about everything Onshape.
First time visiting? Here are some places to start:- Looking for a certain topic? Check out the categories filter or use Search (upper right).
- Need support? Ask a question to our Community Support category.
- Please submit support tickets for bugs but you can request improvements in the Product Feedback category.
- Be respectful, on topic and if you see a problem, Flag it.
If you would like to contact our Community Manager personally, feel free to send a private message or an email.
Upload Trick
 billy2
Member, OS Professional, Mentor, Developers, User Group Leader Posts: 2,129 PRO
billy2
Member, OS Professional, Mentor, Developers, User Group Leader Posts: 2,129 PRO
2015/02/18 8:46am created
Original Post
Objective
So here's a trick to uploading many files into a project and keeping things organized. I wanted to upload a bunch of 8020 parts into an existing project/document but didn't want a tab generated for each uploaded part.
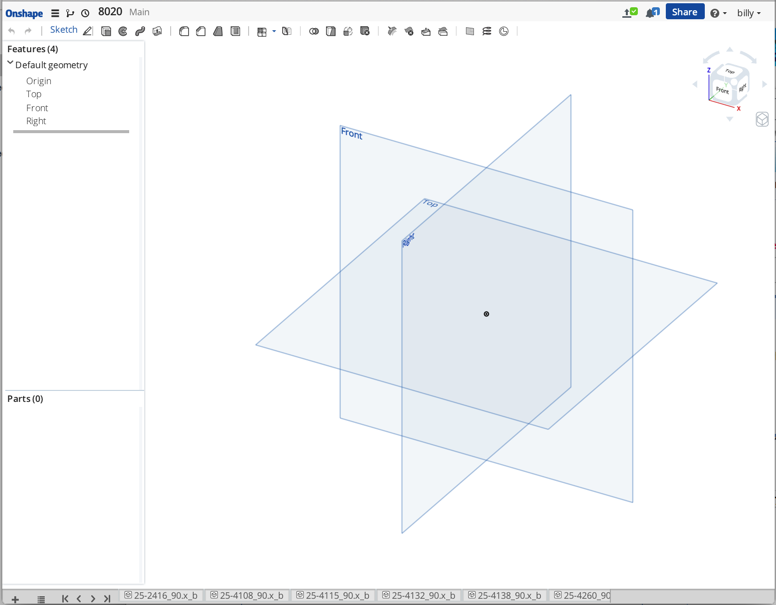
The 1st thing is to create a new document and upload the files into it.
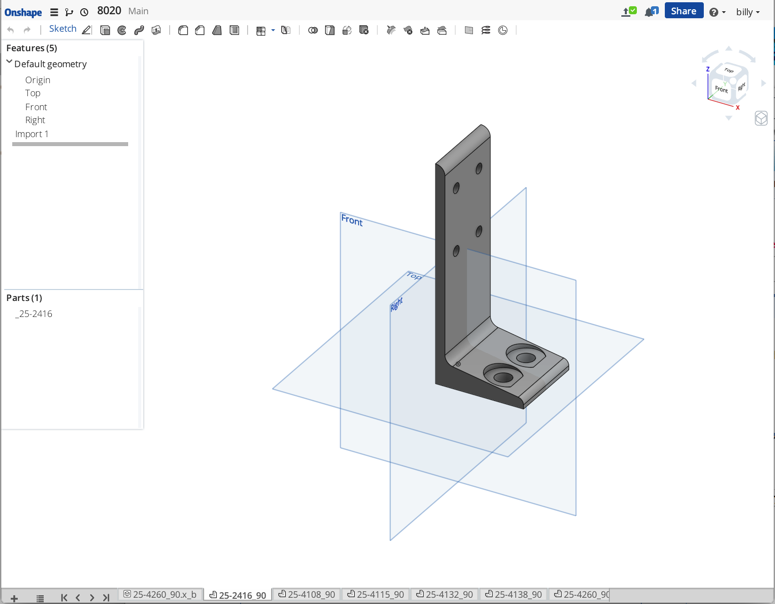
Then you start translating these uploaded files into the OS format. At this time I've flipped the geometry by selecting the flip checkbox in the translation dialog box. Clicking the "flatten" option is meaningless since there is only one body in the file.
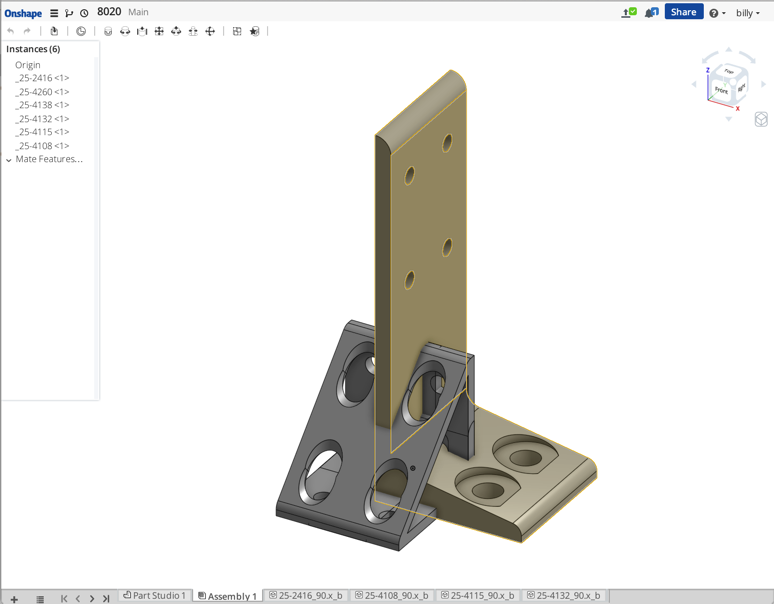
Now add all the parts into an assembly. I used the default assembly.
RMB this assembly and translate it into a parasolids binary. I renamed it 8020 and downloaded it to my hard drive. This puts all these bodies into one file.
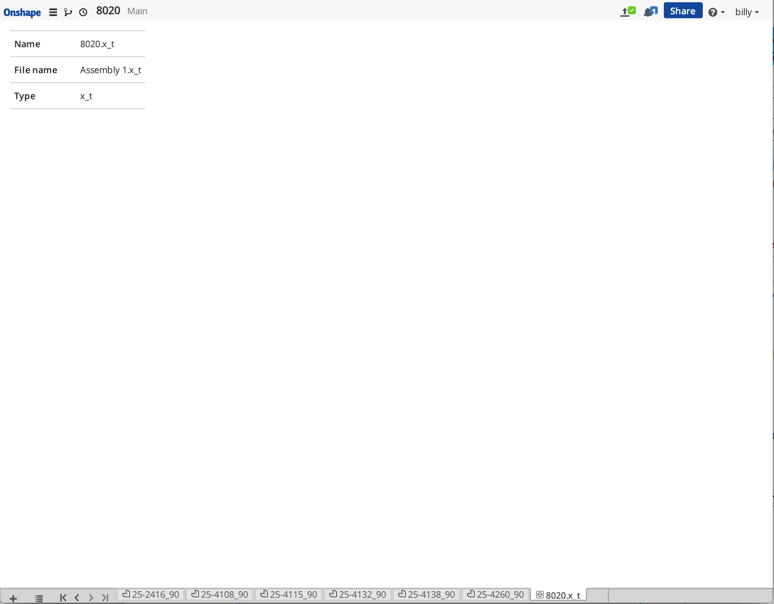
I open my top level document and upload the 8020.x_t from my hard drive.
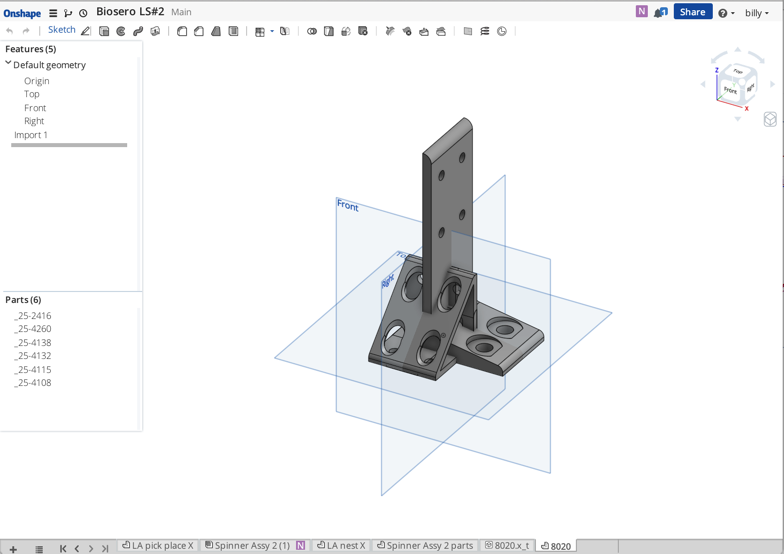
Translate this 8020 uploaded file containing many bodies but do not select the flip option. The flip option rotates about "X" and doesn't orient Z up. If you click the flip option again, the geometry will rotate pass the Z orientation because it's already been done. I also checked the flatten to part studio option because I want them to stay in a part studio.
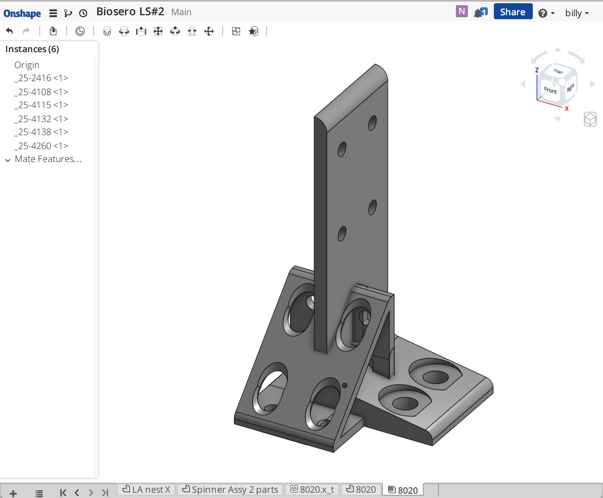
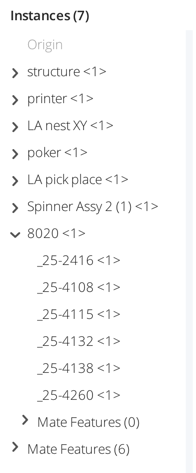
As a project strategy, I put all part studios into a sub-assy and include this sub-assy into the top assy. I do this only to keep the top level tree organized in a meaningful fashion. This is funky and maybe next week there will be a better way.
Conclusion
So why do all of this? Basically organization. I don't want a tab for each 8020 part. This consolidates all these part files into one part studio.
Issue
So what happens when I want to add another part to the 8020 part studio? In SW you change the file containing all the bodies and reopen the top assy. SW matches all the face id's to the constraints and everything rebuilds even though it's a different file. In OS the file names are pointers to the data structure and this trick doesn't work. You don't have access/control to over-ride a resident part studio or assembly. I can upload an updated 8020 file but how do I reroute all the existing mate connectors to the new geometry? This simple SW trick is gone in OS.
Don't get me wrong, I don't want to go back, I'm still amazed that you can't easily rename a component in the worlds #1 CAD package. Please don't send me how to rename a component in a SW assembly, I know how to do it.
Original Post
Objective
So here's a trick to uploading many files into a project and keeping things organized. I wanted to upload a bunch of 8020 parts into an existing project/document but didn't want a tab generated for each uploaded part.
The 1st thing is to create a new document and upload the files into it.
Then you start translating these uploaded files into the OS format. At this time I've flipped the geometry by selecting the flip checkbox in the translation dialog box. Clicking the "flatten" option is meaningless since there is only one body in the file.
one body = one tab (flatten has no meaning)
two bodies = one tab (flatten has been checked)
two bodies = two tabs (flatten has been unchecked)
Now add all the parts into an assembly. I used the default assembly.
RMB this assembly and translate it into a parasolids binary. I renamed it 8020 and downloaded it to my hard drive. This puts all these bodies into one file.
I open my top level document and upload the 8020.x_t from my hard drive.
Translate this 8020 uploaded file containing many bodies but do not select the flip option. The flip option rotates about "X" and doesn't orient Z up. If you click the flip option again, the geometry will rotate pass the Z orientation because it's already been done. I also checked the flatten to part studio option because I want them to stay in a part studio.
As a project strategy, I put all part studios into a sub-assy and include this sub-assy into the top assy. I do this only to keep the top level tree organized in a meaningful fashion. This is funky and maybe next week there will be a better way.
Conclusion
So why do all of this? Basically organization. I don't want a tab for each 8020 part. This consolidates all these part files into one part studio.
Issue
So what happens when I want to add another part to the 8020 part studio? In SW you change the file containing all the bodies and reopen the top assy. SW matches all the face id's to the constraints and everything rebuilds even though it's a different file. In OS the file names are pointers to the data structure and this trick doesn't work. You don't have access/control to over-ride a resident part studio or assembly. I can upload an updated 8020 file but how do I reroute all the existing mate connectors to the new geometry? This simple SW trick is gone in OS.
Don't get me wrong, I don't want to go back, I'm still amazed that you can't easily rename a component in the worlds #1 CAD package. Please don't send me how to rename a component in a SW assembly, I know how to do it.
Tagged:
1
Comments