Welcome to the Onshape forum! Ask questions and join in the discussions about everything Onshape.
First time visiting? Here are some places to start:- Looking for a certain topic? Check out the categories filter or use Search (upper right).
- Need support? Ask a question to our Community Support category.
- Please submit support tickets for bugs but you can request improvements in the Product Feedback category.
- Be respectful, on topic and if you see a problem, Flag it.
If you would like to contact our Community Manager personally, feel free to send a private message or an email.
Working with meshes
 billy2
Member, OS Professional, Mentor, Developers, User Group Leader Posts: 2,119 PRO
A few months ago it was asked "Why do we need meshes?" and someone replied "To bring the world back into CAD".
OS is working really well with mesh data so here's a little example of working with mesh data & OS.
So I wanted to design a small motorcycle part hiding a seat latch. You can see the cover below located close to OS's origin and behind the meshed seat.
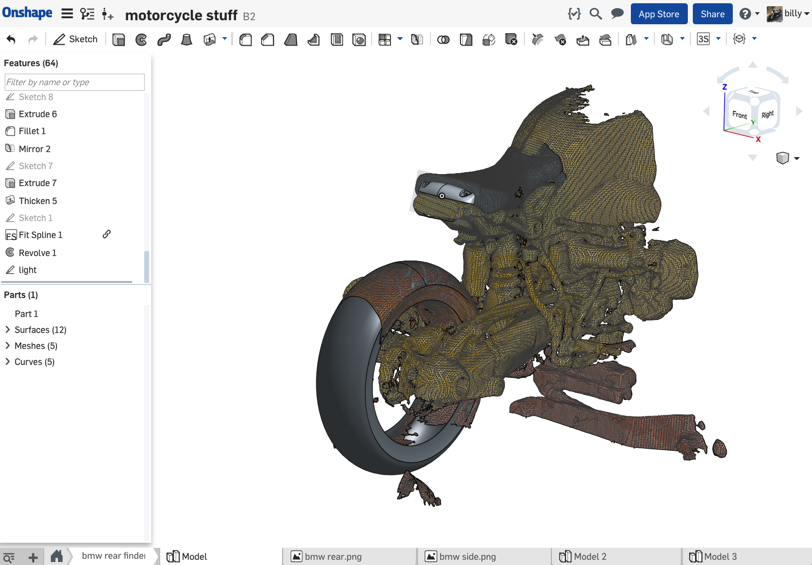
I have a structure scanner that fits onto an ipad. It's ok for larger objects and the accuracy is good enough to get an understanding of where things are.
link to scanner
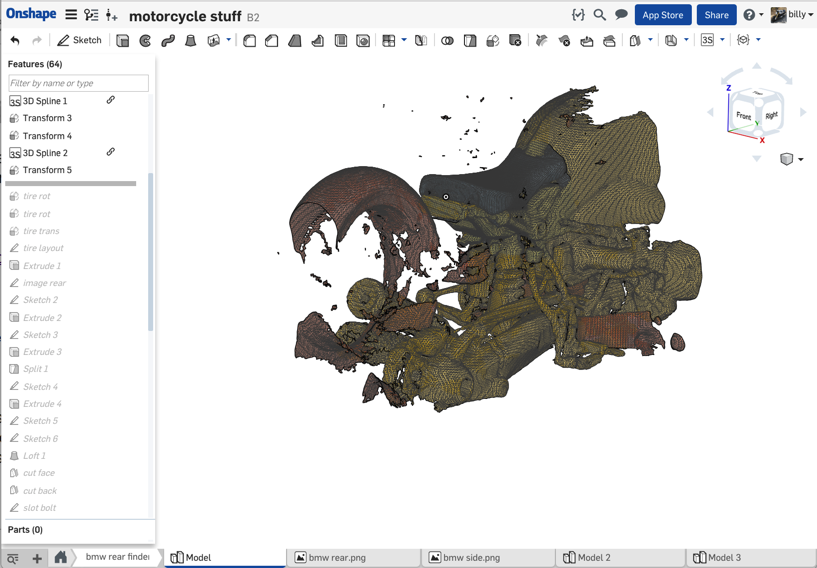
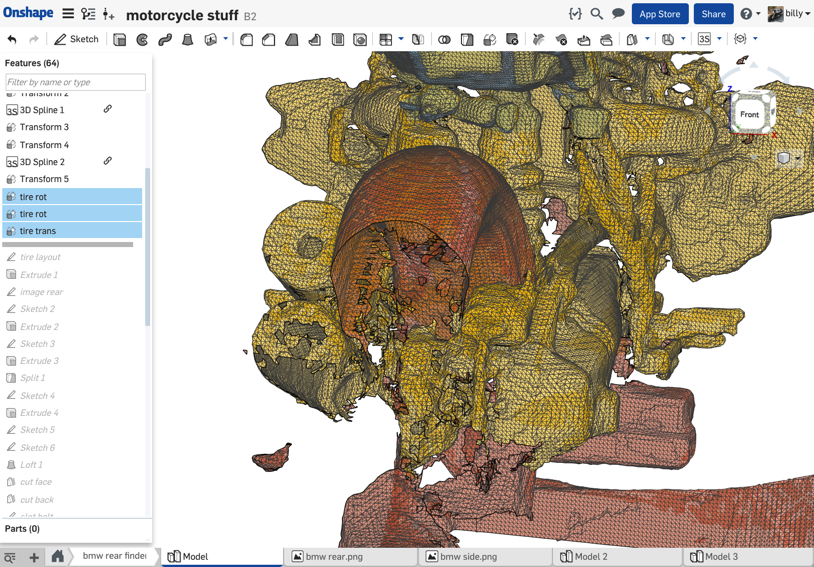
I take multiple scans at different resolutions to capture geometry and definition. The trick is to line this mesh data up in OS. I'll illustrate these steps by positioning the rear tire.
Steps to line up mesh data:
-rotate mesh and align to OS's datums
-translate mesh
Tire mesh before adjustments:
It's not perfect, but it's good enough:
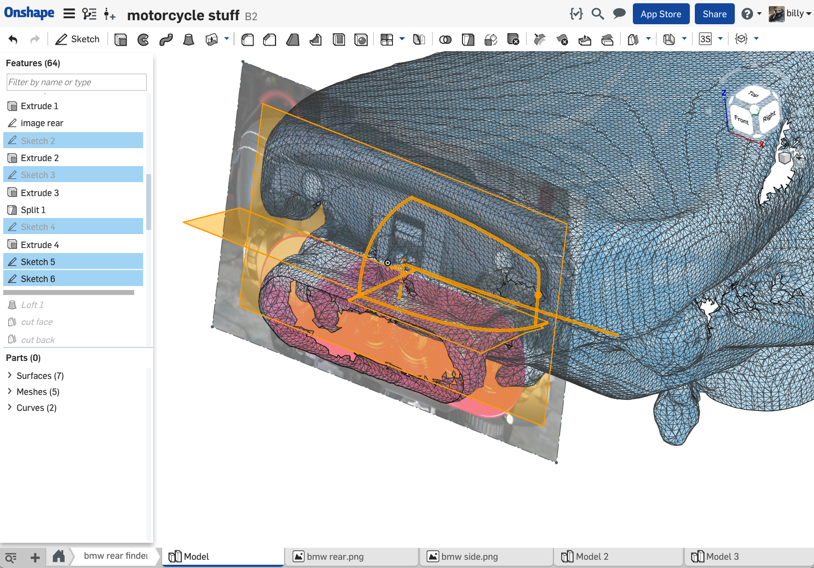
I also used pictures to help re-enforce where the world is inside OS. Showing build curves in OS:
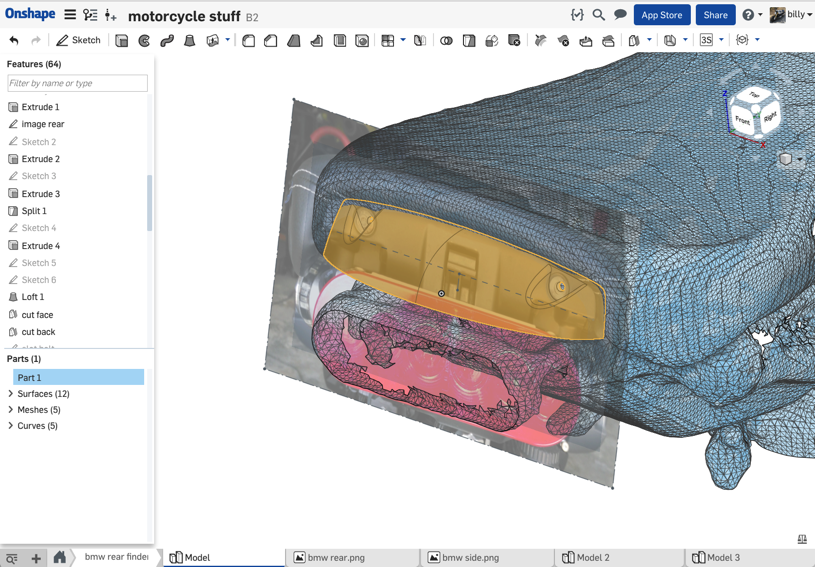
Solid model of seat latch cover:
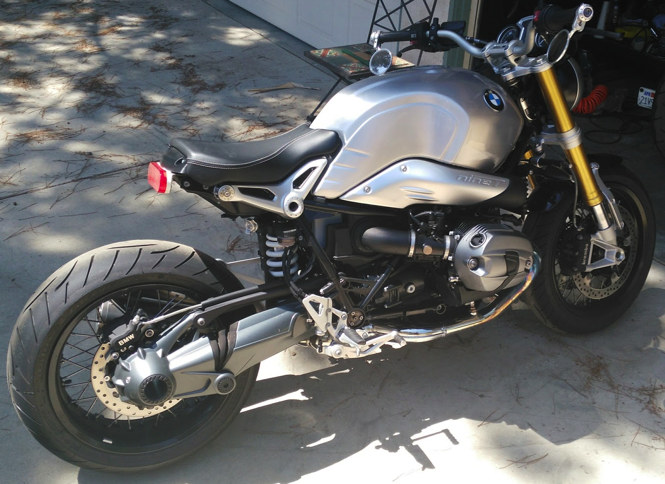
Once the design was complete, I printed it out and the 1st one fit like a glove.
1st printed cover fit on a BMW:
OS is working really well with mesh data so here's a little example of working with mesh data & OS.
So I wanted to design a small motorcycle part hiding a seat latch. You can see the cover below located close to OS's origin and behind the meshed seat.

I have a structure scanner that fits onto an ipad. It's ok for larger objects and the accuracy is good enough to get an understanding of where things are.
link to scanner
I take multiple scans at different resolutions to capture geometry and definition. The trick is to line this mesh data up in OS. I'll illustrate these steps by positioning the rear tire.
Steps to line up mesh data:
-rotate mesh and align to OS's datums
-translate mesh
Tire mesh before adjustments:

It's not perfect, but it's good enough:

I also used pictures to help re-enforce where the world is inside OS. Showing build curves in OS:

Solid model of seat latch cover:

Once the design was complete, I printed it out and the 1st one fit like a glove.
1st printed cover fit on a BMW:

9
Comments
With this post I'll explain in more detail how I get the world back into CAD. This time I need an "L" bracket to hang my tag.
Structure Scanner:
I'm using a $400 scanner and want to set the expectation for this scanner. Should every engineering department own one? yes. But, you have to understand it's accuracy. Some would say it's useless. I disagree. You can't scan a 12mm bolt and get the definition to design that bolt. You can scan a coffee mug and get good enough definition to reproduce the curves of the cup. I still use calipers for hole placement and critical dimensions. If you need accuracy, go buy that $60k scanner.
The structure scanner uses the ipad's mem chips to know which way is up. Make sure the object you're scanning is vertical. I used a floor jack to upright my bike, although the picture looks crooked, I got it more vertical for my scans:
Read the manual and play to perfect scanning. You end up emailing the scans to your computer. Then just upload to Onshape. In the translate dialog, allow fault geometry and ignore the "Y" up correction. I have no idea the axis orientation the structure scanner uses.
I bring each mesh into a part studio and doctor each up using the following methods.
Start by adding spin axis's (these are just sketched lines):
My 1st orientation rotates the bike upward relative to the top plane:
The 2nd orientation aligns bike to the iso view:
These are my major orientations which are 90 degrees and gets my mesh orientated to the iso view where I do most my work. 2 rotations will allow you to move any mesh and get it oriented properly. Onshape will update the preview on each change which can be painful with large scans. I know the moves and get it right by using right hand rule and setting spin direction correctly without using a preview. I've mastered transforming meshes, I recommend you do the same. It can be fast and painless.
After the course rotational adjustments I do 2 more minor rotations dialing in my orientations:
I only needed one minor adjustment with this scan. You always start with your rotations and get the scan oriented to your coordinates. Not sure how much you know about geometry, but rotations & translations don't get along with one another and they have to be kept separate. Rotations are SOB's and don't play nicely. Deal with these guys 1st.
After rotations comes one translation. Since translations get along with everybody, you can perform one transformation and define the 3 directions to locate scan:
I bring each scan into a top level part studio (license layout) using a derived command:
If I need to tweak a mesh I'll go to that mesh and adjust in it's part studio. This is a good way to manage your design dependencies.
All this and I haven't started my design. My 1st feature (the most mis-understood feature in solid modeling) is a simple orientation sketch located at the origin.
This is where I want my tag:
To keep this post small, I'm skipping how I create this "L" bracket. If you want, I'll create another post, just leave a comment:
It's just an "L" bracket:
And....keeping with the "working with meshes" theme, the 1st one fit like a glove:
Took the lines from the gas tank and carried them through the rear seat cap:
Bought 2 sets: black, gray:
Thought the gray would match tank, but it just looks unfinished:
I think the black one looks better:
The new HP printed parts are really nice for larger parts. The material is strong & tuff making it a great material for motorcycle accessories. Each bracket was $62 bucks not bad for a part that won't break apart.
Twitter: @onshapetricks & @babart1977
Give it a few years and please can we have some scanning contact lenses that record meshes of anything we've ever looked at?
Cheers,
Owen S.
HWM-Water Ltd
https://cad.onshape.com/documents/9fa4ca4ecb8219d4fd898cd6/w/2bdb01ebbe3371a8b83a5ee8/e/af3c771119f8f539b6c44771
How'd you get your scan data? it looks great.
@billy2 I think I might get a scanner like yours, not much to lose. I am also wondering with the release of the iPhone X with face recognition whether it will also be able to do some simple scans.
Twitter: @onshapetricks & @babart1977
Thanks Billy you have helped me take two more (not just one) steps in the direction of making my meshes useful in Onshape.